


Watch the complete assembly process in the video provided below.
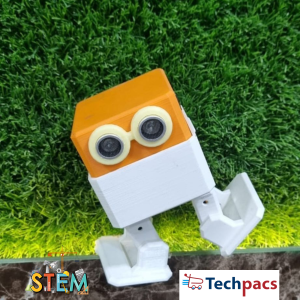
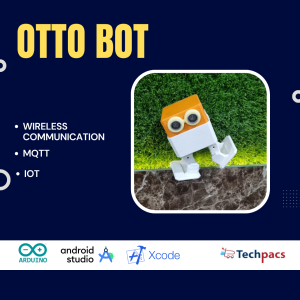
Assembling the Otto Bot: A Hands-On Guide to Robotics
This video offers a comprehensive, step-by-step guide to assembling the Otto Bot, a beginner-friendly robotics project designed to introduce you to the basics of robotics, electronics, and programming. We start by showing you how to connect the essential components, beginning with the Arduino microcontroller, which serves as the brain of the robot. You'll learn how to properly wire the board, ensuring secure connections to power the various features of the bot.
Next, we cover the process of mounting and configuring the servo motors, which control the Otto Bot’s movements. You'll follow along as we install the servos in the correct orientation to enable the robot to walk, turn, and perform other dynamic movements. Detailed instructions for aligning the motors and attaching the legs and feet to the servos are provided to ensure smooth operation and precise control.
By following this guide, you’ll not only construct a fully functional walking robot but also gain foundational knowledge in robotics that can be applied to more advanced projects in the future.
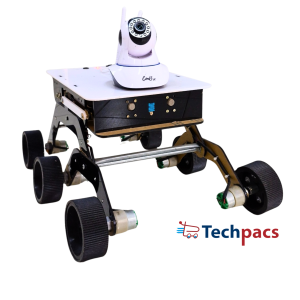
Arduino-Based Otto Bot for Basic Robotics Education
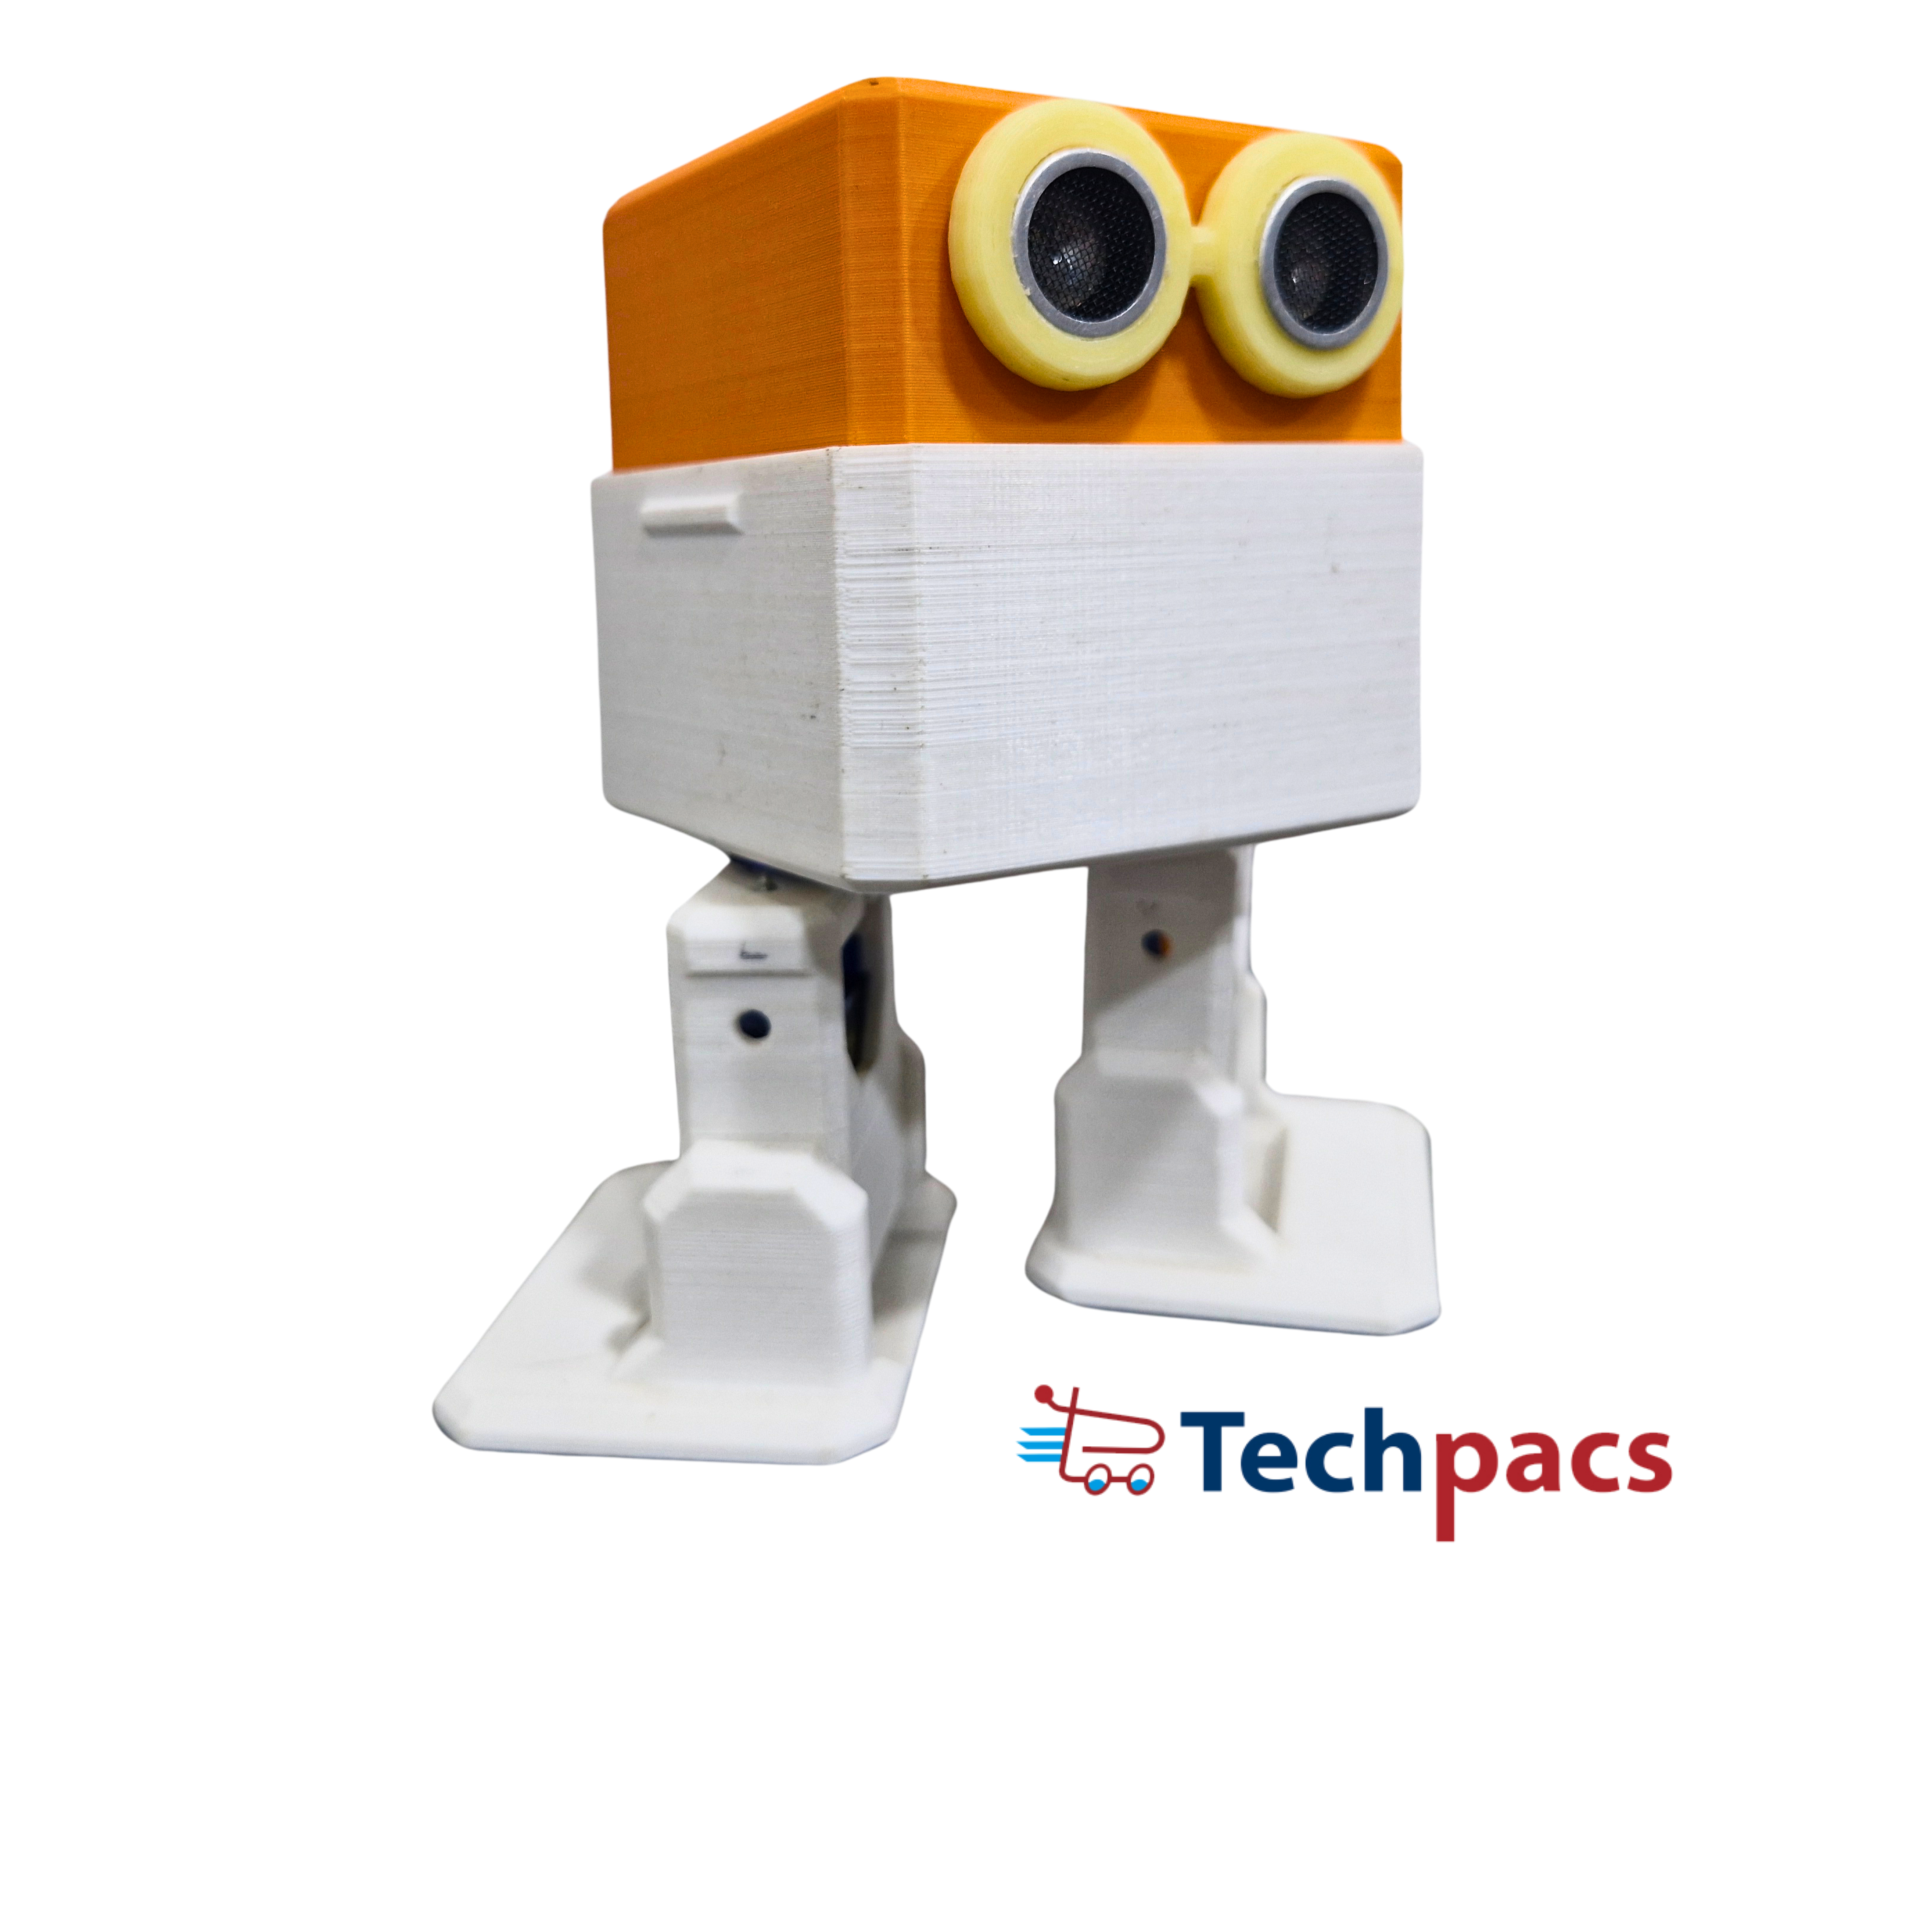
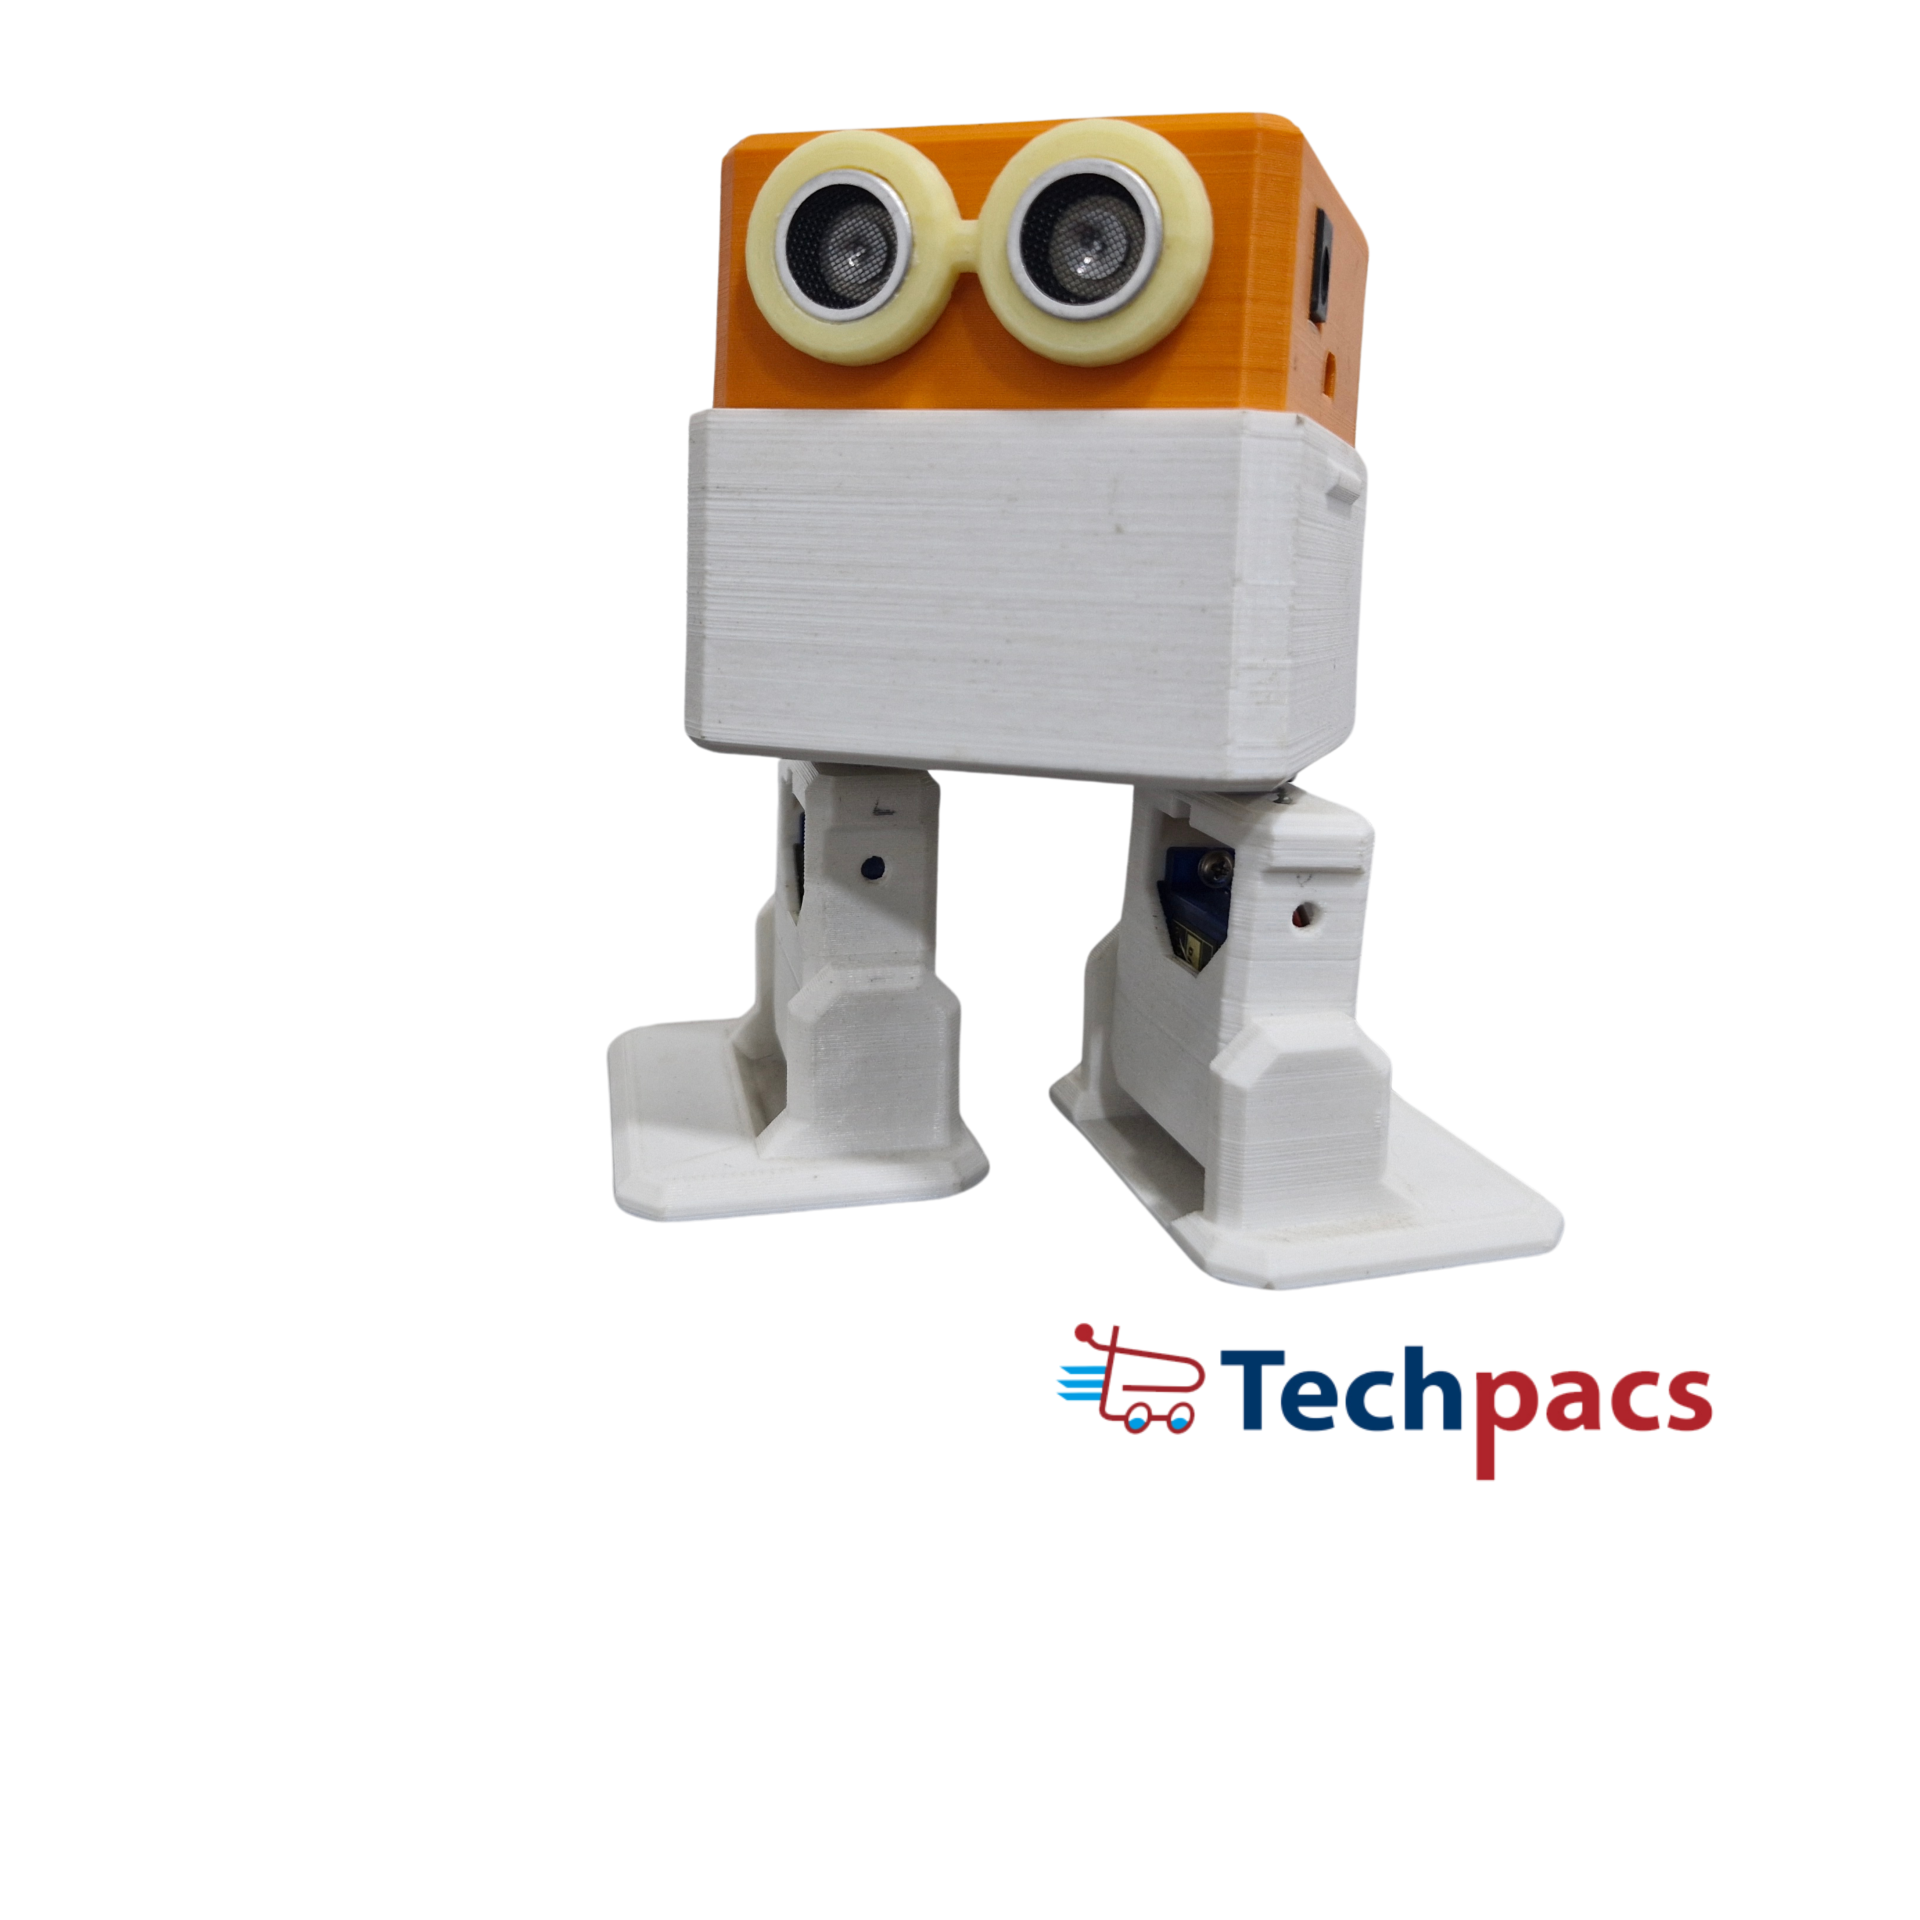
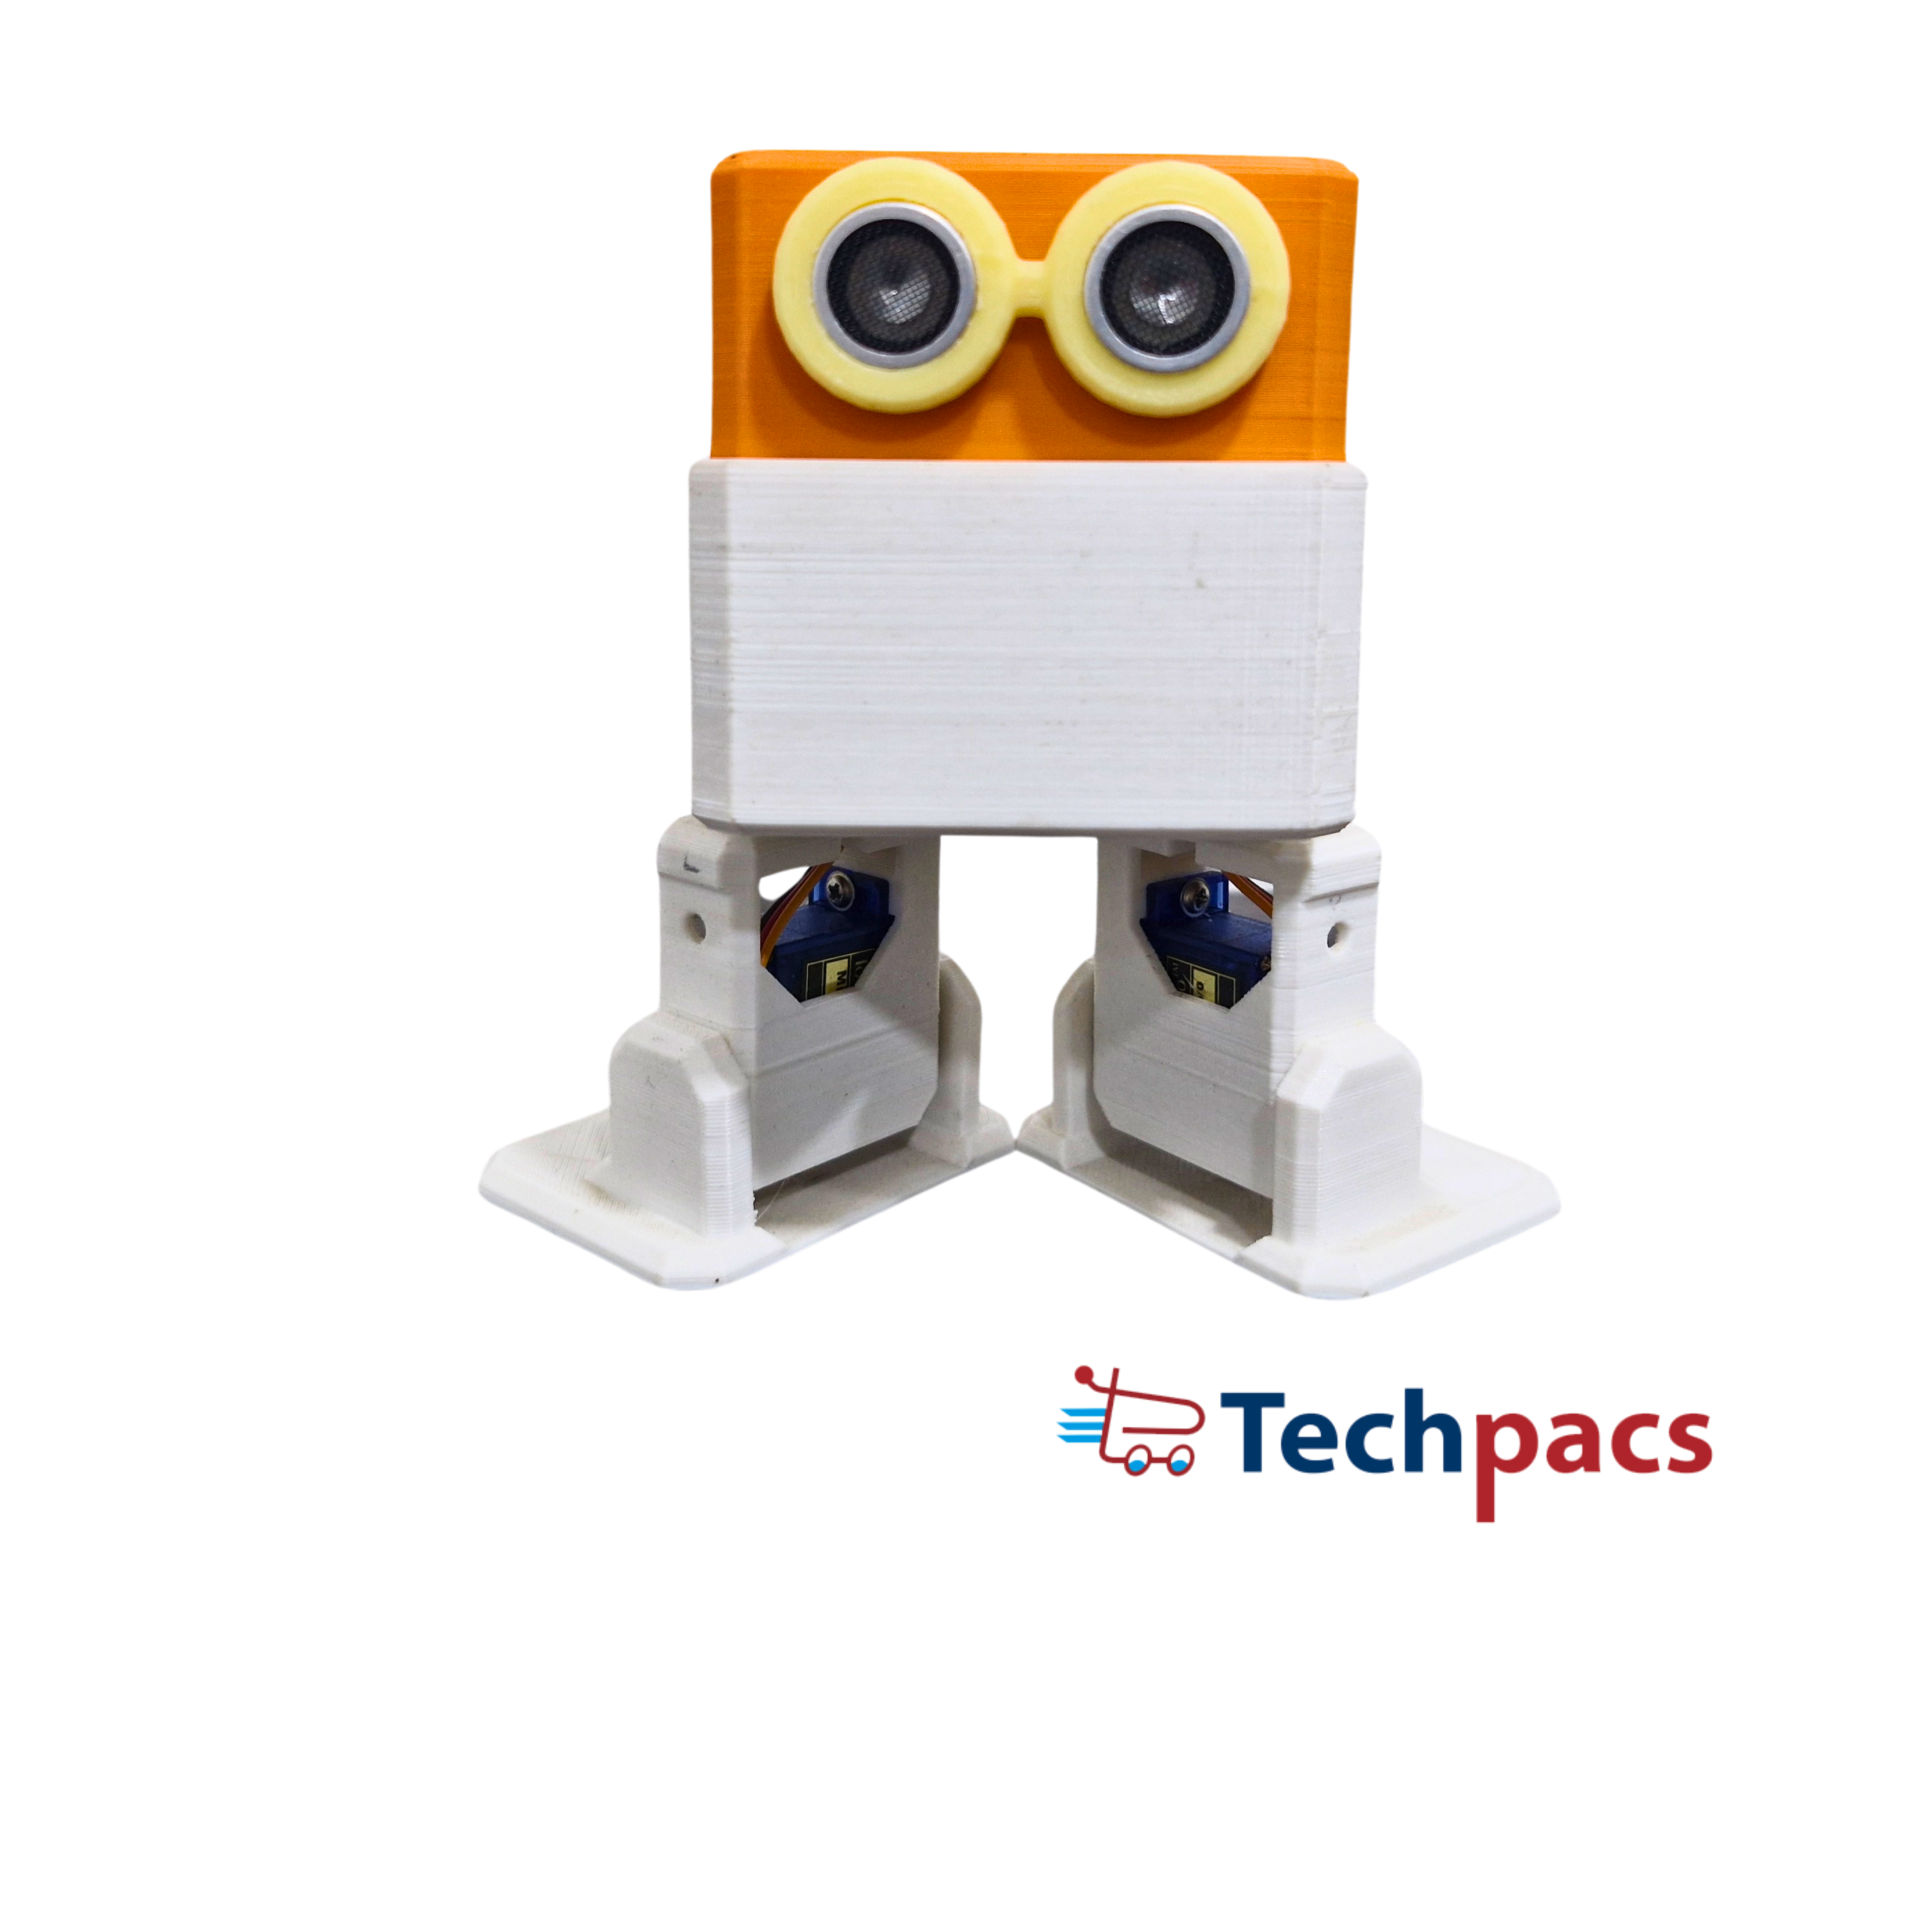
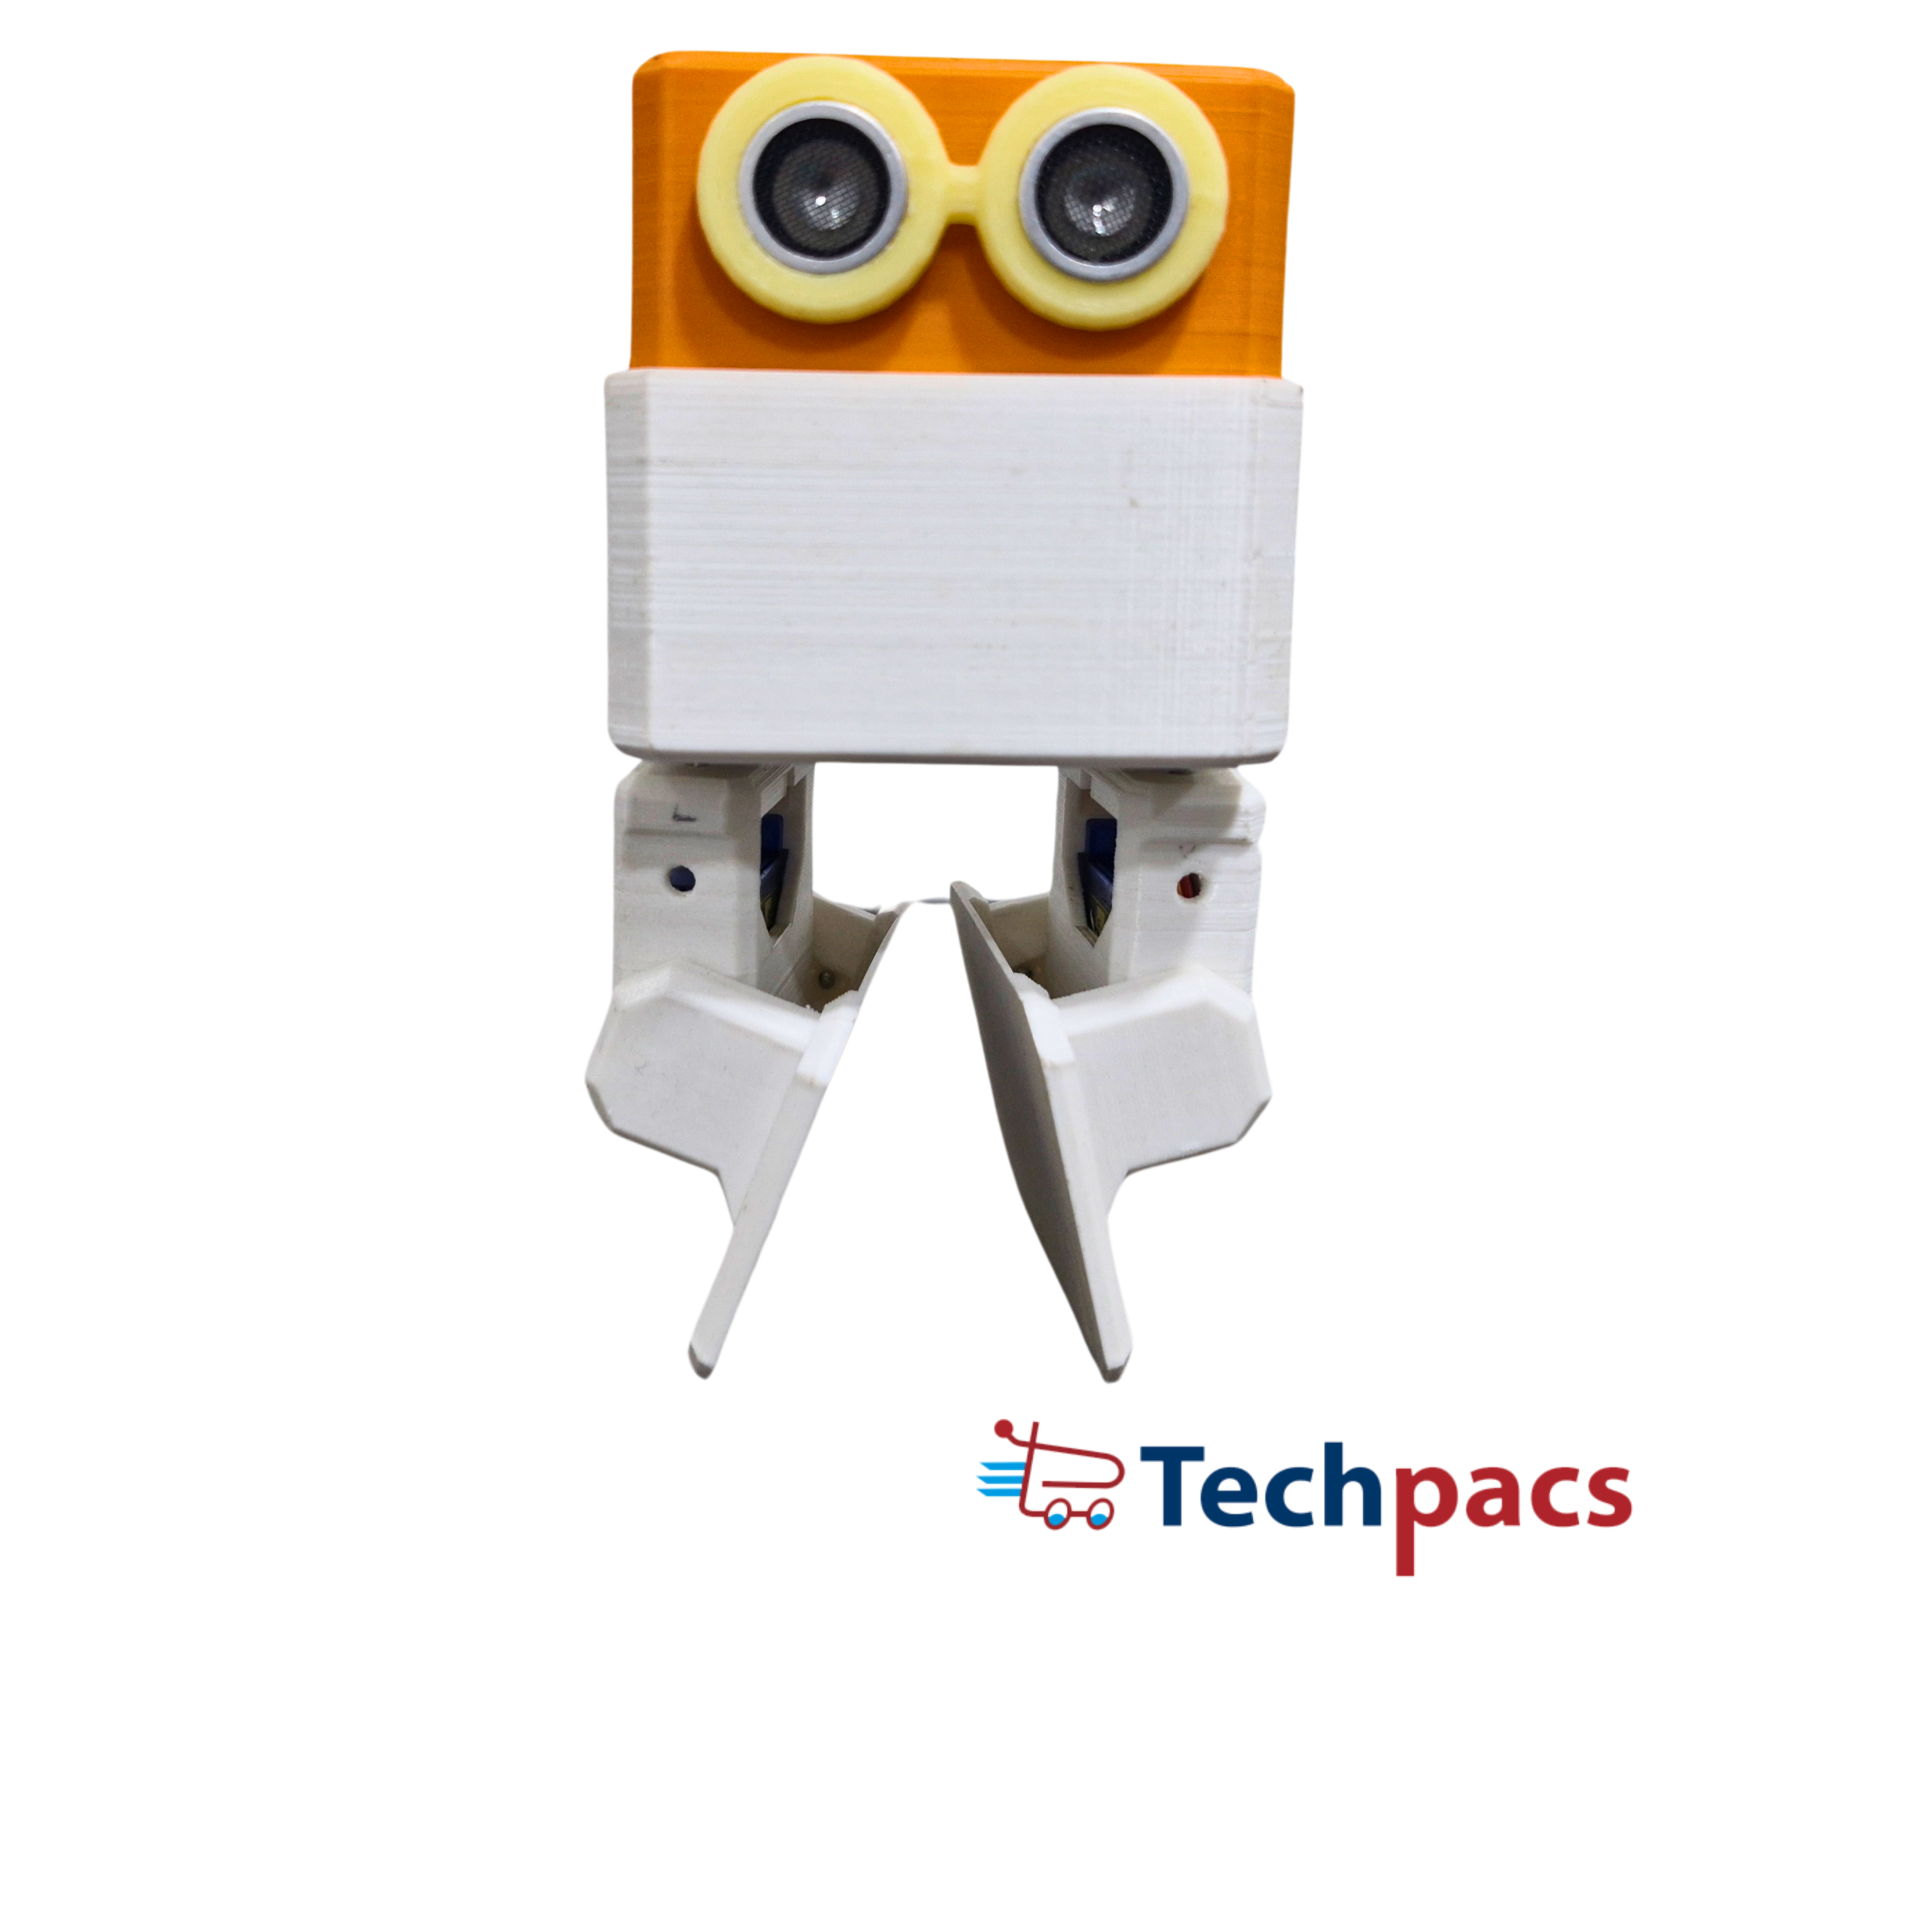
The Arduino-Based Otto Bot project is designed to provide foundational knowledge in robotics through the construction and programming of a simple walking robot. This project utilizes an Arduino microcontroller, servo motors, and ultrasonic sensors to enable the Otto Bot to navigate its environment. The simplicity of the components and coding involved makes it an ideal introductory project for anyone interested in learning the basics of robotics, electronics, and programming. The hands-on experience gained from this project is invaluable for understanding the core concepts of mechatronics and autonomous systems.
Objectives
- To teach the basics of Arduino programming and interfacing with electronic components.
- To provide hands-on experience with constructing and wiring a robotic device.
- To demonstrate the principles of sensor integration and data acquisition.
- To introduce fundamental concepts of robotic locomotion and control systems.
- To encourage problem-solving and creative thinking in designing and programming robots.
Key Features
- Easy to construct with readily available components.
- Utilizes an Arduino microcontroller for seamless programming and control.
- Equipped with four servo motors for movement and navigation.
- Integrates an ultrasonic sensor for obstacle detection and avoidance.
- Provides a practical introduction to basic robotics and sensor-based systems.
Application Areas
The Arduino-Based Otto Bot project is primarily intended for educational use, providing a hands-on learning experience for students and hobbyists interested in robotics and automation. It can be used in classroom settings as a practical component of STEM curricula, workshops, and maker spaces. Additionally, it serves as an effective introductory project for individuals seeking to develop their skills in electronics, programming, and robotic system design. Beyond education, this project can also be a stepping stone for more advanced robotic and automation projects, offering foundational knowledge and skills that can be expanded upon in more complex applications.
Detailed Working of Arduino-Based Otto Bot for Basic Robotics Education :
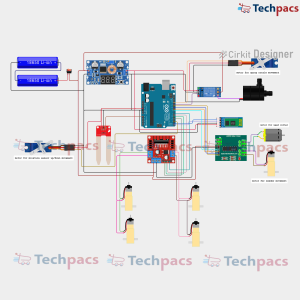
The Arduino-Based Otto Bot represents a sophisticated yet accessible venture into robotics education. At the heart of the bot lies an Arduino microcontroller, specifically tasked with orchestrating various sensors and actuators to deliver a seamless operation. Let's delve into the circuit's profound intricacies to understand how a simplistic assembly of components breathes life into this automaton.
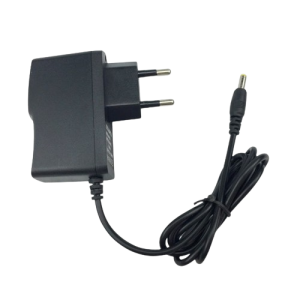
Beginning with the power supply, a 1300mAh battery serves as the primary energy reservoir, delivering necessary power through its connections to the Arduino board. This robust voltage ensures that the entire circuit functions reliably, supplying the energy required by both the microcontroller and the peripheral components attached to it.
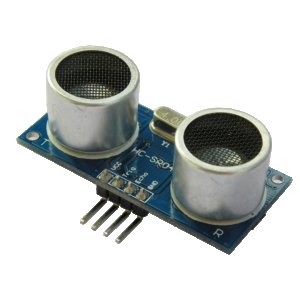
The data flow within the Otto Bot commences with the HC-SR04 ultrasonic sensor, strategically positioned to gauge distances. The VCC and GND pins of the sensor connect to the respective power and ground lines emanating from the Arduino board, establishing the power prerequisites. Meanwhile, the Trig and Echo pins establish data connections, relaying information to the digital I/O pins of the Arduino. As the sensor emits ultrasonic waves, it waits to detect the reflected signals, decoding the time lapse into measurable distances which it then forwards to the Arduino for processing.
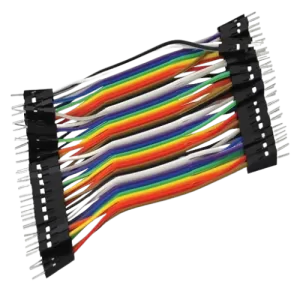
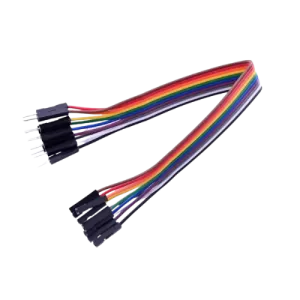
Moreover, the Otto Bot is endowed with four servo motors, each responsible for a limb's movement, collectively driving the bot’s mechanical actions. Each servo motor includes a trio of wires – signal, power (VCC), and ground (GND). The signal wires from these servos are connected to designated PWM pins on the Arduino, facilitating precise control of their angular positions through Pulse Width Modulation (PWM). The consistent power supply to these motors is crucial, provided by connections to the Arduino’s VCC and GND pins.
When the bot is operational, the microcontroller executes a programmed sequence of instructions. It periodically pings the ultrasonic sensor to ask for the current distance to an obstacle. This data determines the bot's next movement – whether to step forward, backward, avoid an obstacle, or even perform a unique motion, simulating humanoid behaviors. The Arduino synthesizes input from the sensor and translates this information into motor commands.
For instance, upon detecting an obstacle within a specified proximity, the Arduino might decide to rotate the servos to enact a pivot or sidestep maneuver. PWM signals sent from the Arduino to the servos govern the exact angles to which the servo motors adjust. Thus, through synchronized rotations and articulations of its joints, the Otto Bot can navigate its environment dynamically.
Aside from obstacle avoidance, the programmability of the Arduino allows for a myriad of behaviors. With adjustments to the code, the Otto Bot can be taught to demonstrate specific movements, dance sequences, or even interactive gestures. The flexibility of the Arduino platform ensures that this basic bot can be a stepping stone into more complex robotics projects, equipping students with foundational knowledge and practical skills.
In summation, the intricate interplay between the Arduino microcontroller, ultrasonic sensor, and servo motors forms the lifeblood of the Otto Bot. The microcontroller orchestrates sensor readings and motor responses, creating a robust, interactive learning tool that exemplifies the principles of robotics. Through such projects, enthusiasts gain a profound appreciation of how electronic components synergize, paving the way for exploration and innovation in robotics education.
Modules used to make Arduino-Based Otto Bot for Basic Robotics Education:
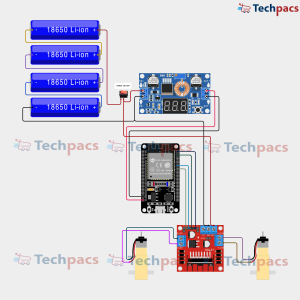
1. Power Supply Module
The power supply module provides the necessary electrical power to the entire Otto Bot. Typically, a 1300mAh Li-Po battery is used to ensure the device operates efficiently. The positive terminal of the battery connects to the VIN pin of the ESP8266 microcontroller, and the ground terminal connects to the GND pin. This setup ensures a stable power supply to the microcontroller and peripheral devices. The battery's capacity also ensures the Bot can operate for a considerably extended time without requiring frequent recharges, making it reliable in an educational environment.
2. Microcontroller Module (ESP8266)
The ESP8266 microcontroller is the brain of the Otto Bot. It receives power from the battery pack and interfaces with other components. The microcontroller processes input data from sensors and executes corresponding commands, such as controlling servo motors to move the robot. It is pre-programmed with firmware that defines the robot's behavior, and it manages the communication with different modules via its GPIO pins. The ESP8266 also supports Wi-Fi, enabling potential connectivity features for remote control or data logging if required in more advanced projects.
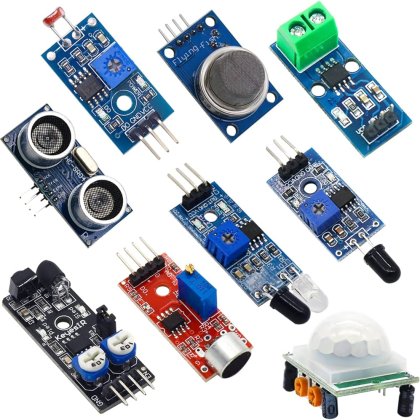
3. Ultrasonic Sensor Module (HC-SR04)
The HC-SR04 ultrasonic sensor module is used to detect obstacles in the path of the Otto Bot. This sensor comprises four pins: VCC, GND, TRIG, and ECHO. It operates by emitting an ultrasonic pulse via the TRIG pin and listening for its echo via the ECHO pin. The ESP8266 measures the time taken for the echo to return, which is then converted into distance. Data from the ultrasonic sensor is continuously monitored by the microcontroller to avoid collisions and navigate around obstacles. The accurate readings from this sensor ensure smooth and intelligent navigation of the robot.
4. Servo Motor Module
Four servo motors are used as actuators to facilitate the Otto Bot's movement. These motors are connected to the microcontroller via the GPIO pins and receive PWM signals that determine their precise angle of rotation. The servos are typically arranged to control the legs or wheels of the robot, allowing it to walk or move in different directions. Commands from the microcontroller result in timed and coordinated movements of the servos, enabling complex actions such as turning, walking, and responding to sensor inputs. The motors require consistent and calibrated signals to operate smoothly and are crucial for the Bot's mobility.
Components Used in Arduino-Based Otto Bot for Basic Robotics Education :
Power Supply
Battery
Provides the necessary power to the entire robot circuit, ensuring all components operate efficiently.
Microcontroller
ESP-WROOM-32
Acts as the brain of the robot, controlling the servo motors and processing inputs from the ultrasonic sensor.
Sensors
HC-SR04 Ultrasonic Sensor
Measures the distance to obstacles in front of the robot, providing input for navigation and obstacle avoidance.
Actuators
Servo Motors (4x)
Control the movement of the robot's limbs, facilitating walking and other robotic motions.
Other Possible Projects Using this Project Kit:
The Arduino-based Otto Bot kit is an excellent starter kit for various robotics projects. Utilizing the same set of components—consisting of an Arduino or similar microcontroller, HC-SR04 ultrasonic sensor, and servo motors connected to a power supply—you can create several other interesting projects to enhance your programming and robotics skills. Below are a few possibilities that leverage the components from the Otto Bot project kit:
1. Automated Pet Feeder
An automated pet feeder can be created using the servo motors to open and close a lid, while the ultrasonic sensor detects the pet's presence. By programming the microcontroller, food can be dispensed at specific times or when the pet is nearby. This project teaches timing and sensor integration while providing a practical application for busy pet owners.
2. Obstacle-Avoidance Car
Using the ultrasonic sensor and servos, you can build a simple car that can navigate through a series of obstacles. The ultrasonic sensor detects obstacles in its path and sends signals to the microcontroller, which then adjusts the servos to steer the car in a new direction. This project helps in understanding basic navigation algorithms and sensor integration into moving components.
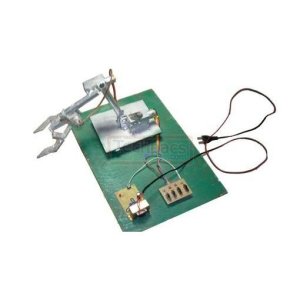
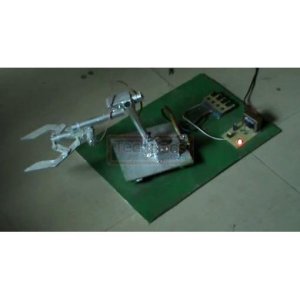
3. Robotic Arm with Gripper
Convert the Otto Bot into a robotic arm with a gripper attachment. Use the servos to control the arm's movement and the gripper's opening and closing actions. With the addition of the ultrasonic sensor, the arm could be programmed to pick up objects at a precise distance. This project delves into more complex servo control and coordination between multiple moving parts.
4. Line Following Robot
A line-following robot uses sensors to detect and follow a line on the ground. Although the Otto Bot kit doesn't specifically come with line-following sensors, you can repurpose the ultrasonic sensor and servo motors. The ultrasonic sensor helps in obstacle detection, while slight modifications in the program allow the servo motors to steer the robot along a pre-designed path. This project introduces basic automation and control algorithms used in industrial environments.
| Shipping Cost |
|
No reviews found!


No comments found for this product. Be the first to comment!