


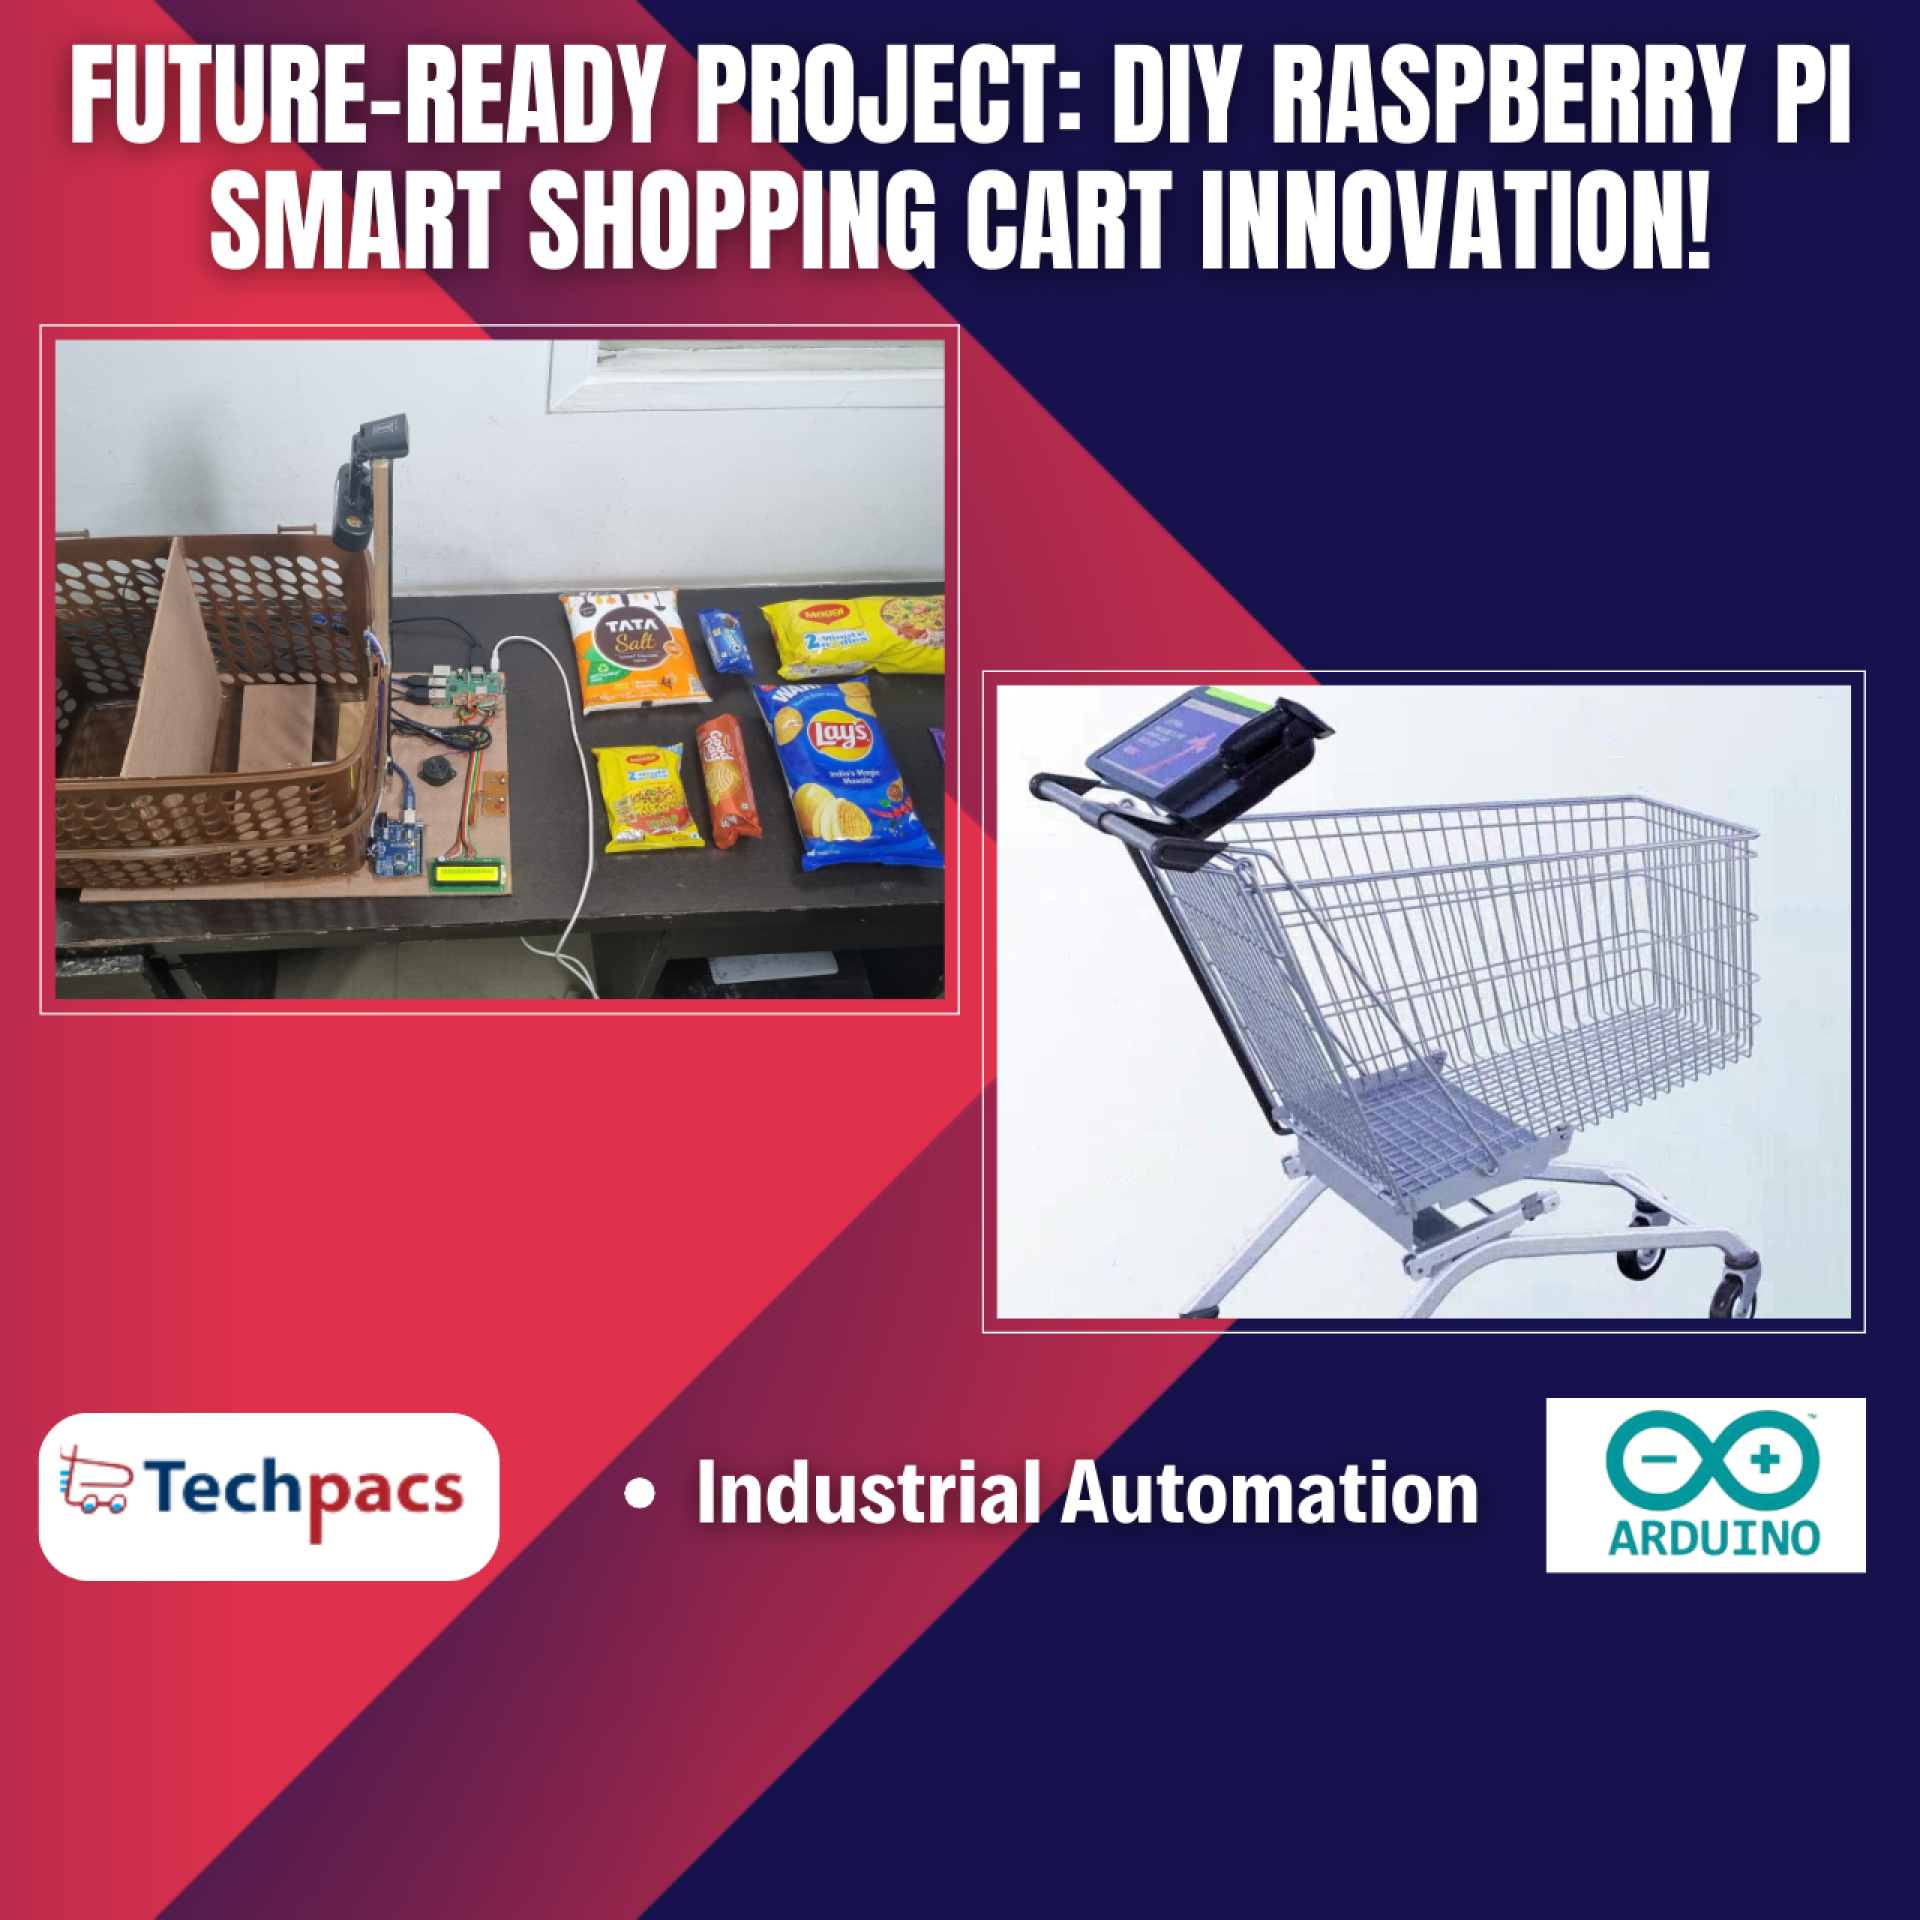

DIY Raspberry Pi Smart Shopping Cart with Automated Billing
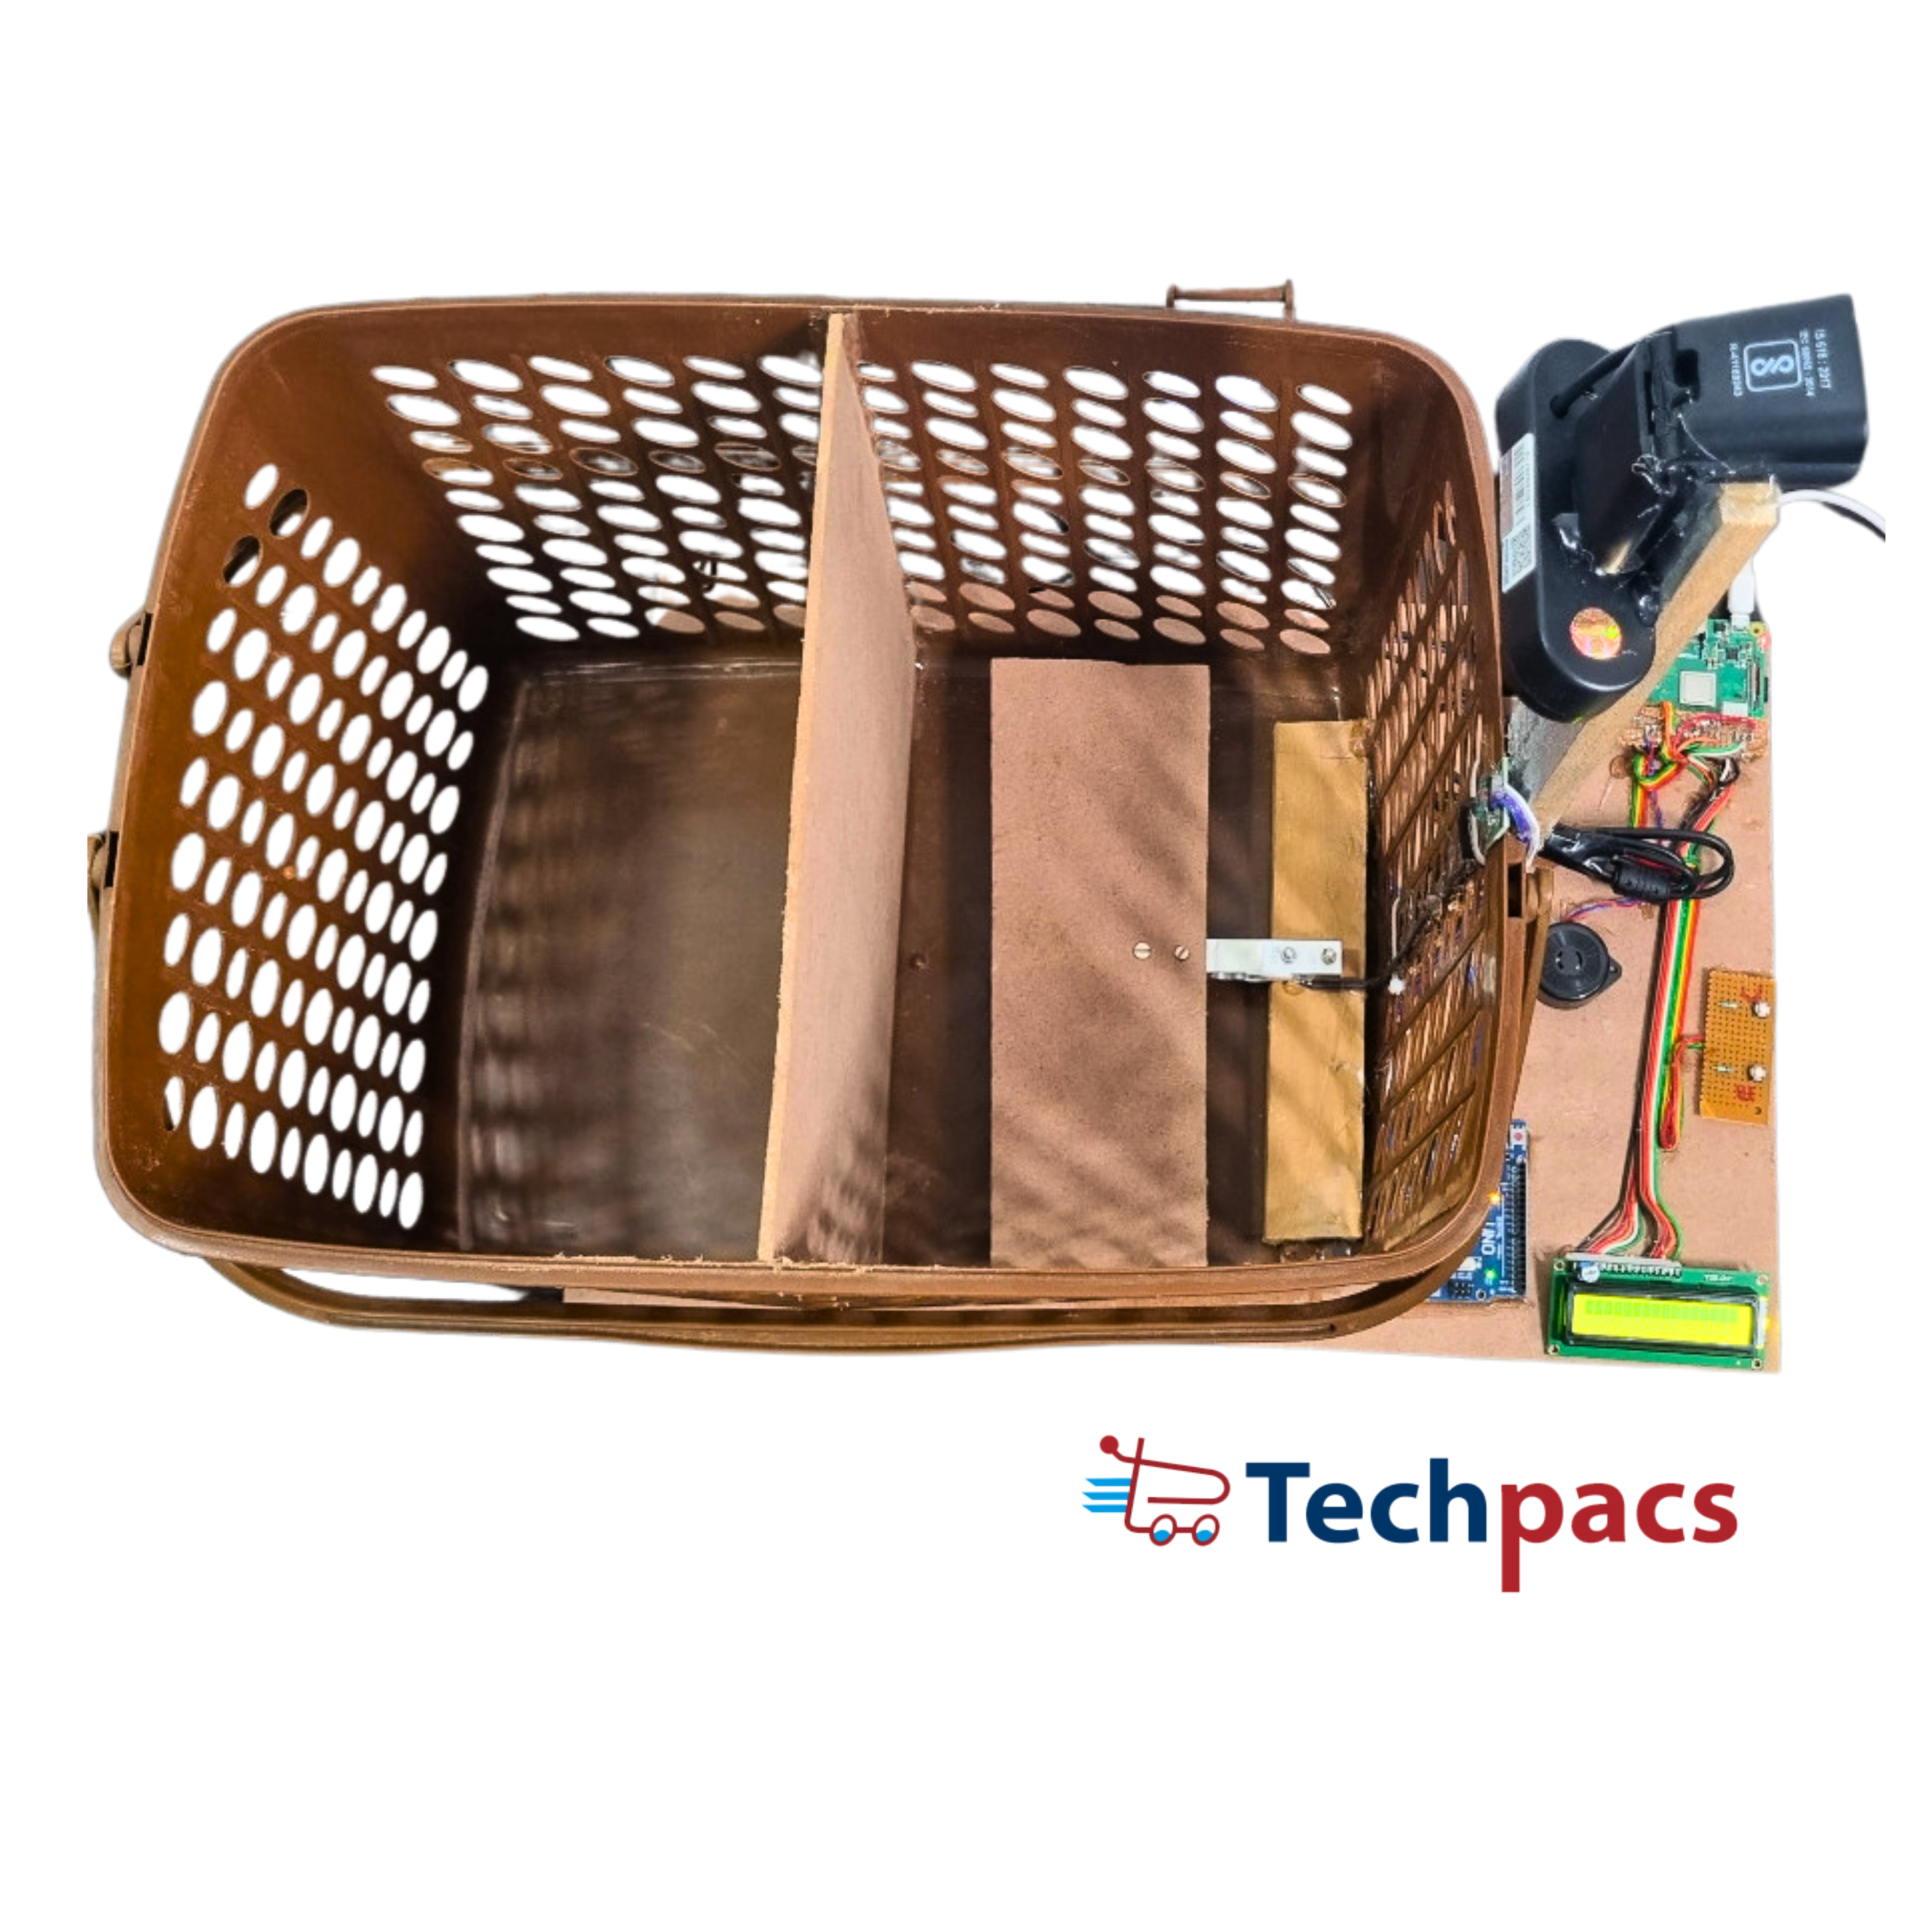
The DIY Raspberry Pi Smart Shopping Cart with Automated Billing project is an innovative endeavor that aims to enhance the shopping experience by integrating technology into the traditional shopping cart. Utilizing components such as a Raspberry Pi, Arduino, and various sensors, this smart cart is designed to automatically detect and bill items as they are placed in the cart. This not only streamlines the checkout process but also minimizes human error and reduces wait times at the billing counter. The project is a perfect blend of hardware and software, showcasing how Internet of Things (IoT) can be applied to everyday activities for greater convenience and efficiency.
Objectives
1. To develop a smart shopping cart that can automatically detect items and calculate the total bill.
2. To integrate a user-friendly interface that displays item details and total cost.
3. To minimize manual intervention and reduce the checkout time for customers.
4. To reduce human error in item billing and pricing.
5. To explore the application of IoT and embedded systems in retail.
Key Features
1. Automated item detection using RFID or barcode scanners.
2. Real-time display of items and total cost through an LCD screen.
3. Integration with mobile app for digital receipts and payment.
4. Sound notifications for item addition or removal.
5. Energy-efficient and cost-effective design using Raspberry Pi and Arduino.
Application Areas
The DIY Raspberry Pi Smart Shopping Cart with Automated Billing has a wide range of potential applications primarily in the retail sector. Supermarkets and grocery stores stand to gain the most from this innovative solution, as it can significantly reduce checkout times and improve customer satisfaction by offering a seamless shopping experience. Additionally, departmental stores and wholesale outlets can also benefit from this technology, enhancing their billing accuracy and operational efficiency. Beyond retail, this project can serve as an educational tool in academic institutions, providing students with practical insights into IoT applications and embedded system design. Overall, the smart cart can revolutionize how shopping is perceived and conducted, making it a valuable addition to modern retail environments.
Detailed Working of DIY Raspberry Pi Smart Shopping Cart with Automated Billing :
The "DIY Raspberry Pi Smart Shopping Cart with Automated Billing" project represents a leap in the automation of retail shopping experiences. This circuit leverages the power of the Raspberry Pi along with various modules to create a seamless, user-friendly shopping assistant that not only tracks items but also automates billing. Let's explore the detailed working of this intelligent shopping cart.
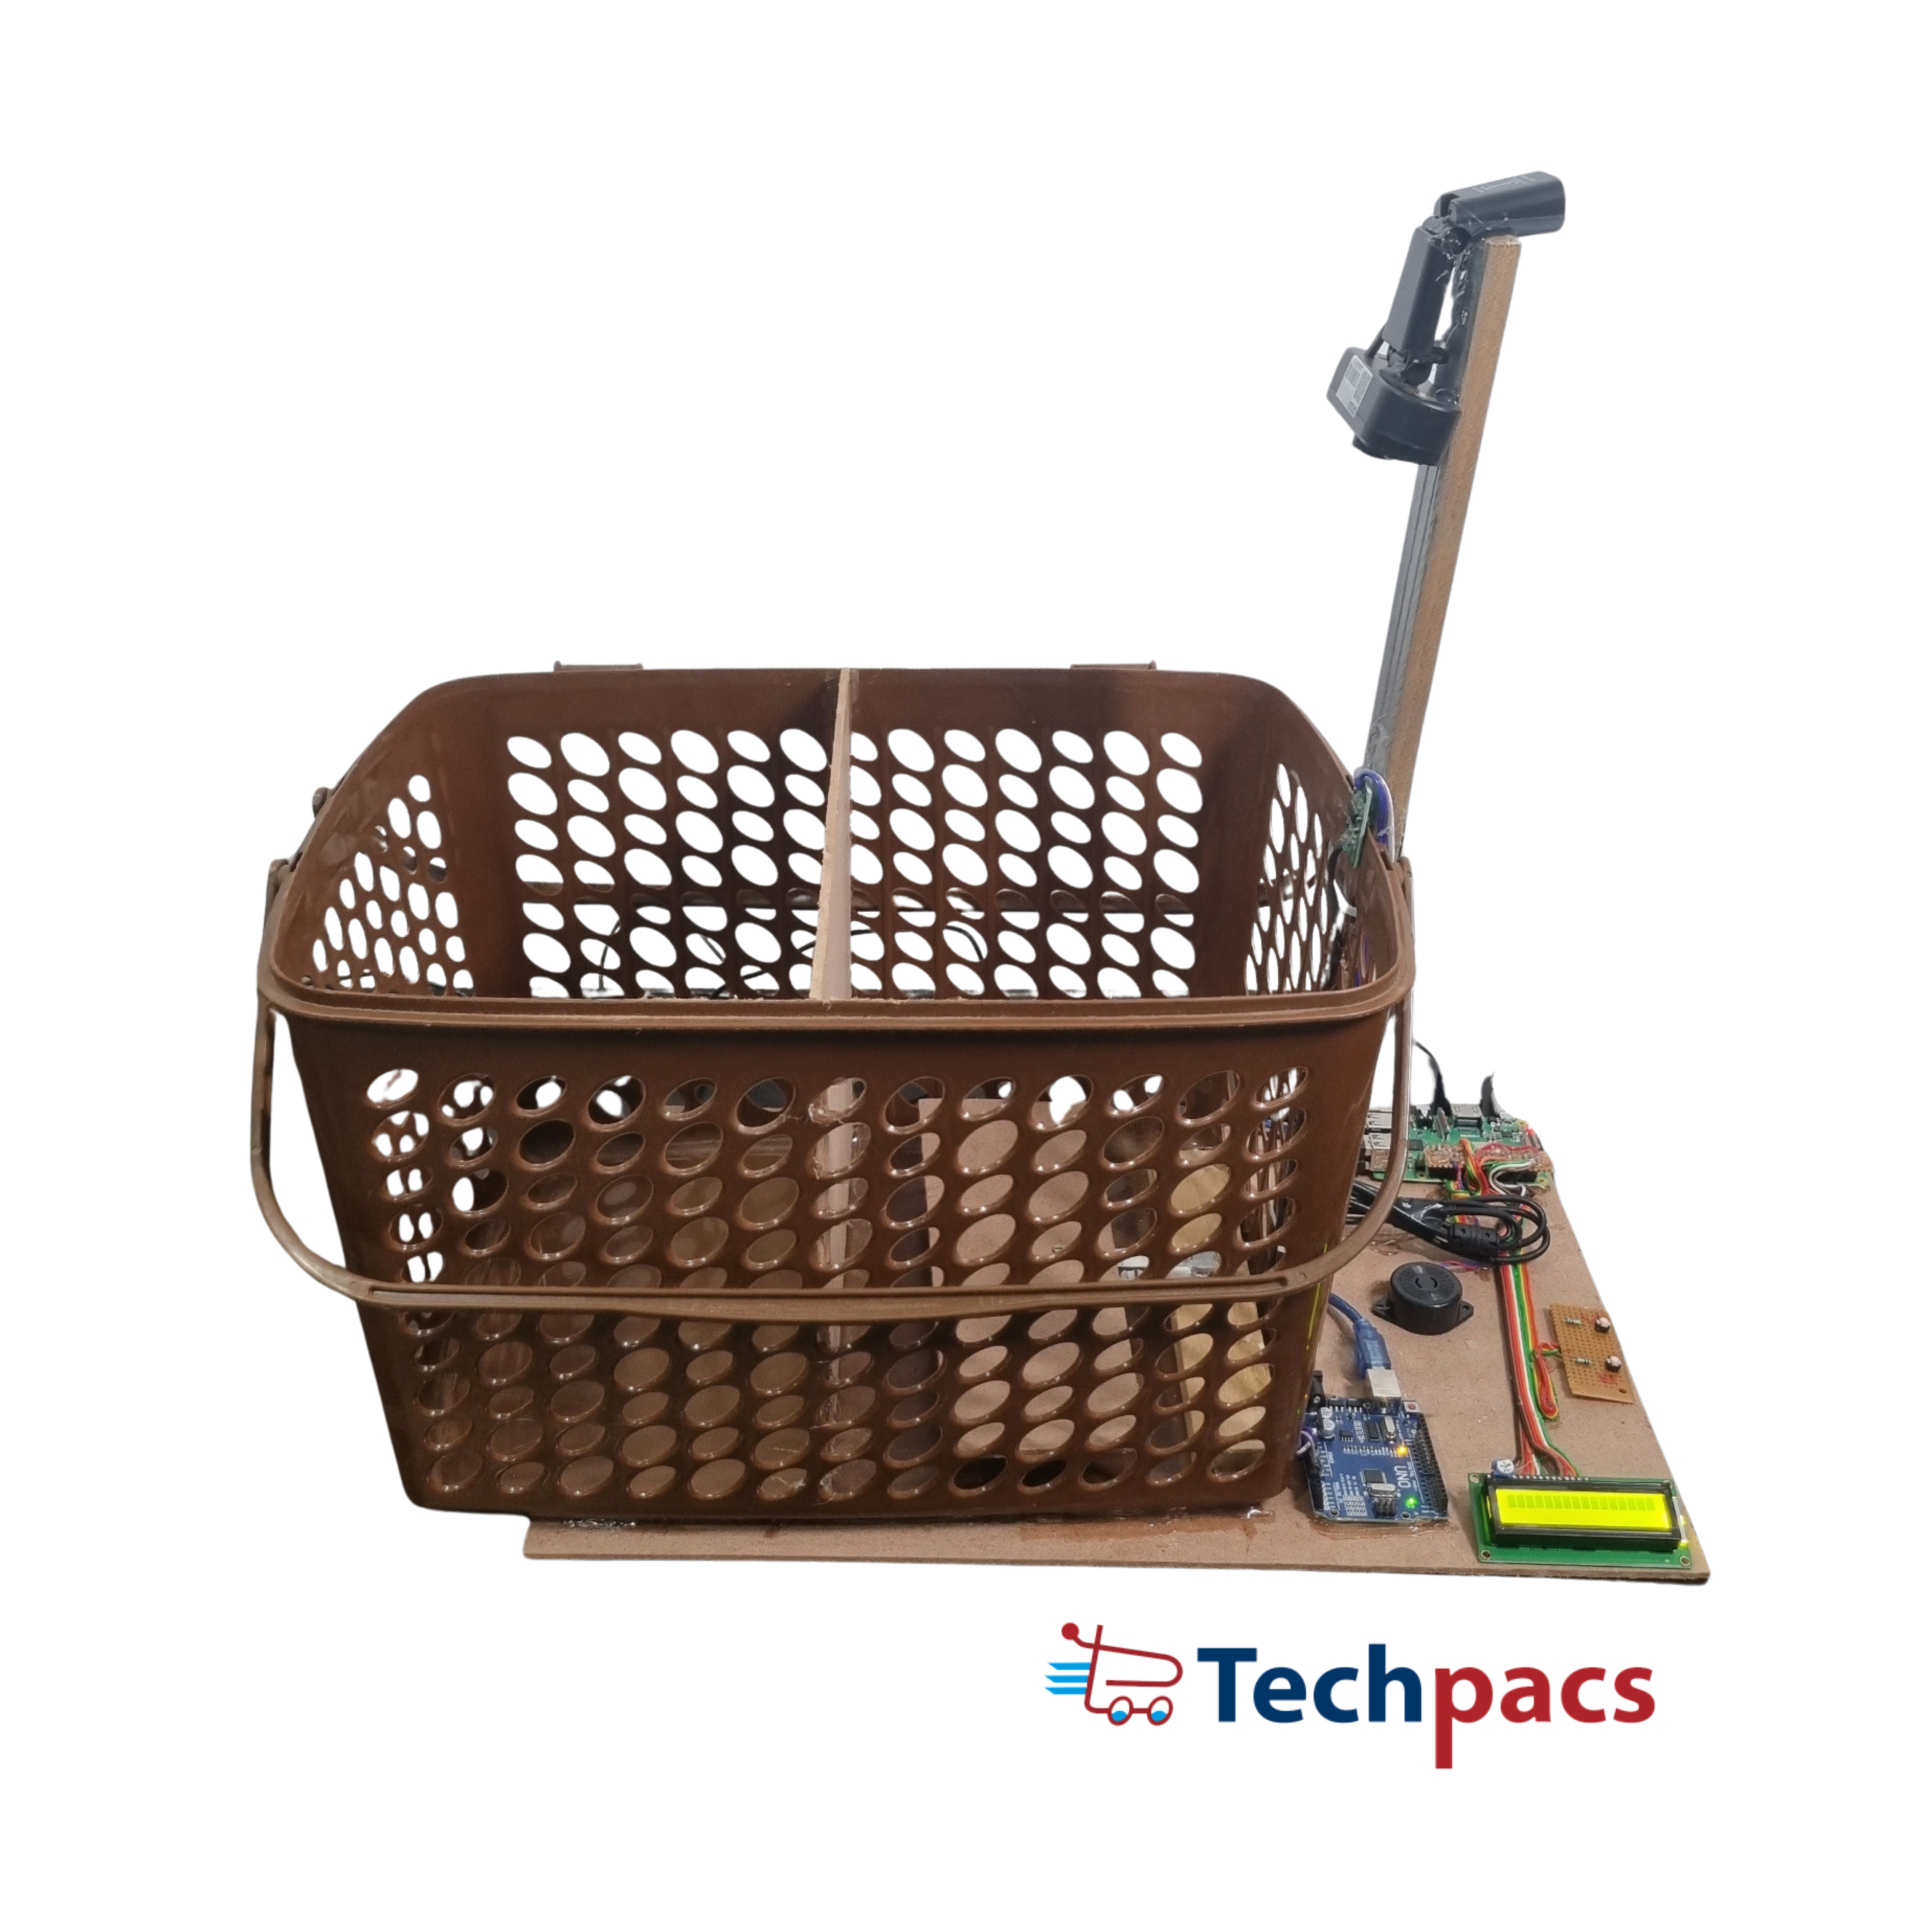
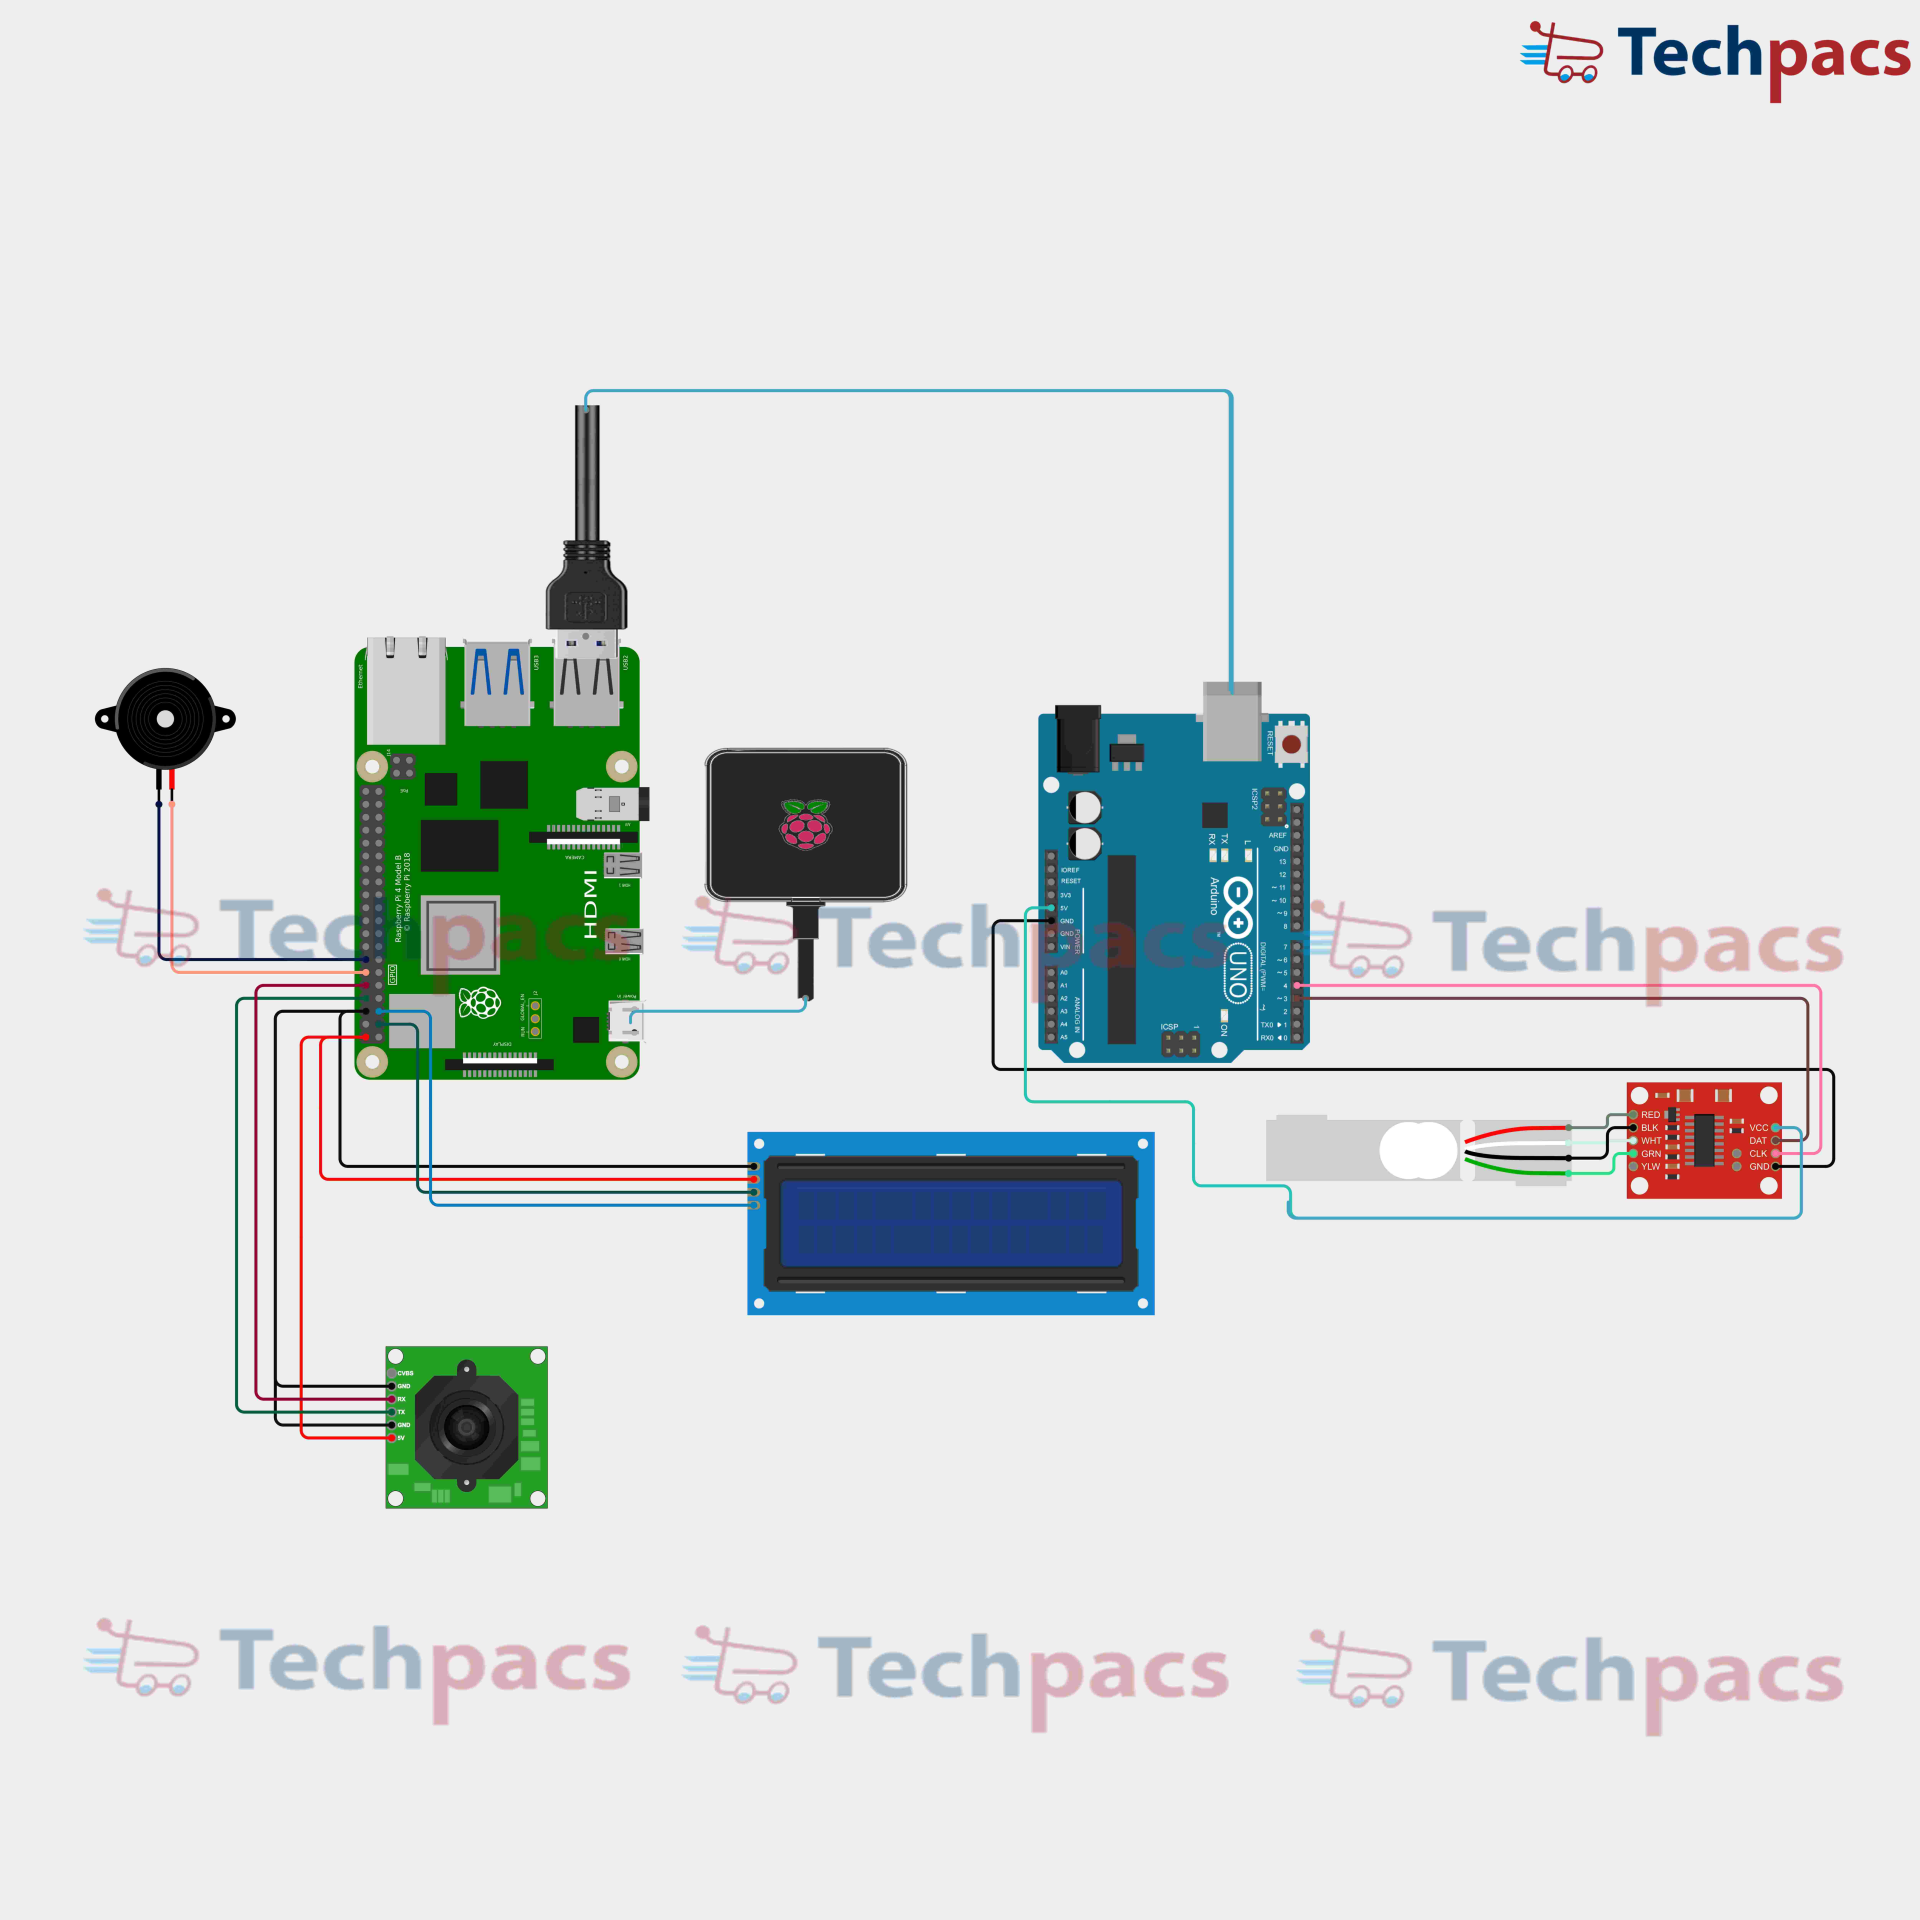
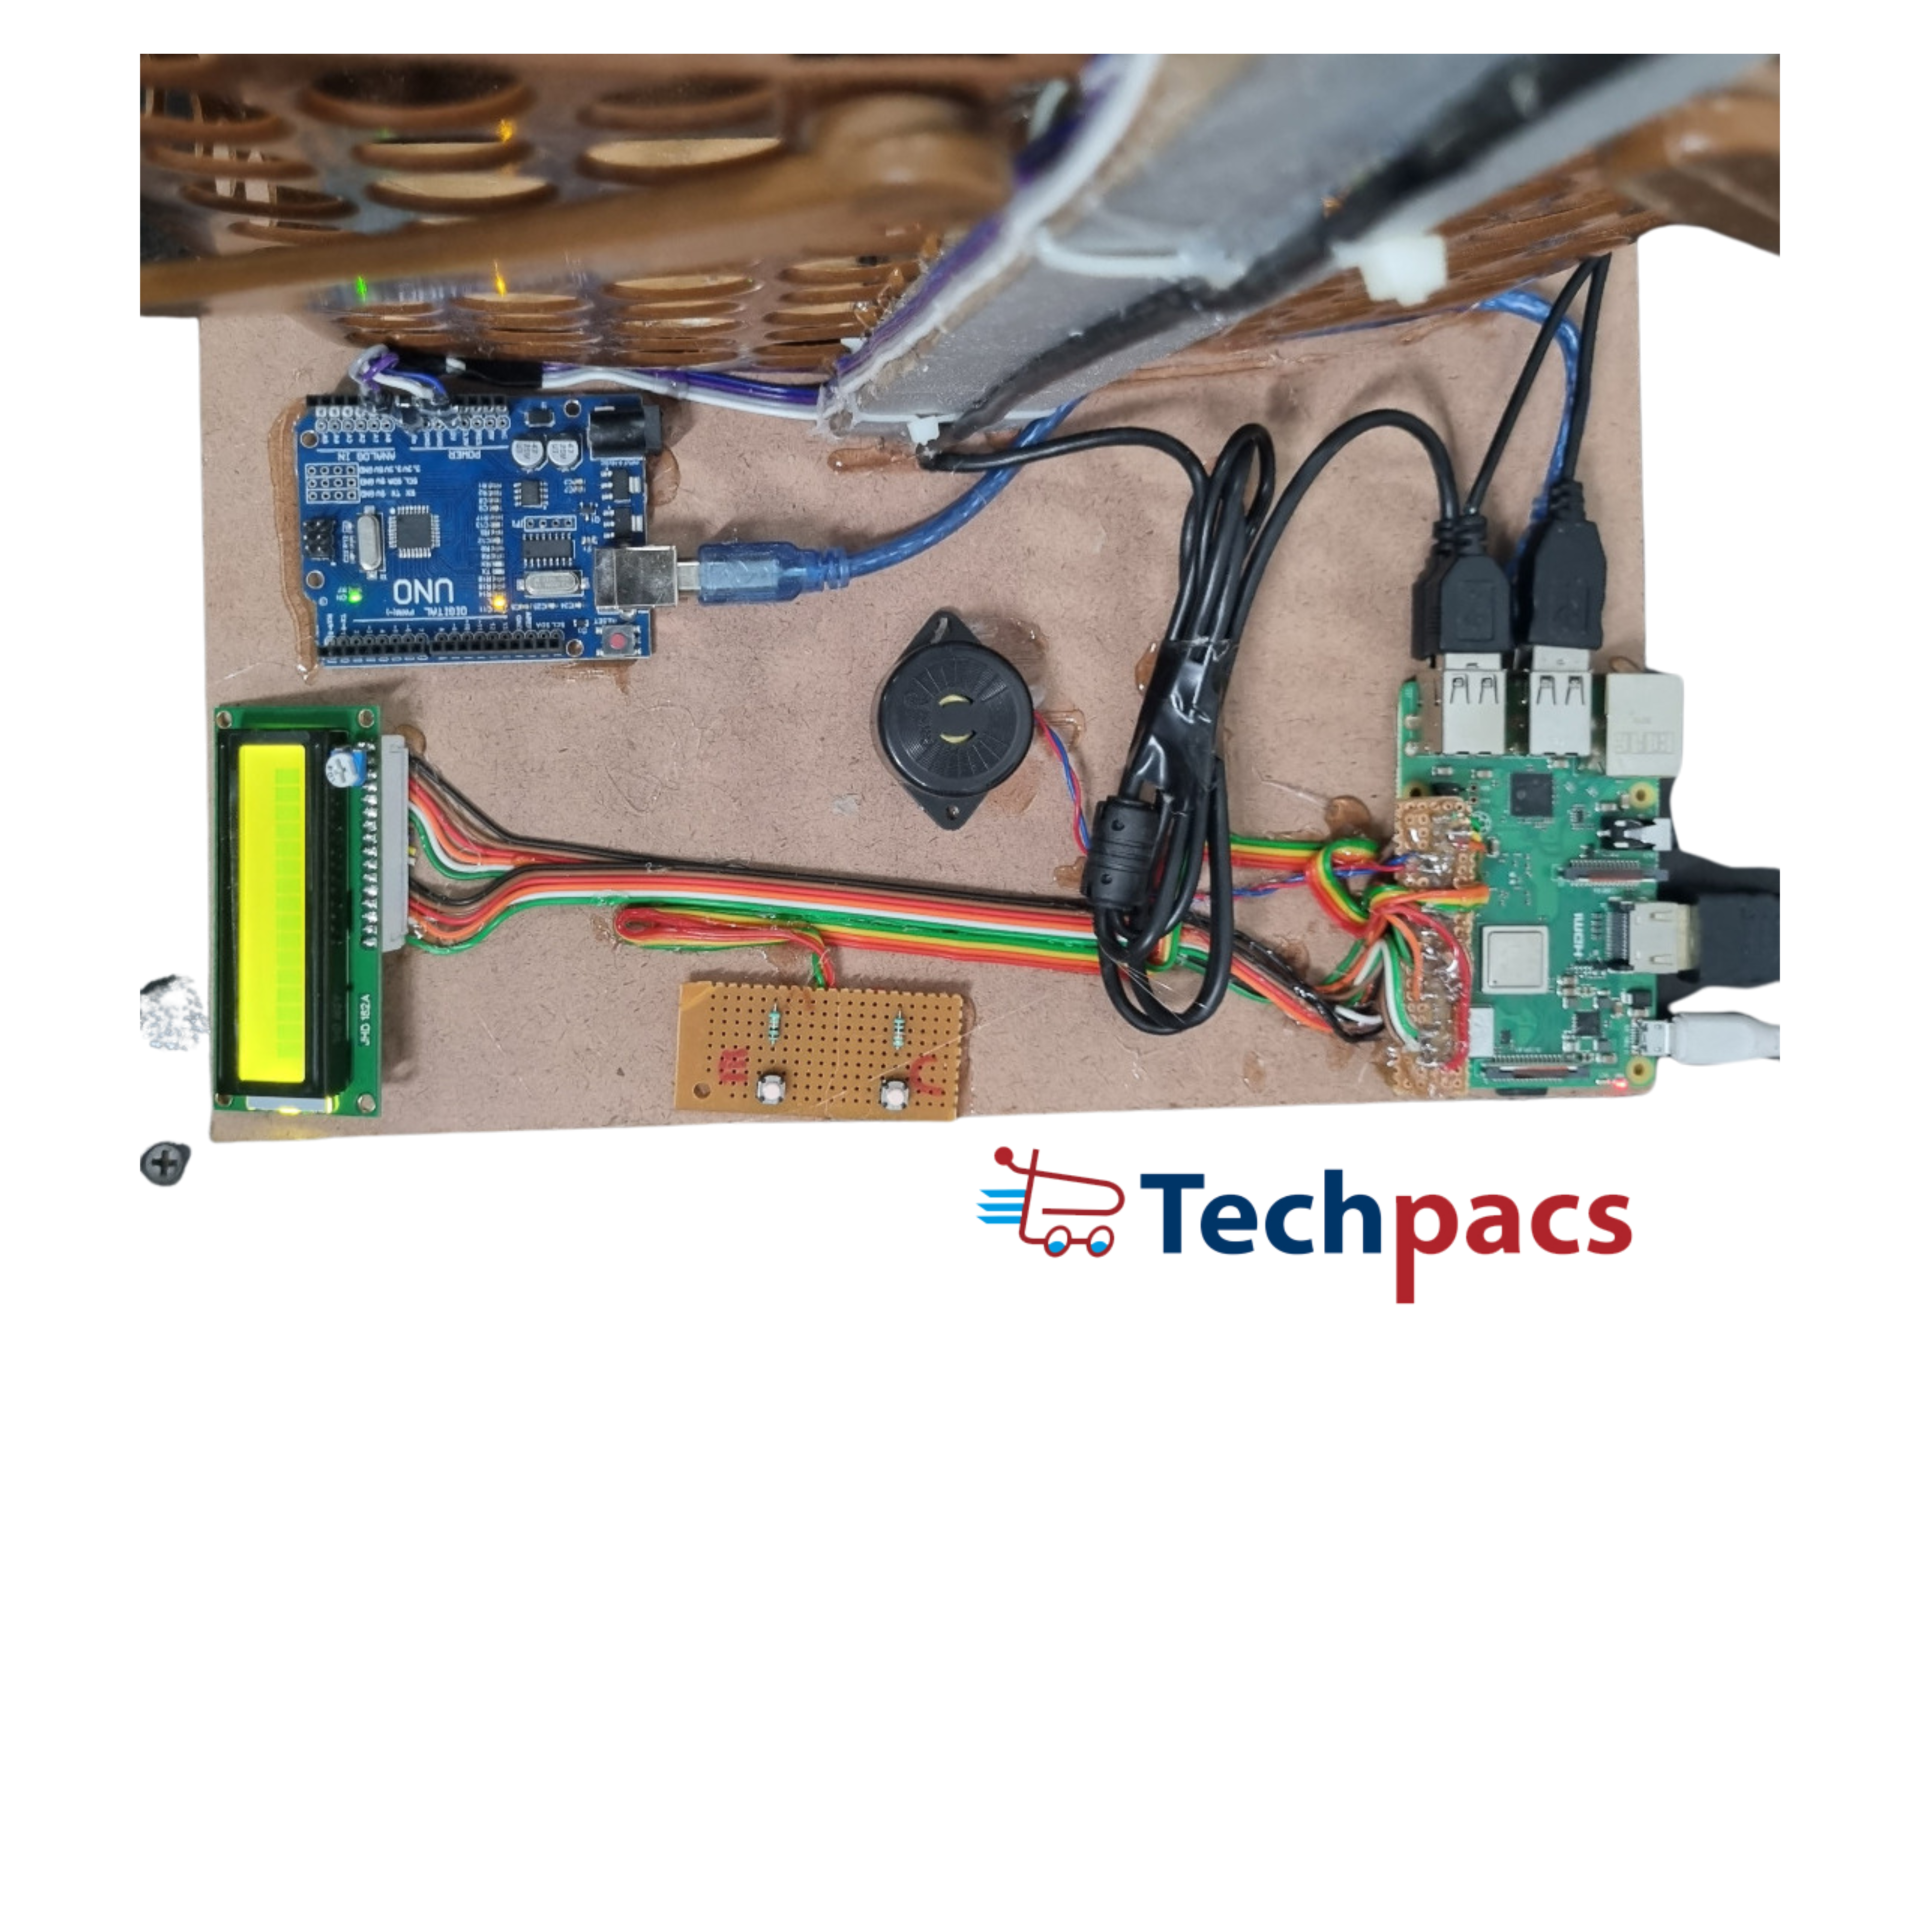
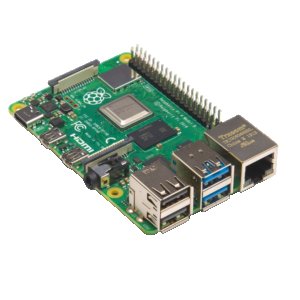
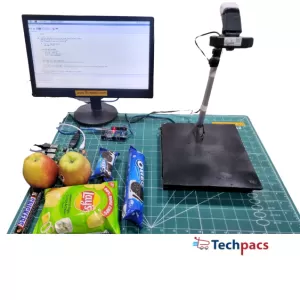
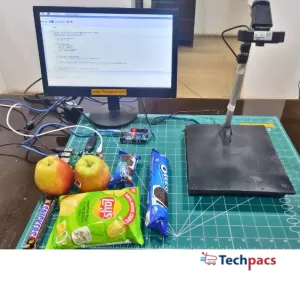
At the heart of this smart shopping cart is the Raspberry Pi, which serves as the central processing unit. The Raspberry Pi is connected to multiple peripherals to enhance its functionality. These peripherals include an Arduino microcontroller, an RFID module, a load cell with an HX711 module, an LCD display, a camera, and a buzzer. Each of these components interplays in a coordinated manner to facilitate the shopping and billing process.
Upon initializing the system, the Raspberry Pi powers up and initializes the various modules. The Arduino microcontroller acts as an intermediary between the Raspberry Pi and some of the peripherals, such as the load cell with HX711 module and the RFID reader, ensuring that the data is appropriately processed and relayed. The load cell measures the weight of the items added to the cart, and the HX711 module amplifies the signal from the load cell, making it readable for the Arduino and subsequently the Raspberry Pi.
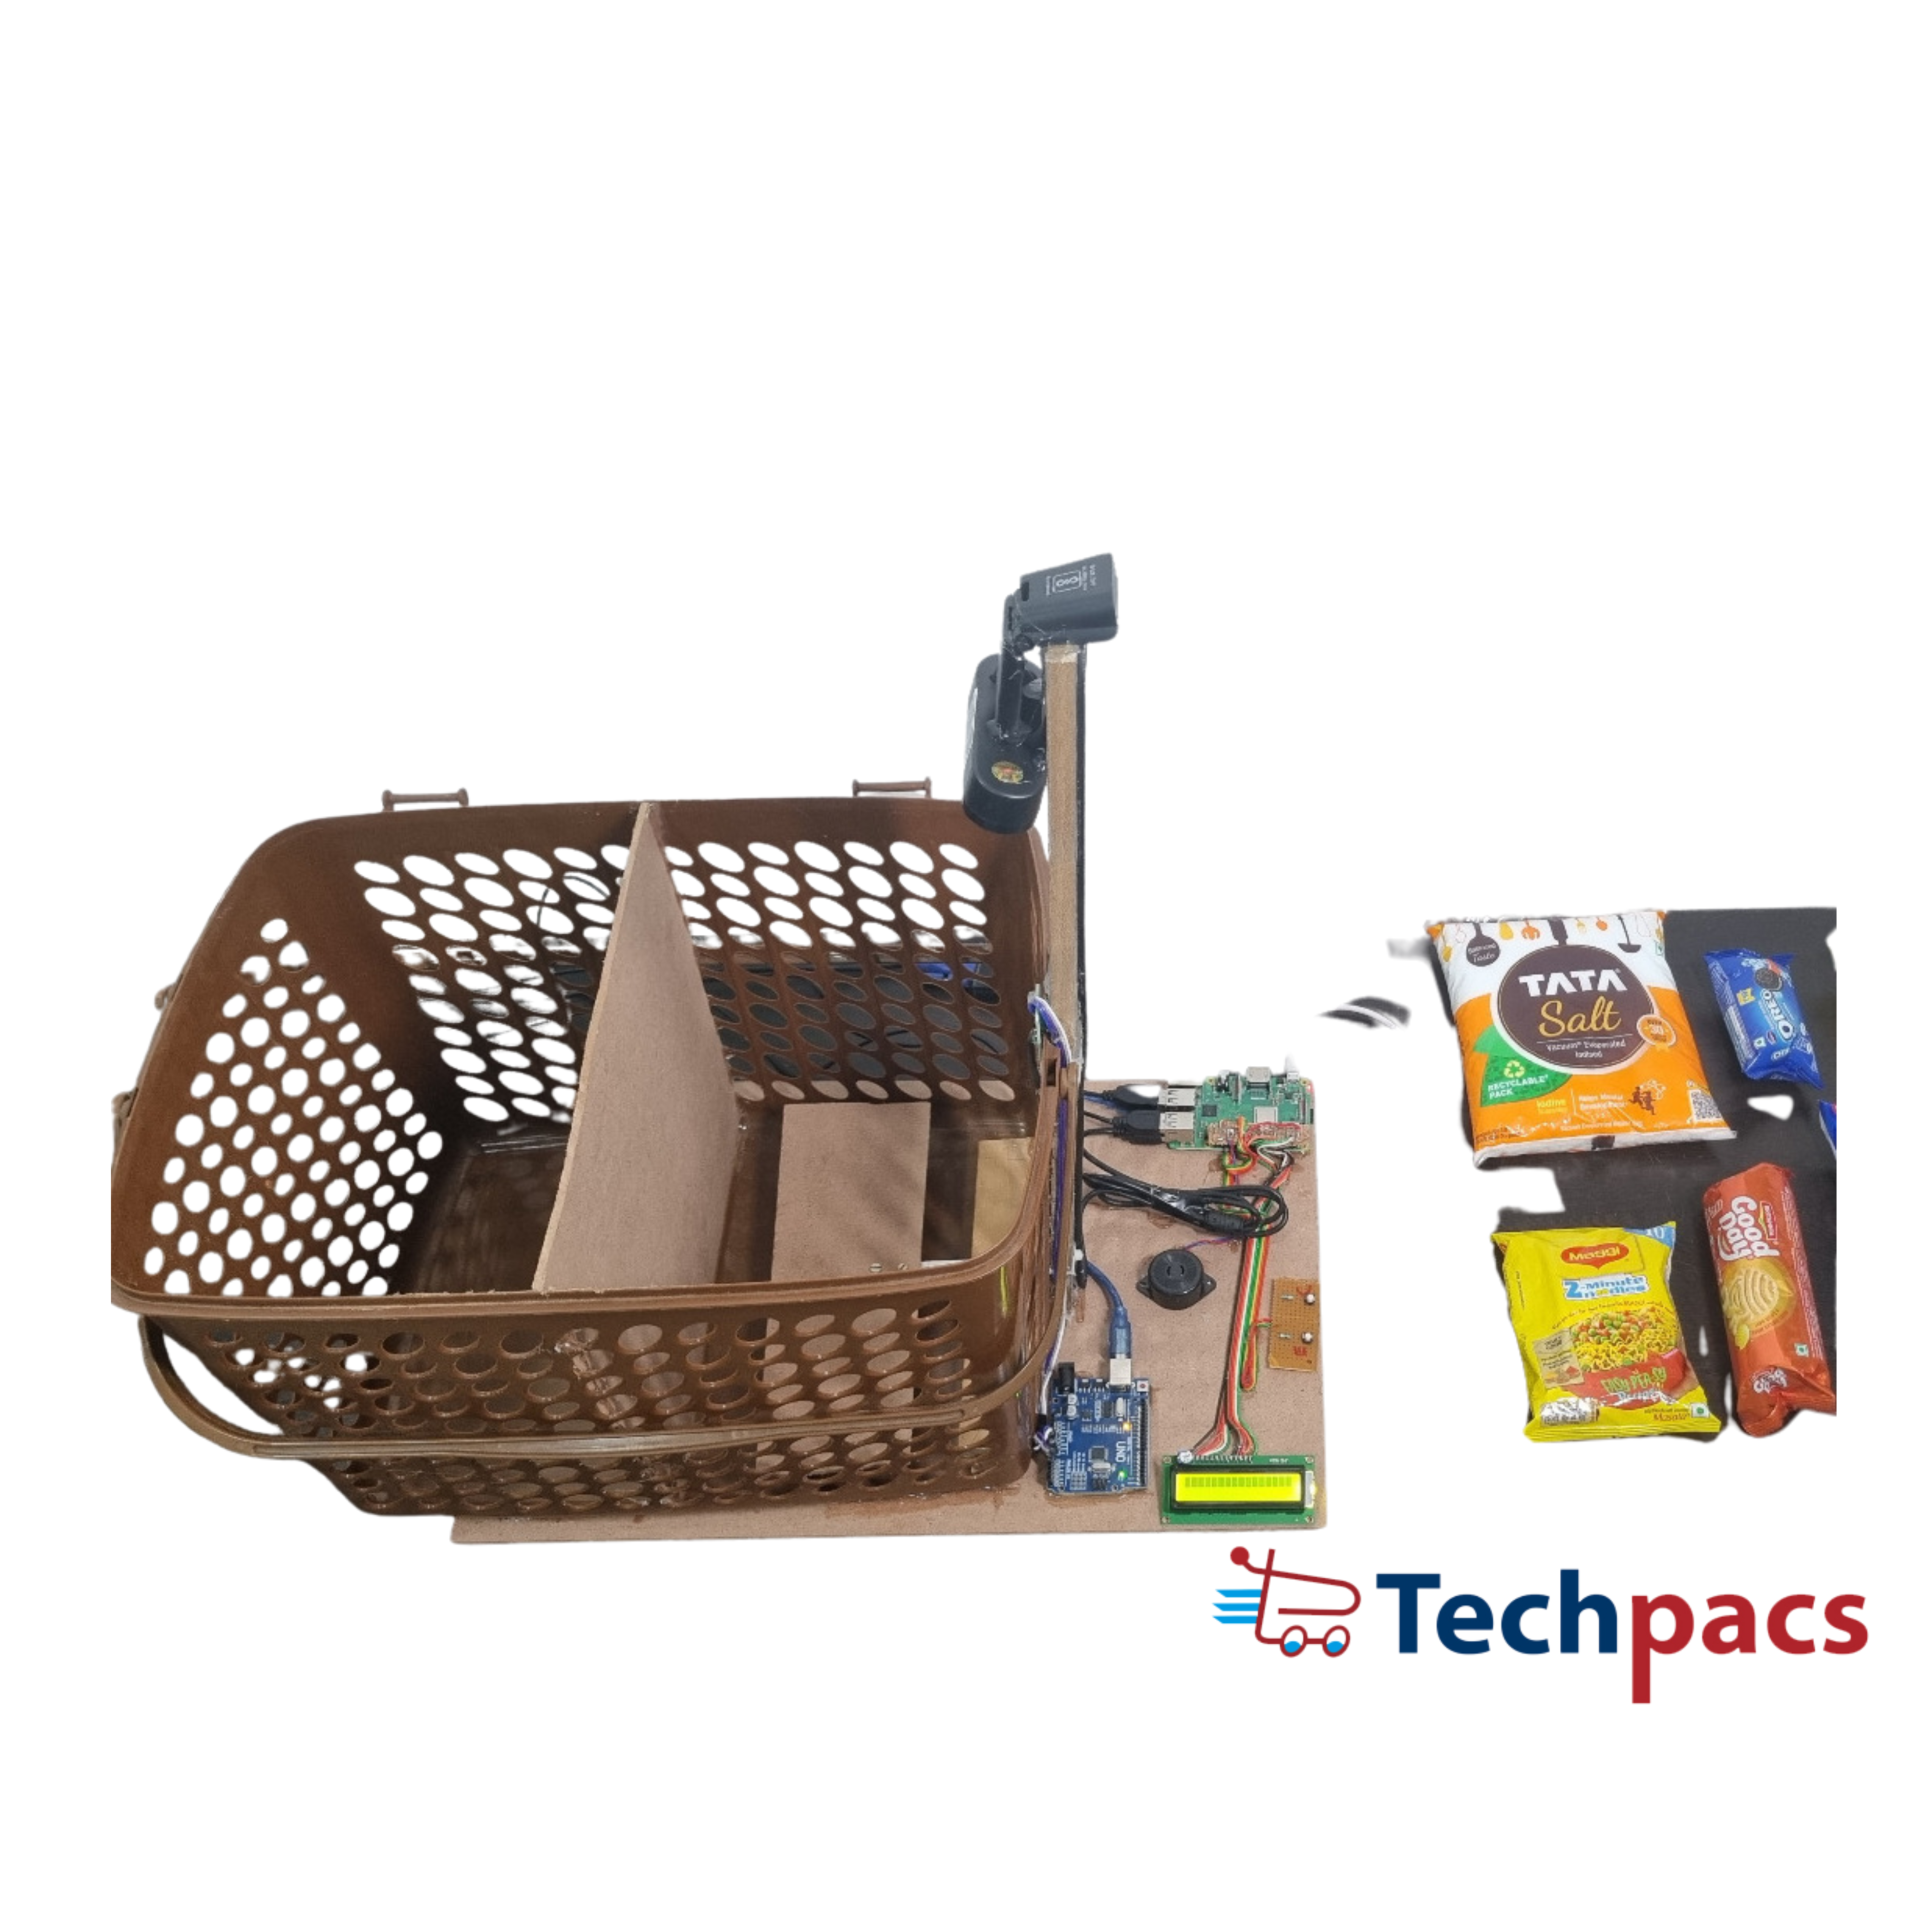
When a shopper places an item in the cart, the camera module takes a snapshot of the item, assisting in visual recognition and ensuring that the correct item is logged into the system. Simultaneously, the RFID module reads the RFID tags attached to each product. These tags contain unique identification codes which are read and transmitted to the Raspberry Pi. Leveraging its processing power, the Raspberry Pi matches these codes with a pre-existing database, retrieving the item name, price, and other pertinent details.
As items are added or removed, the load cell continuously measures the change in weight. If an item is removed without properly scanning out, the system can alert the user via the buzzer, ensuring accurate inventory tracking. This weight data is crucial for cross-verification against the item details fetched from the RFID tags, to prevent any discrepancies or manual errors.
The LCD display plays a pivotal role in user interaction. It provides real-time feedback to the shopper, displaying item details, prices, and updated total cost. Each time an item is scanned and added to the cart, the display updates, ensuring transparency and keeping the shopper informed about their current bill. This helps in making informed purchasing decisions and avoids any surprises at the end of the shopping experience.
The buzzer serves as an alert mechanism in the shopping cart system. For instance, if an item does not get correctly scanned or if there's any issue in item identification, the buzzer alerts the user to address the problem promptly. This feature adds an extra layer of security and ensures process integrity.
All throughout the shopping process, the Raspberry Pi keeps a log of each item added and removed from the cart. Once the shopper is ready to check out, the cumulative data stored in the Raspberry Pi is processed to generate a final bill. This bill can be displayed on the LCD screen or transmitted through other means such as email or printed receipt depending on system configuration. The entire process streamlines shopping, reducing queuing time, and enhancing the overall customer experience.
In conclusion, the integration of the Raspberry Pi with various modules such as the Arduino, RFID reader, load cell with HX711, camera, LCD display, and buzzer creates an intelligent and efficient shopping cart system. This smart shopping cart automates the billing process, provides real-time feedback, ensures accurate inventory tracking, and enhances the overall shopping experience. It's a brilliant use of technology to solve everyday problems, making shopping a more enjoyable and efficient task.

Modules used to make DIY Raspberry Pi Smart Shopping Cart with Automated Billing :
1. Raspberry Pi Module
The heart of this project is the Raspberry Pi, a small single-board computer that controls the smart shopping cart. It handles the user interface, processes image data from the camera, and performs the image recognition to identify items placed in the cart. The Raspberry Pi gets powered through a micro USB adapter and communicates with other modules including the Arduino via its General Purpose Input/Output (GPIO) pins or serial communication. The camera is also directly connected to the Raspberry Pi to capture photos of the items. Once an image is processed, the Raspberry Pi determines the item, updates the billing information, and sends this data to the display and Arduino for further processing.
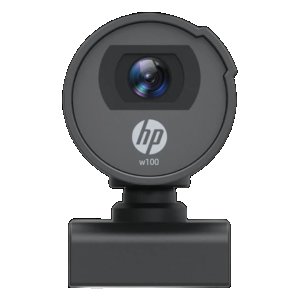
2. Camera Module
The camera module is connected to the Raspberry Pi and is responsible for capturing images of the items placed in the cart. When an item is added to the cart, the camera takes a photo, which is then sent to the Raspberry Pi for processing. The camera is interfaced using the CSI (Camera Serial Interface) port on the Raspberry Pi. The images captured are processed using image recognition algorithms or pre-trained models to identify the items. This recognized information is then forwarded to the billing system to update the total cost and list of items.
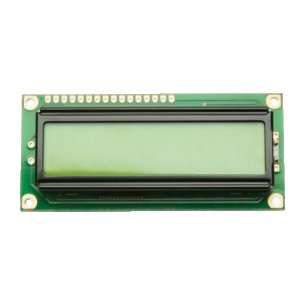
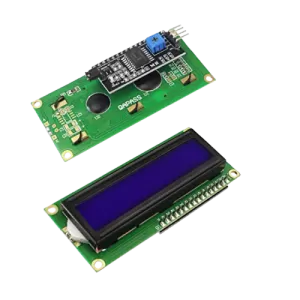
3. Display Module
The display module, often an LCD screen, is used to show the bill details to the user. Connected to the Raspberry Pi, it provides real-time feedback on the items scanned, their prices, and the total bill amount. The display updates dynamically as new items are added to or removed from the cart. This module is crucial for user interaction, ensuring shoppers are well informed about their purchases. The display is typically interfaced using I2C or SPI communication protocols, allowing it to receive and display data efficiently from the Raspberry Pi.
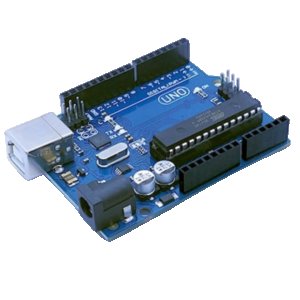
4. Arduino Microcontroller Module
An Arduino microcontroller is used in conjunction with the Raspberry Pi for additional tasks such as interfacing with weight sensors or RFID readers. The Arduino collects data from these sensors and communicates it back to the Raspberry Pi for processing. For instance, a weight sensor can be used to verify the weight of the items and ensure correct billing. The Arduino uses its analog and digital pins to read sensor data and is programmed to send this data over serial or I2C to the Raspberry Pi, enhancing the accuracy and functionality of the smart shopping cart system.
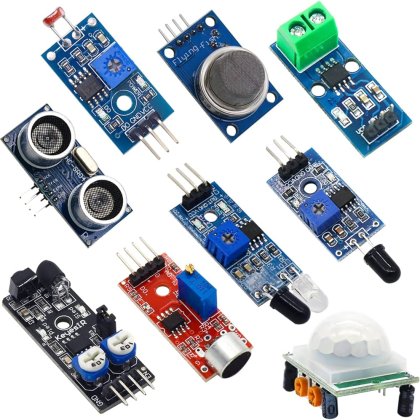
5. Weight Sensor and RFID Reader Modules
The weight sensor and RFID reader modules interface with the Arduino to provide inputs for the billing process. The weight sensor is used to measure the weight of the items placed in the cart, ensuring that the items identified by the camera match the physical weight, which helps in preventing discrepancies. The RFID reader can be used to identify items equipped with RFID tags. Both sensors provide data to the Arduino, which then sends this information to the Raspberry Pi for further processing. This ensures thorough verification of items and accurate billing by considering both RFID and weight measurements.
6. Buzzer Module
The buzzer module is used for providing audio feedback to the user. Upon successful addition or removal of an item, or in case of an error, the buzzer produces a sound to alert the user. This module is connected to the Raspberry Pi and is controlled via its GPIO pins. The buzzer can be programmed to emit different types of sounds for different events, thus providing immediate auditory notifications. This module enhances the user experience by offering clear and straightforward cues about the shopping process, ensuring the user is aware of actions being processed in real time.
Components Used in DIY Raspberry Pi Smart Shopping Cart with Automated Billing :
Raspberry Pi Module
Raspberry Pi: The central processing unit of the project that runs the software to control the smart shopping cart's operations.
Raspberry Pi Power Supply: Provides the necessary power for the Raspberry Pi to function properly.
Arduino Module
Arduino UNO: Used as an interface to control and connect various sensors and modules to the Raspberry Pi.
Display Module
LCD Display: Displays information regarding the items scanned and the total bill amount to the user.
Scanner Module
Barcode Scanner: Detects and reads barcodes of products being added to the shopping cart.
Weight Sensor Module
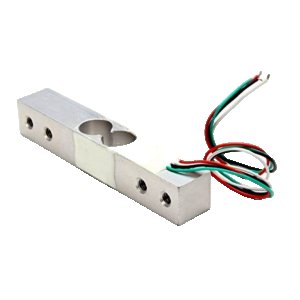
Load Cell: Measures the weight of the items placed in the shopping cart to verify correct billing.
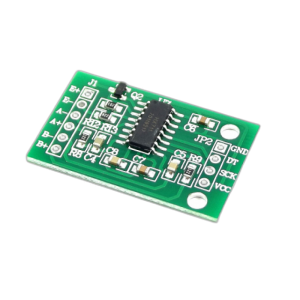
HX711 Amplifier: Amplifies the signal from the load cell to be read accurately by the Arduino.
Feedback Module
Buzzer: Provides audio feedback to the user when an item is scanned or an error occurs.
Other Possible Projects Using this Project Kit:
Smart Home Automation System
With the components available in the kit, you can create a Smart Home Automation System. The Raspberry Pi and Arduino can control various home appliances through relay switches. This project can utilize the display to show appliance statuses and the buzzer for alerts. Additionally, sensors can be used to detect motion and control lighting, while a Wi-Fi module can allow for remote operation through a smartphone app. Implementing voice control using a microphone and speaker is also possible, making your home truly smart.
Raspberry Pi Media Center
Transform your Raspberry Pi into a Media Center that can stream videos, music, and display photos. By connecting your Raspberry Pi to a display through HDMI and configuring software like Kodi, you can create a powerful media center. The Arduino can be used to control volume and playback through IR remotes or physical buttons attached to the Pi. The display can show media information, while the speaker can be used for output or notifications.
Weather Station
Utilize the Raspberry Pi and Arduino to build a Weather Station that provides real-time weather updates. By connecting various sensors such as temperature, humidity, and pressure sensors to the Arduino, you can collect environmental data. This data can be sent to the Raspberry Pi for processing and displayed on the LCD display. The Raspberry Pi can also upload this data to an online server for remote monitoring. Additionally, the buzzer can be used to sound alarms for extreme weather conditions.
Smart Garden System
Create an automated Smart Garden System using the components from the project kit. The Arduino can be connected to soil moisture sensors to detect the water levels in the soil. Based on the data received, the Raspberry Pi can control a water pump to irrigate the plants. The system can display information on the moisture levels and other parameters on the LCD screen and send notifications through the buzzer when it's time to water the plants. You can also add remote monitoring and control via a smartphone app.
Security Surveillance System
Develop a Security Surveillance System to monitor your home or office. The camera module can capture video footage, which can be processed by the Raspberry Pi. The system can be programmed to detect motion and send alerts via the buzzer or notifications to your smartphone. The captured video can be displayed on a screen or stored for later viewing. Integration with the Arduino can allow the addition of more sensors for door/window intrusion detection, making the system more robust.
| Shipping Cost |
|
No reviews found!


No comments found for this product. Be the first to comment!