


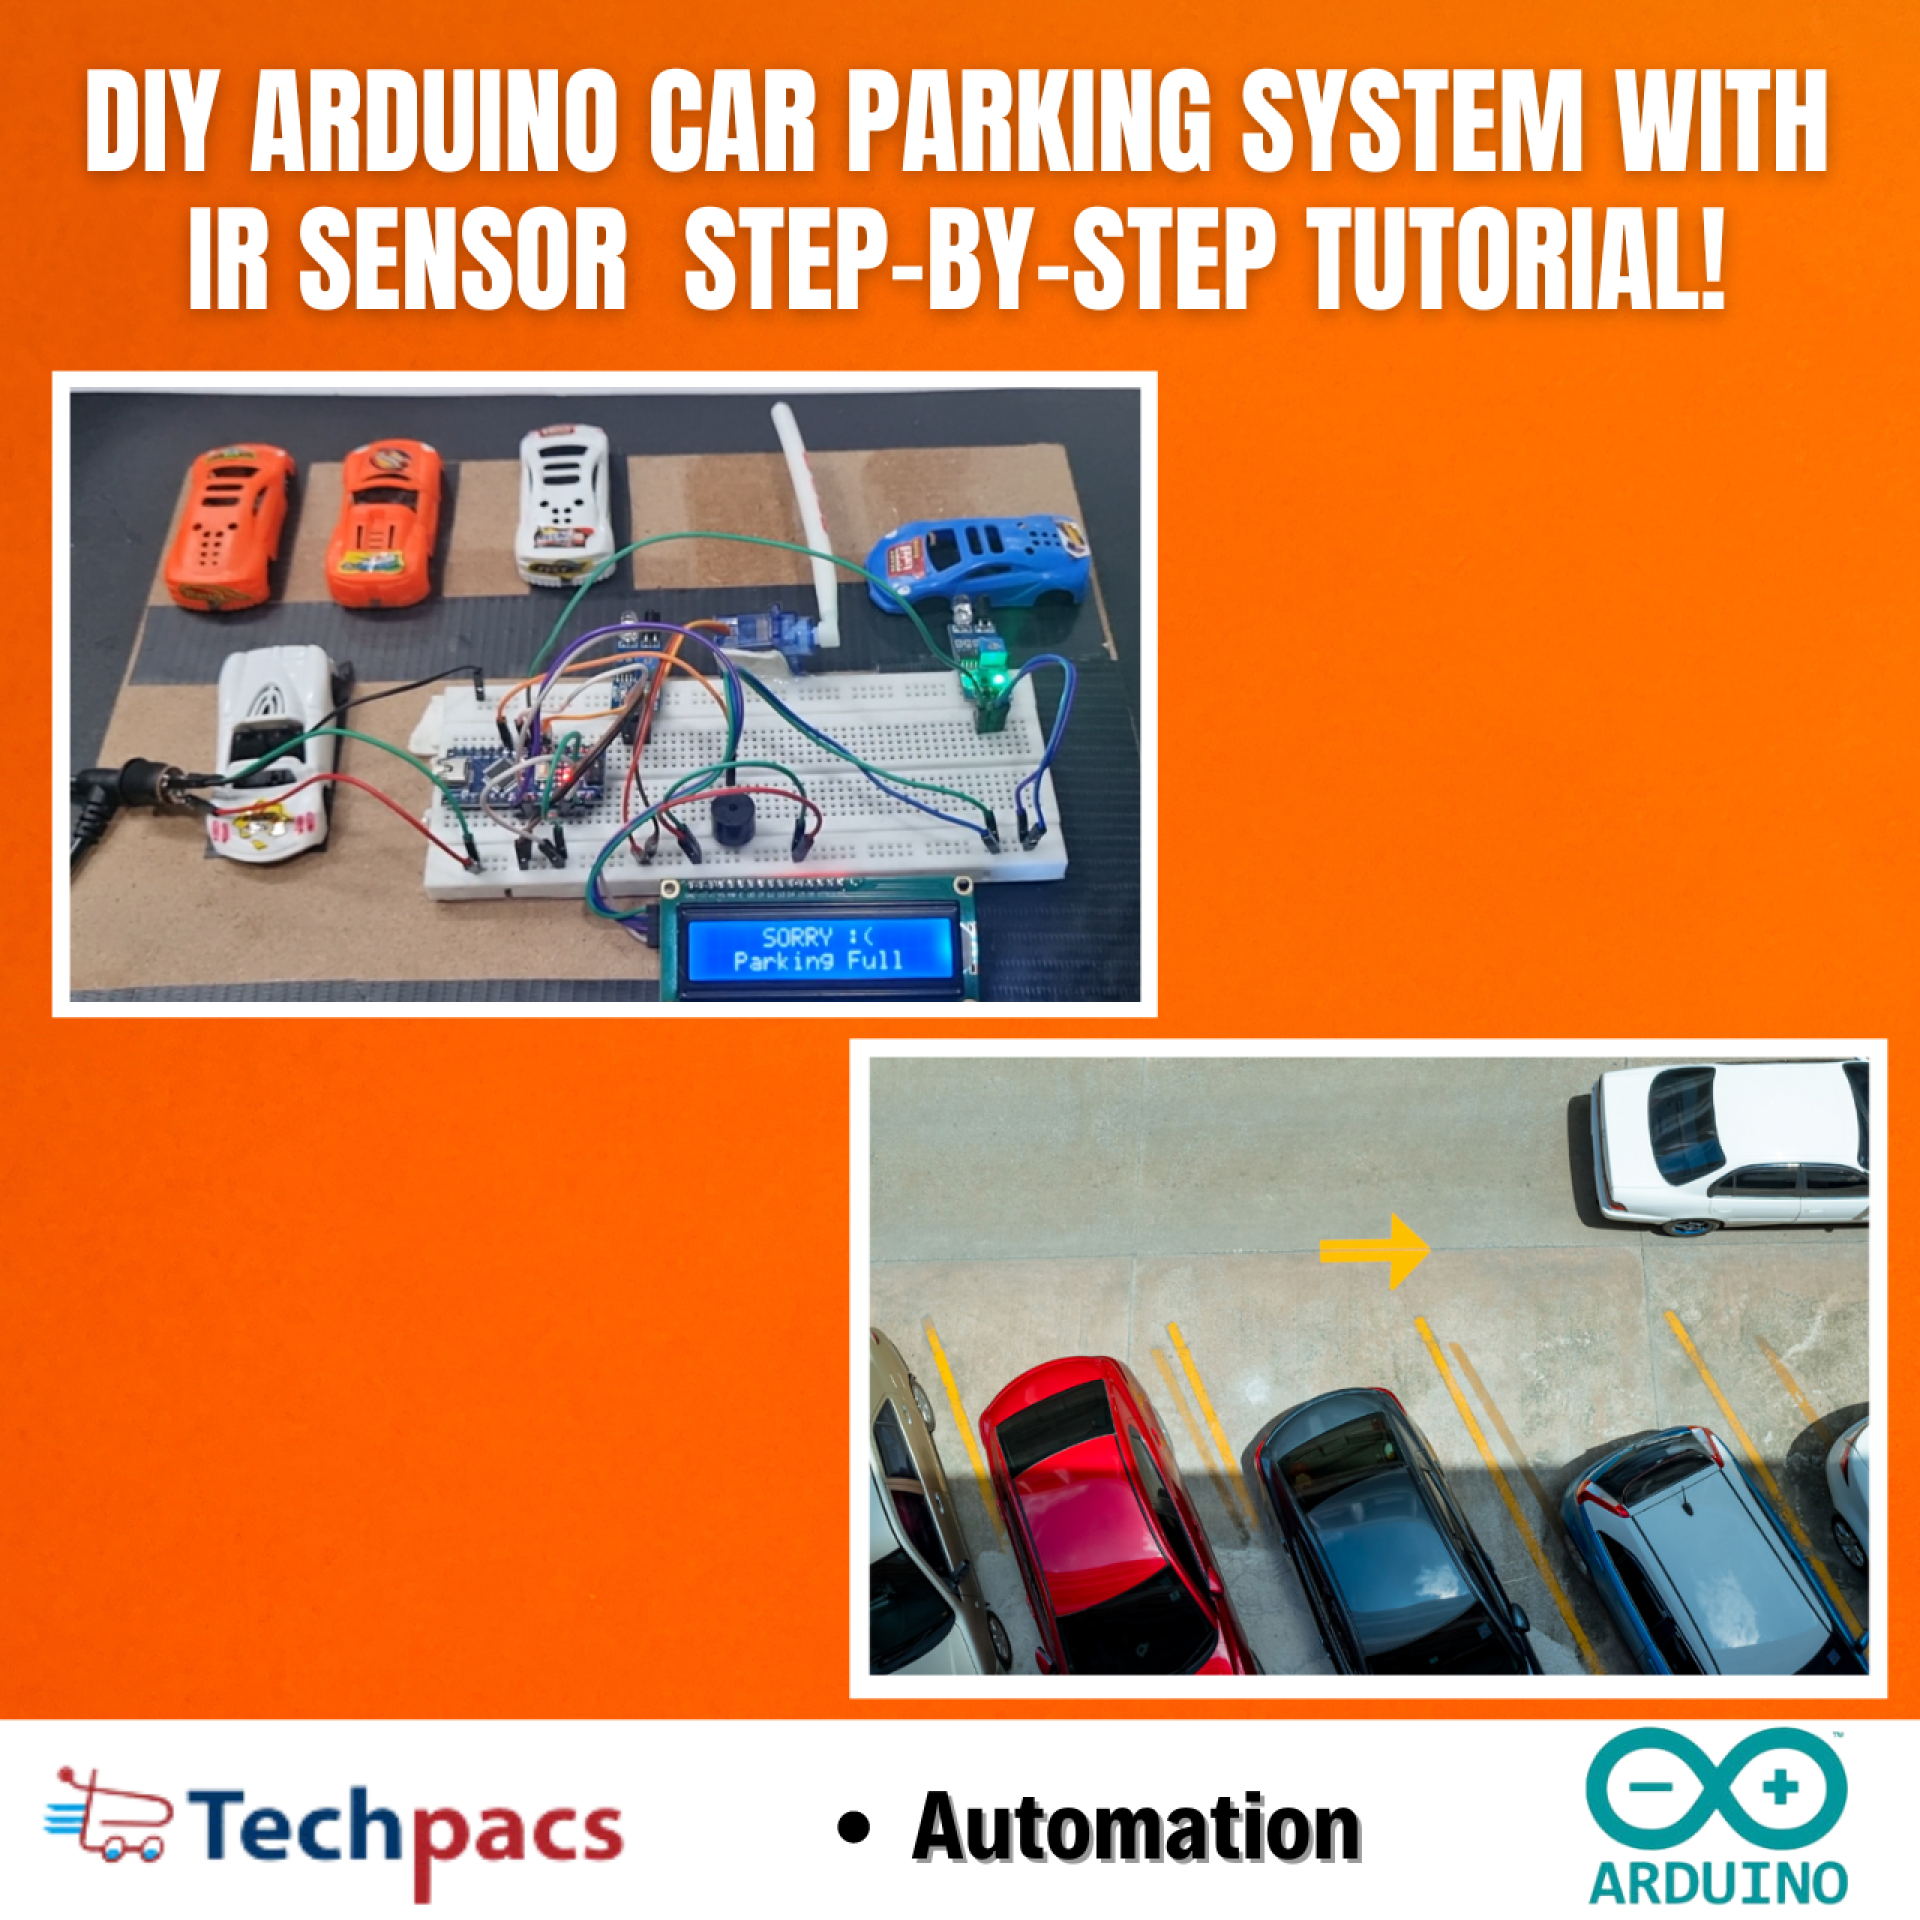
DIY Arduino System for Car Parking with IR Sensor and Step-by-Step Instructions
In this project, we will design and implement a DIY Arduino-based car parking system using IR sensors. The project leverages the power of Arduino, a versatile microcontroller, to monitor the parking slots and give real-time updates about their availability. By using IR sensors, the system can detect the presence of vehicles in each slot, making it easier to manage parking spaces. An LCD display will show the status of each parking slot, aiding in more efficient utilization of parking areas. This project not only serves practical purposes but also enhances understanding of electronics and programming.
Objectives
To monitor the availability of parking slots using IR sensors.
To display the real-time status of parking slots on an LCD screen.
To automate the opening and closing of the parking gate using a servo motor.
To provide an easy-to-follow guide for building the system from scratch.
To enhance practical knowledge and programming skills through a hands-on project.
Key Features
Real-time monitoring of parking slots using IR sensors.
Live status display of parking slots on an LCD screen.
Automated gate control using a servo motor.
User-friendly interface for easy implementation.
Detailed instructional guide for beginners and hobbyists.
Application Areas
The DIY Arduino System for Car Parking with IR Sensor can be widely applied across various sectors to manage and optimize parking spaces. This system is ideal for use in residential complexes, office buildings, shopping malls, and public parking areas. By providing real-time updates on parking slot availability, it reduces the time spent searching for a parking space, thereby enhancing user convenience and traffic flow. Moreover, integrating this technology in smart city projects can significantly contribute to efficient urban planning and management. It's an excellent educational project for engineering students, hobbyists, and makers interested in IoT and automotive applications.
Detailed Working of DIY Arduino System for Car Parking with IR Sensor and Step-by-Step Instructions:
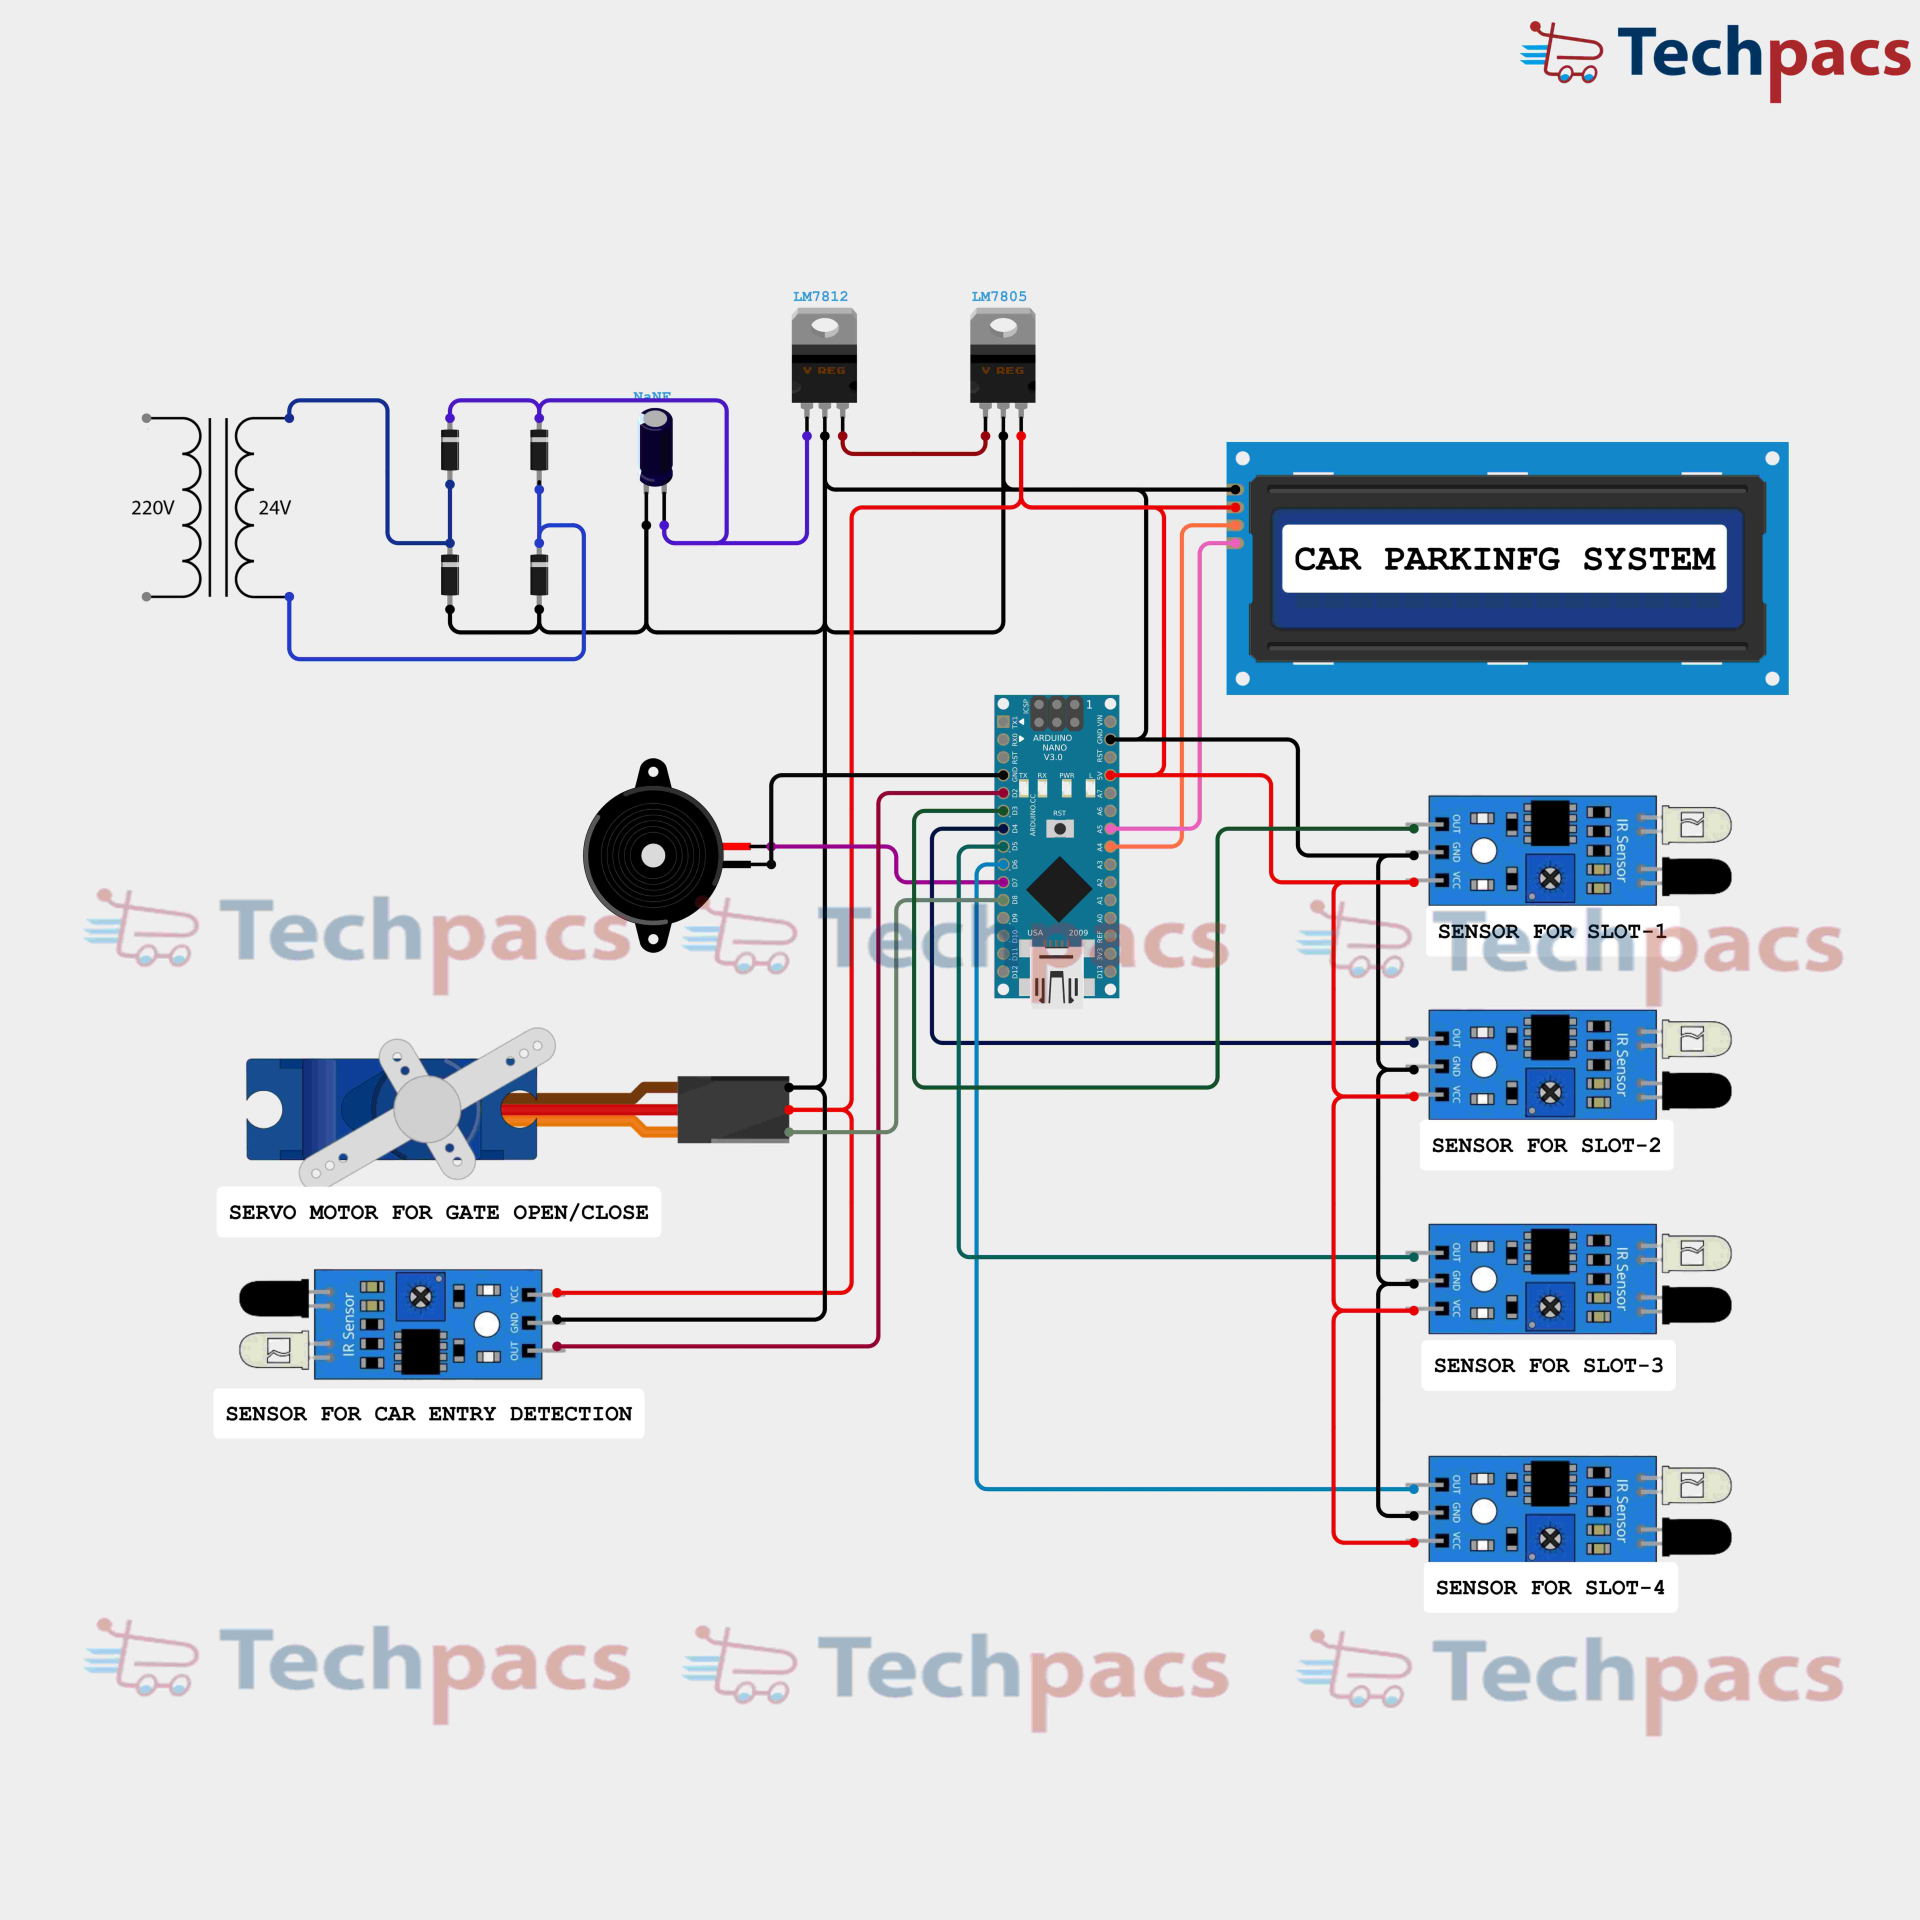
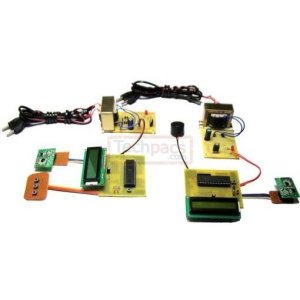
The DIY Arduino System for Car Parking with IR Sensor is a sophisticated yet easily understandable application of embedded systems designed to streamline the car parking process. The core of this system is an Arduino microcontroller that interprets signals from different sensors and controls various output devices to manage car parking slots efficiently.
The journey begins with a transformer that steps down the 220V AC mains voltage to a more manageable 24V AC. This 24V is then fed into two voltage regulators, the LM7812 and LM7805. The LM7812 converts the 24V AC to 12V DC, while the LM7805 further reduces this 12V to 5V DC for the Arduino microcontroller and other components requiring lower voltage.
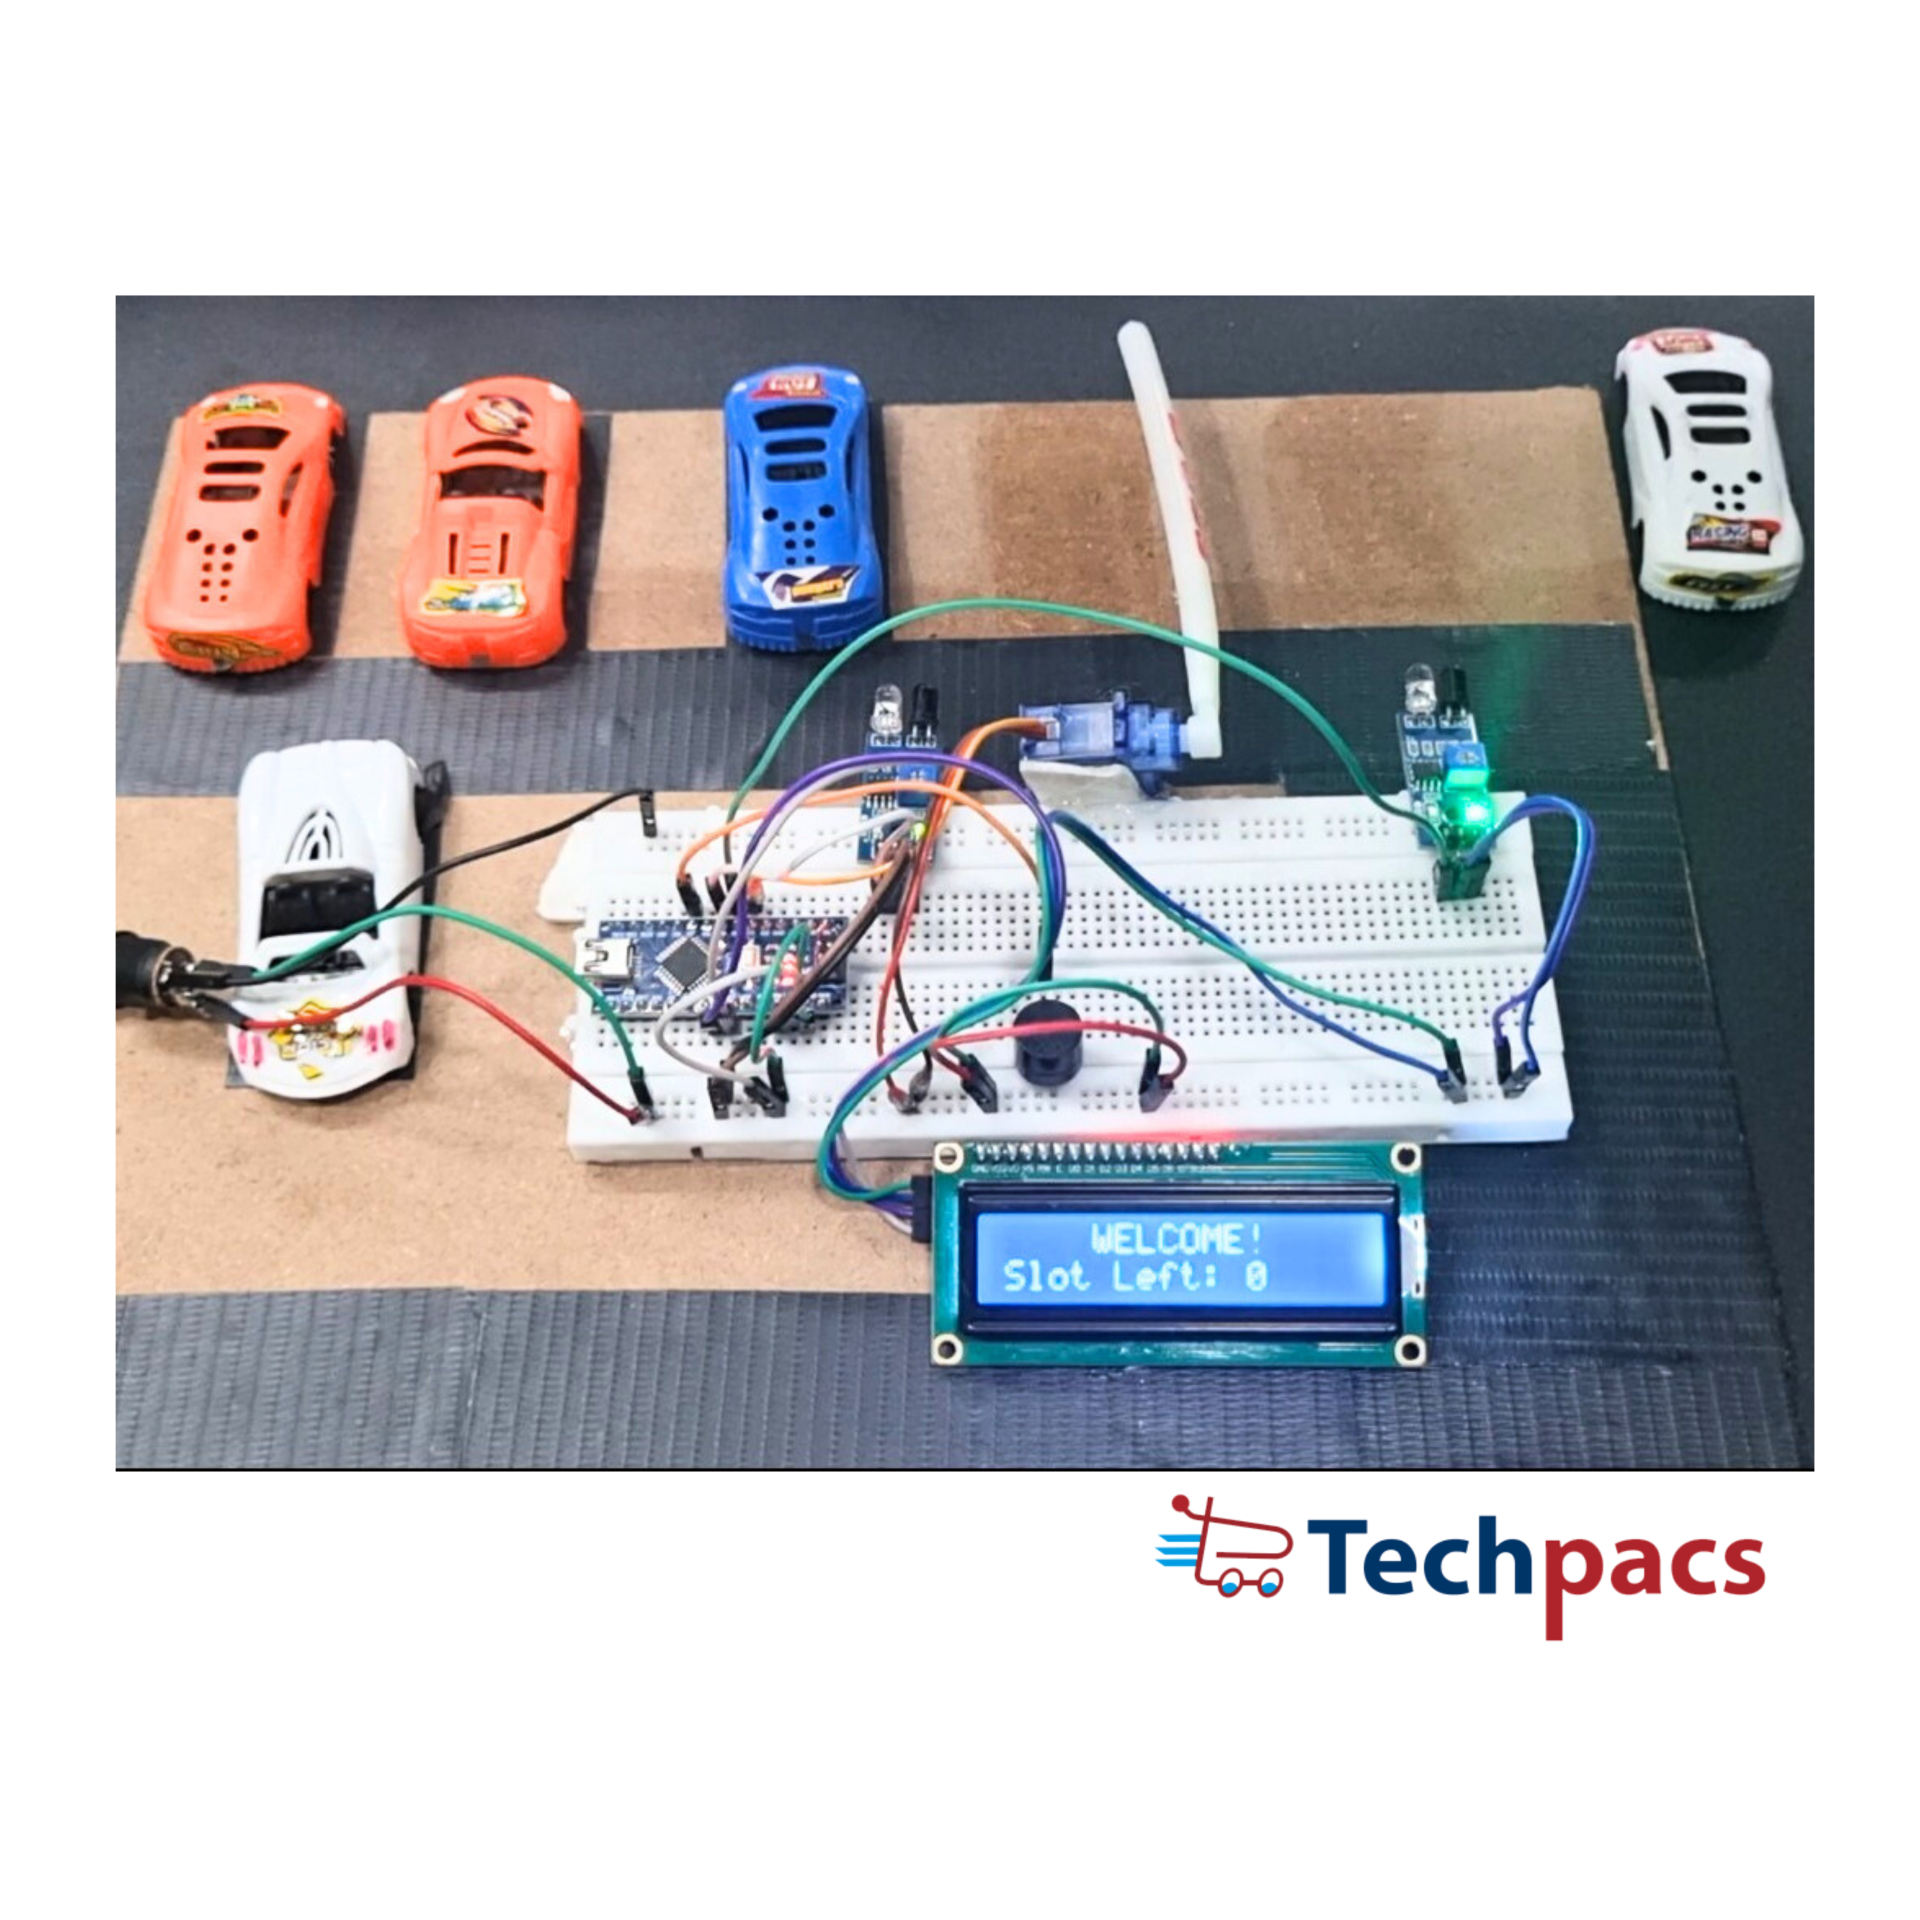
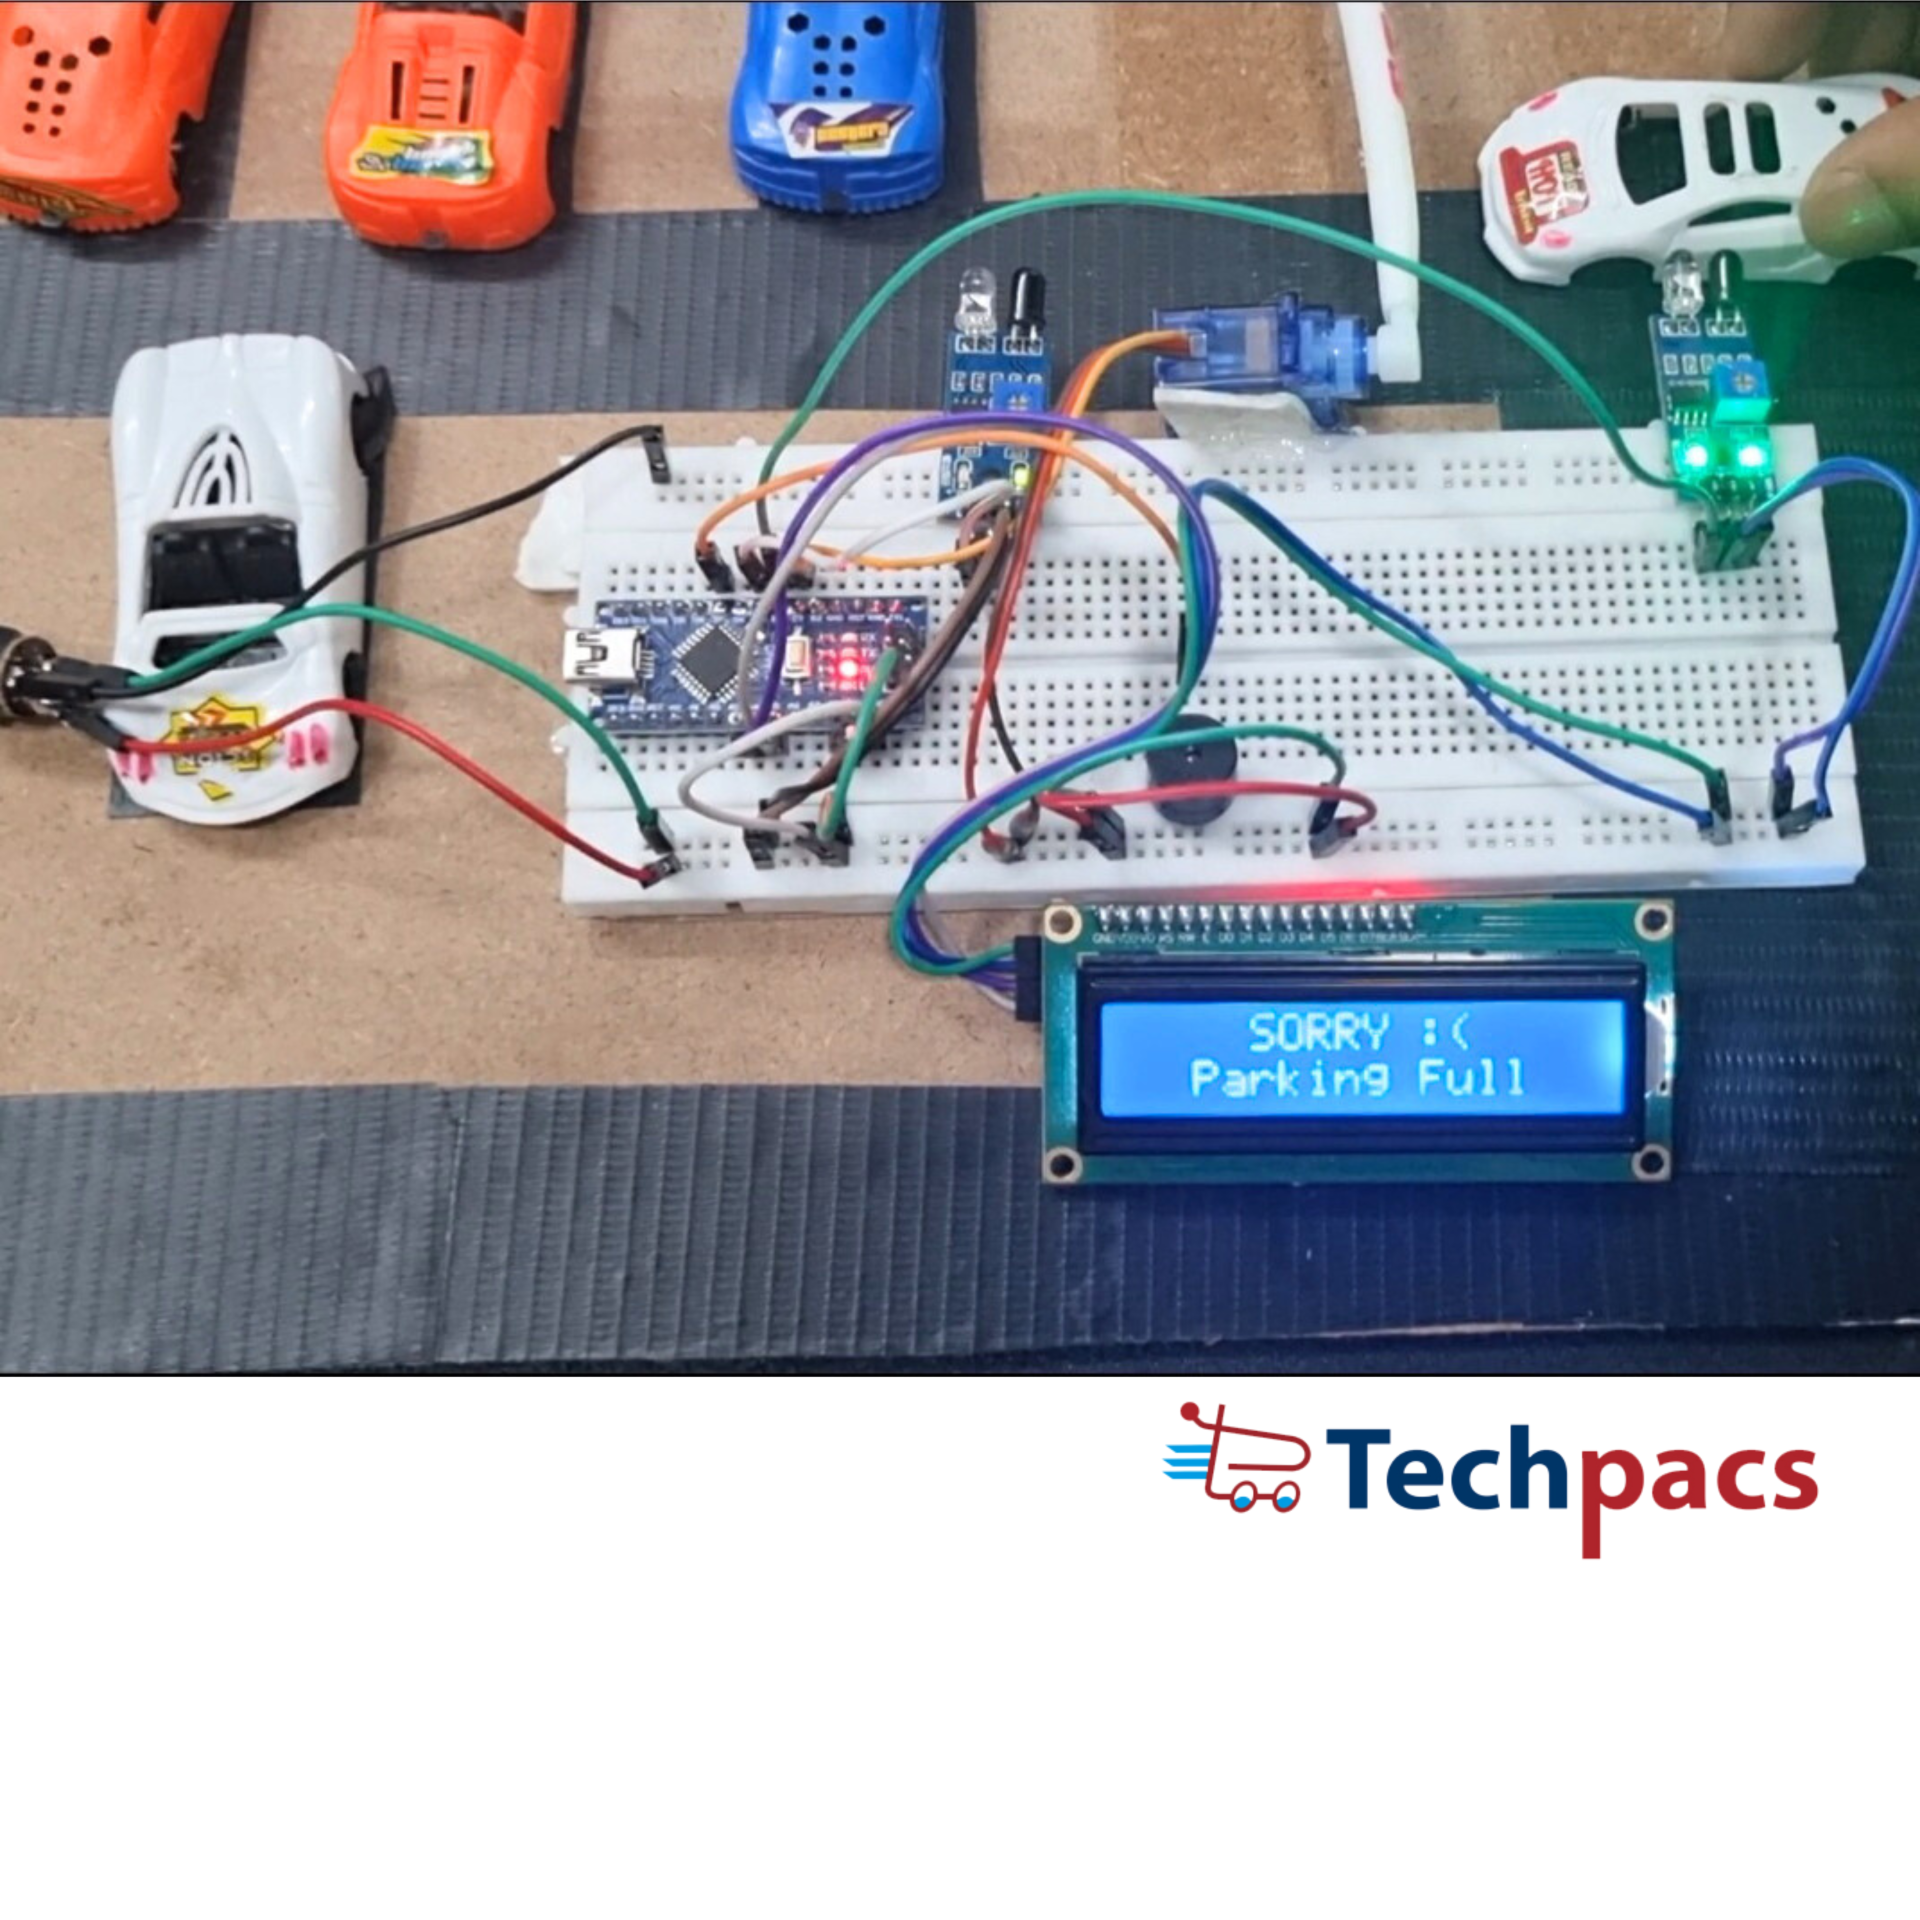
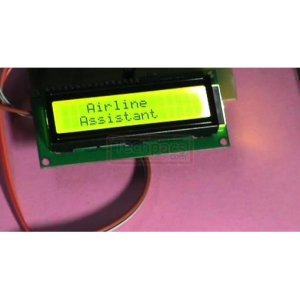
At the heart of the system lies the Arduino Nano, orchestrating the data flow and control mechanisms. Connected to the Arduino is an LCD screen that provides real-time updates and status messages about the parking slots. The Arduino receives power from the 5V regulated output, ensuring smooth operation.
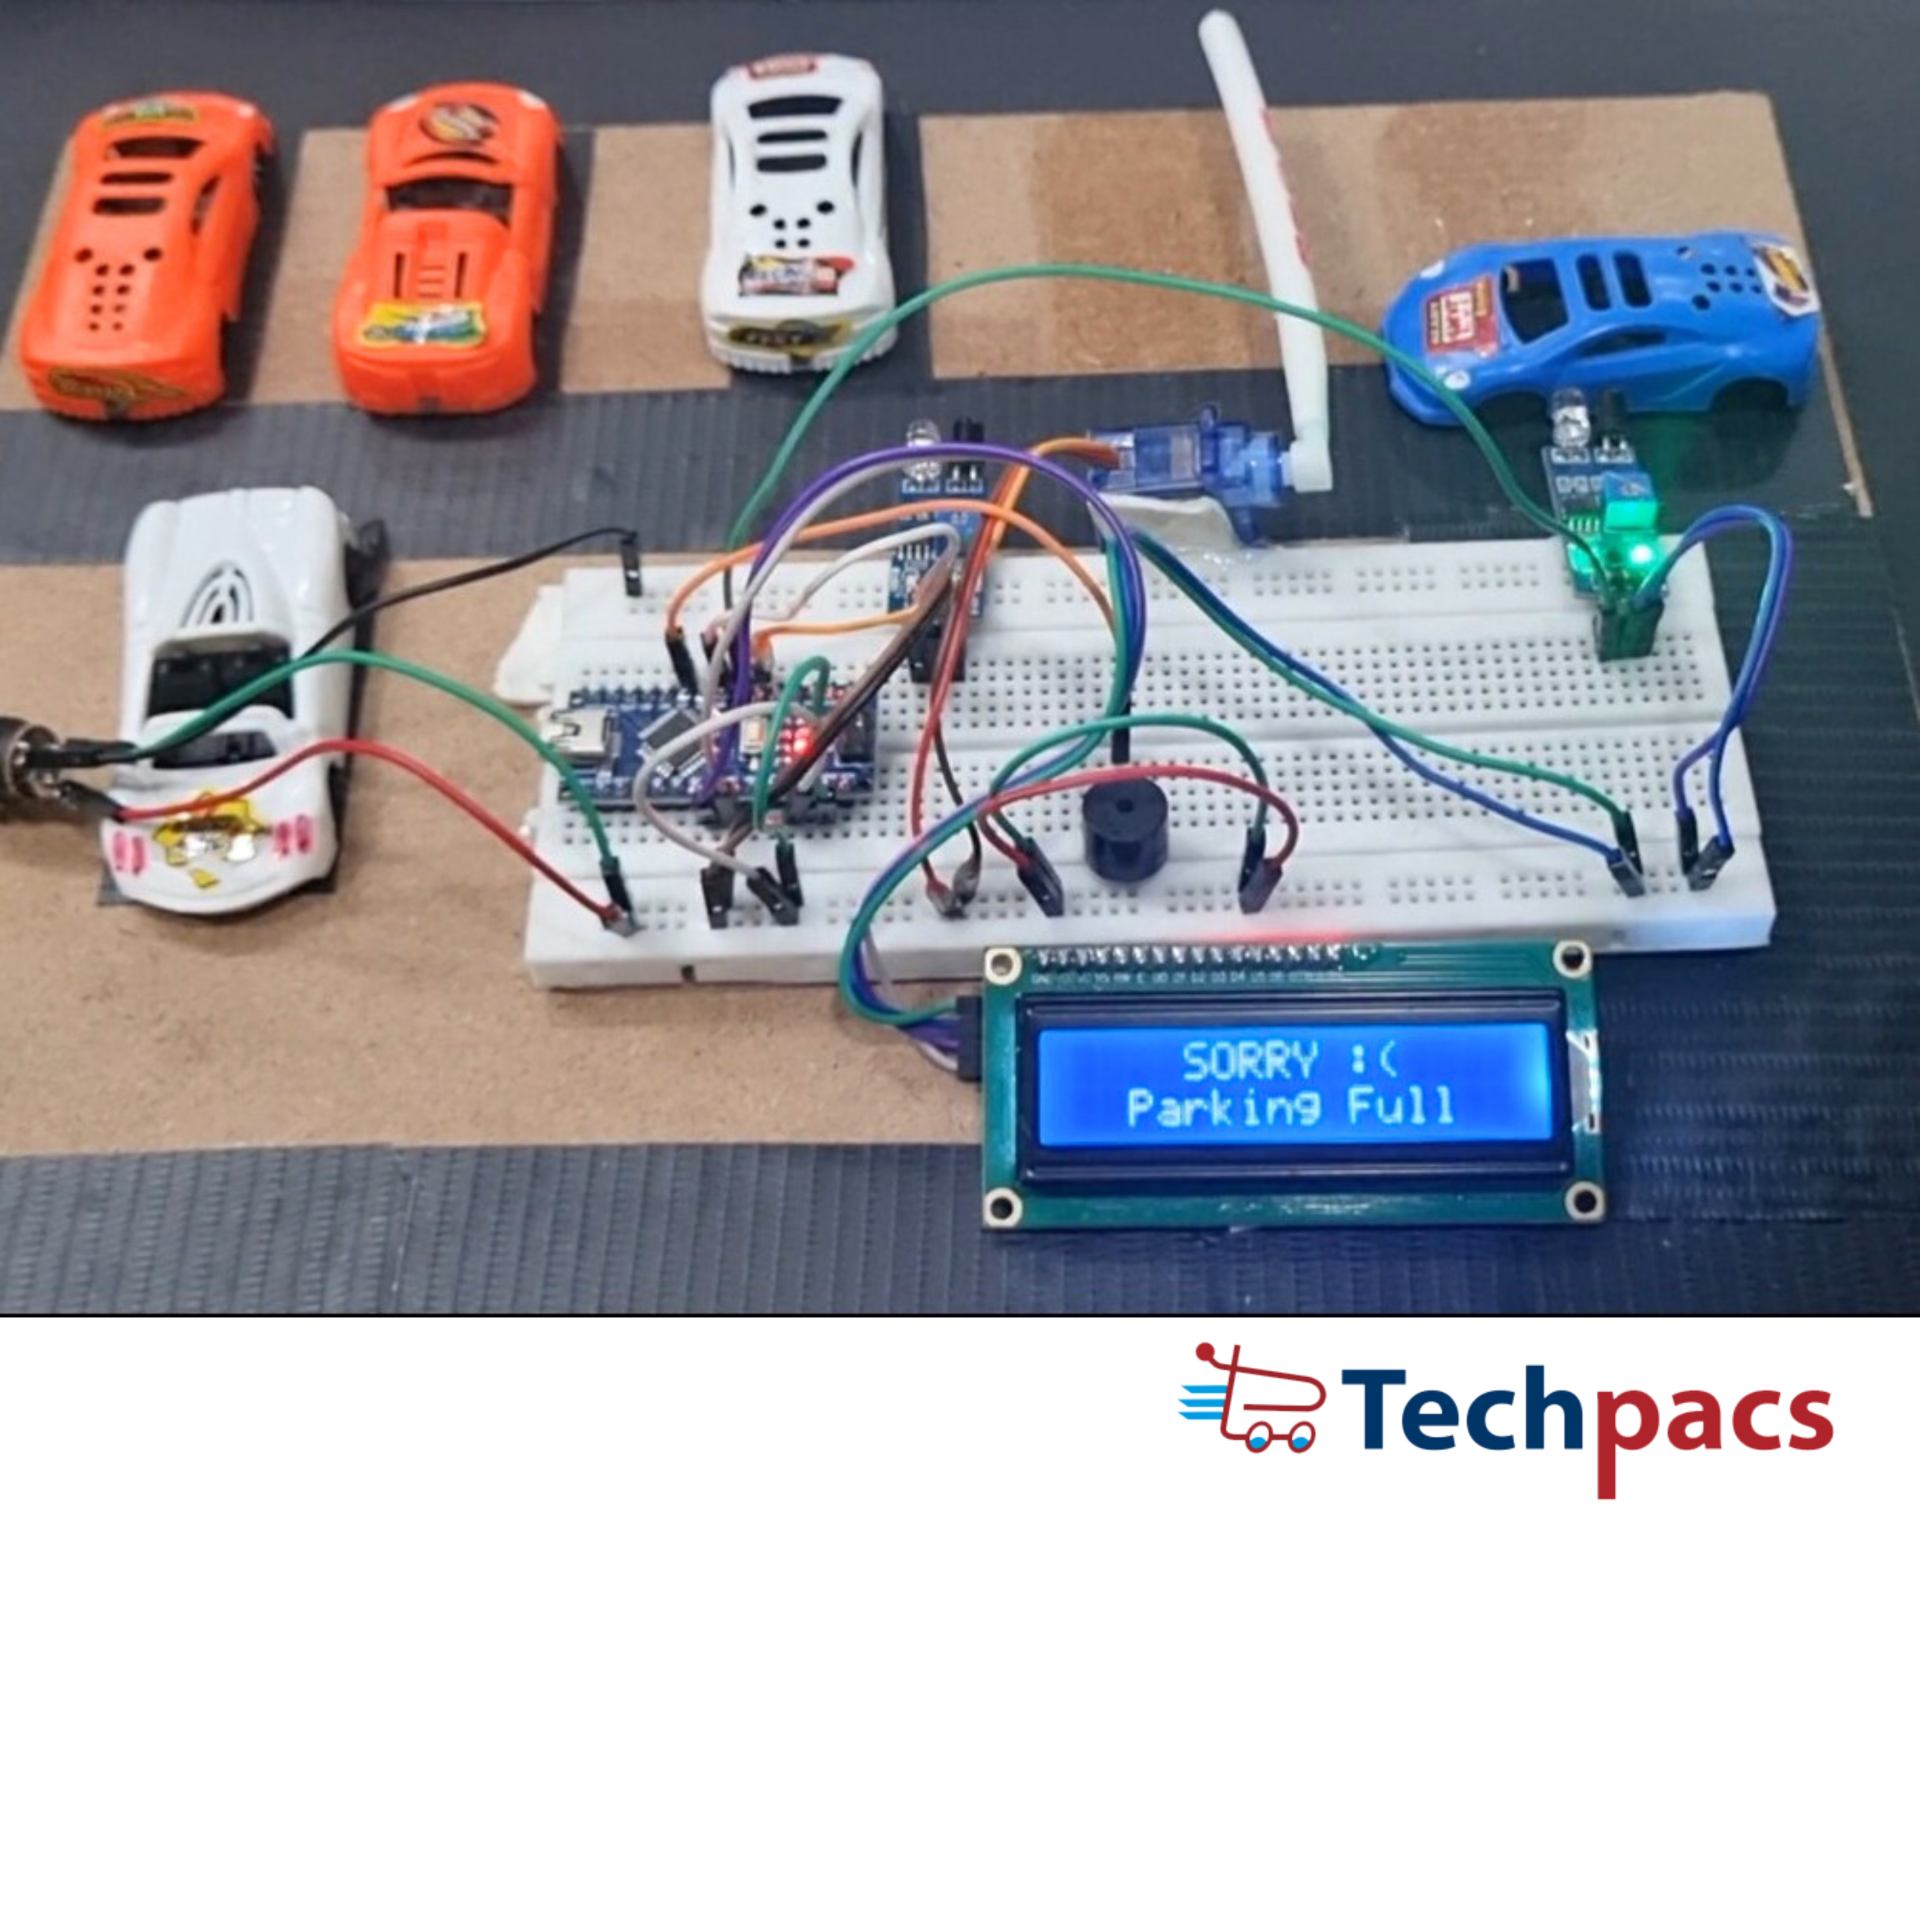
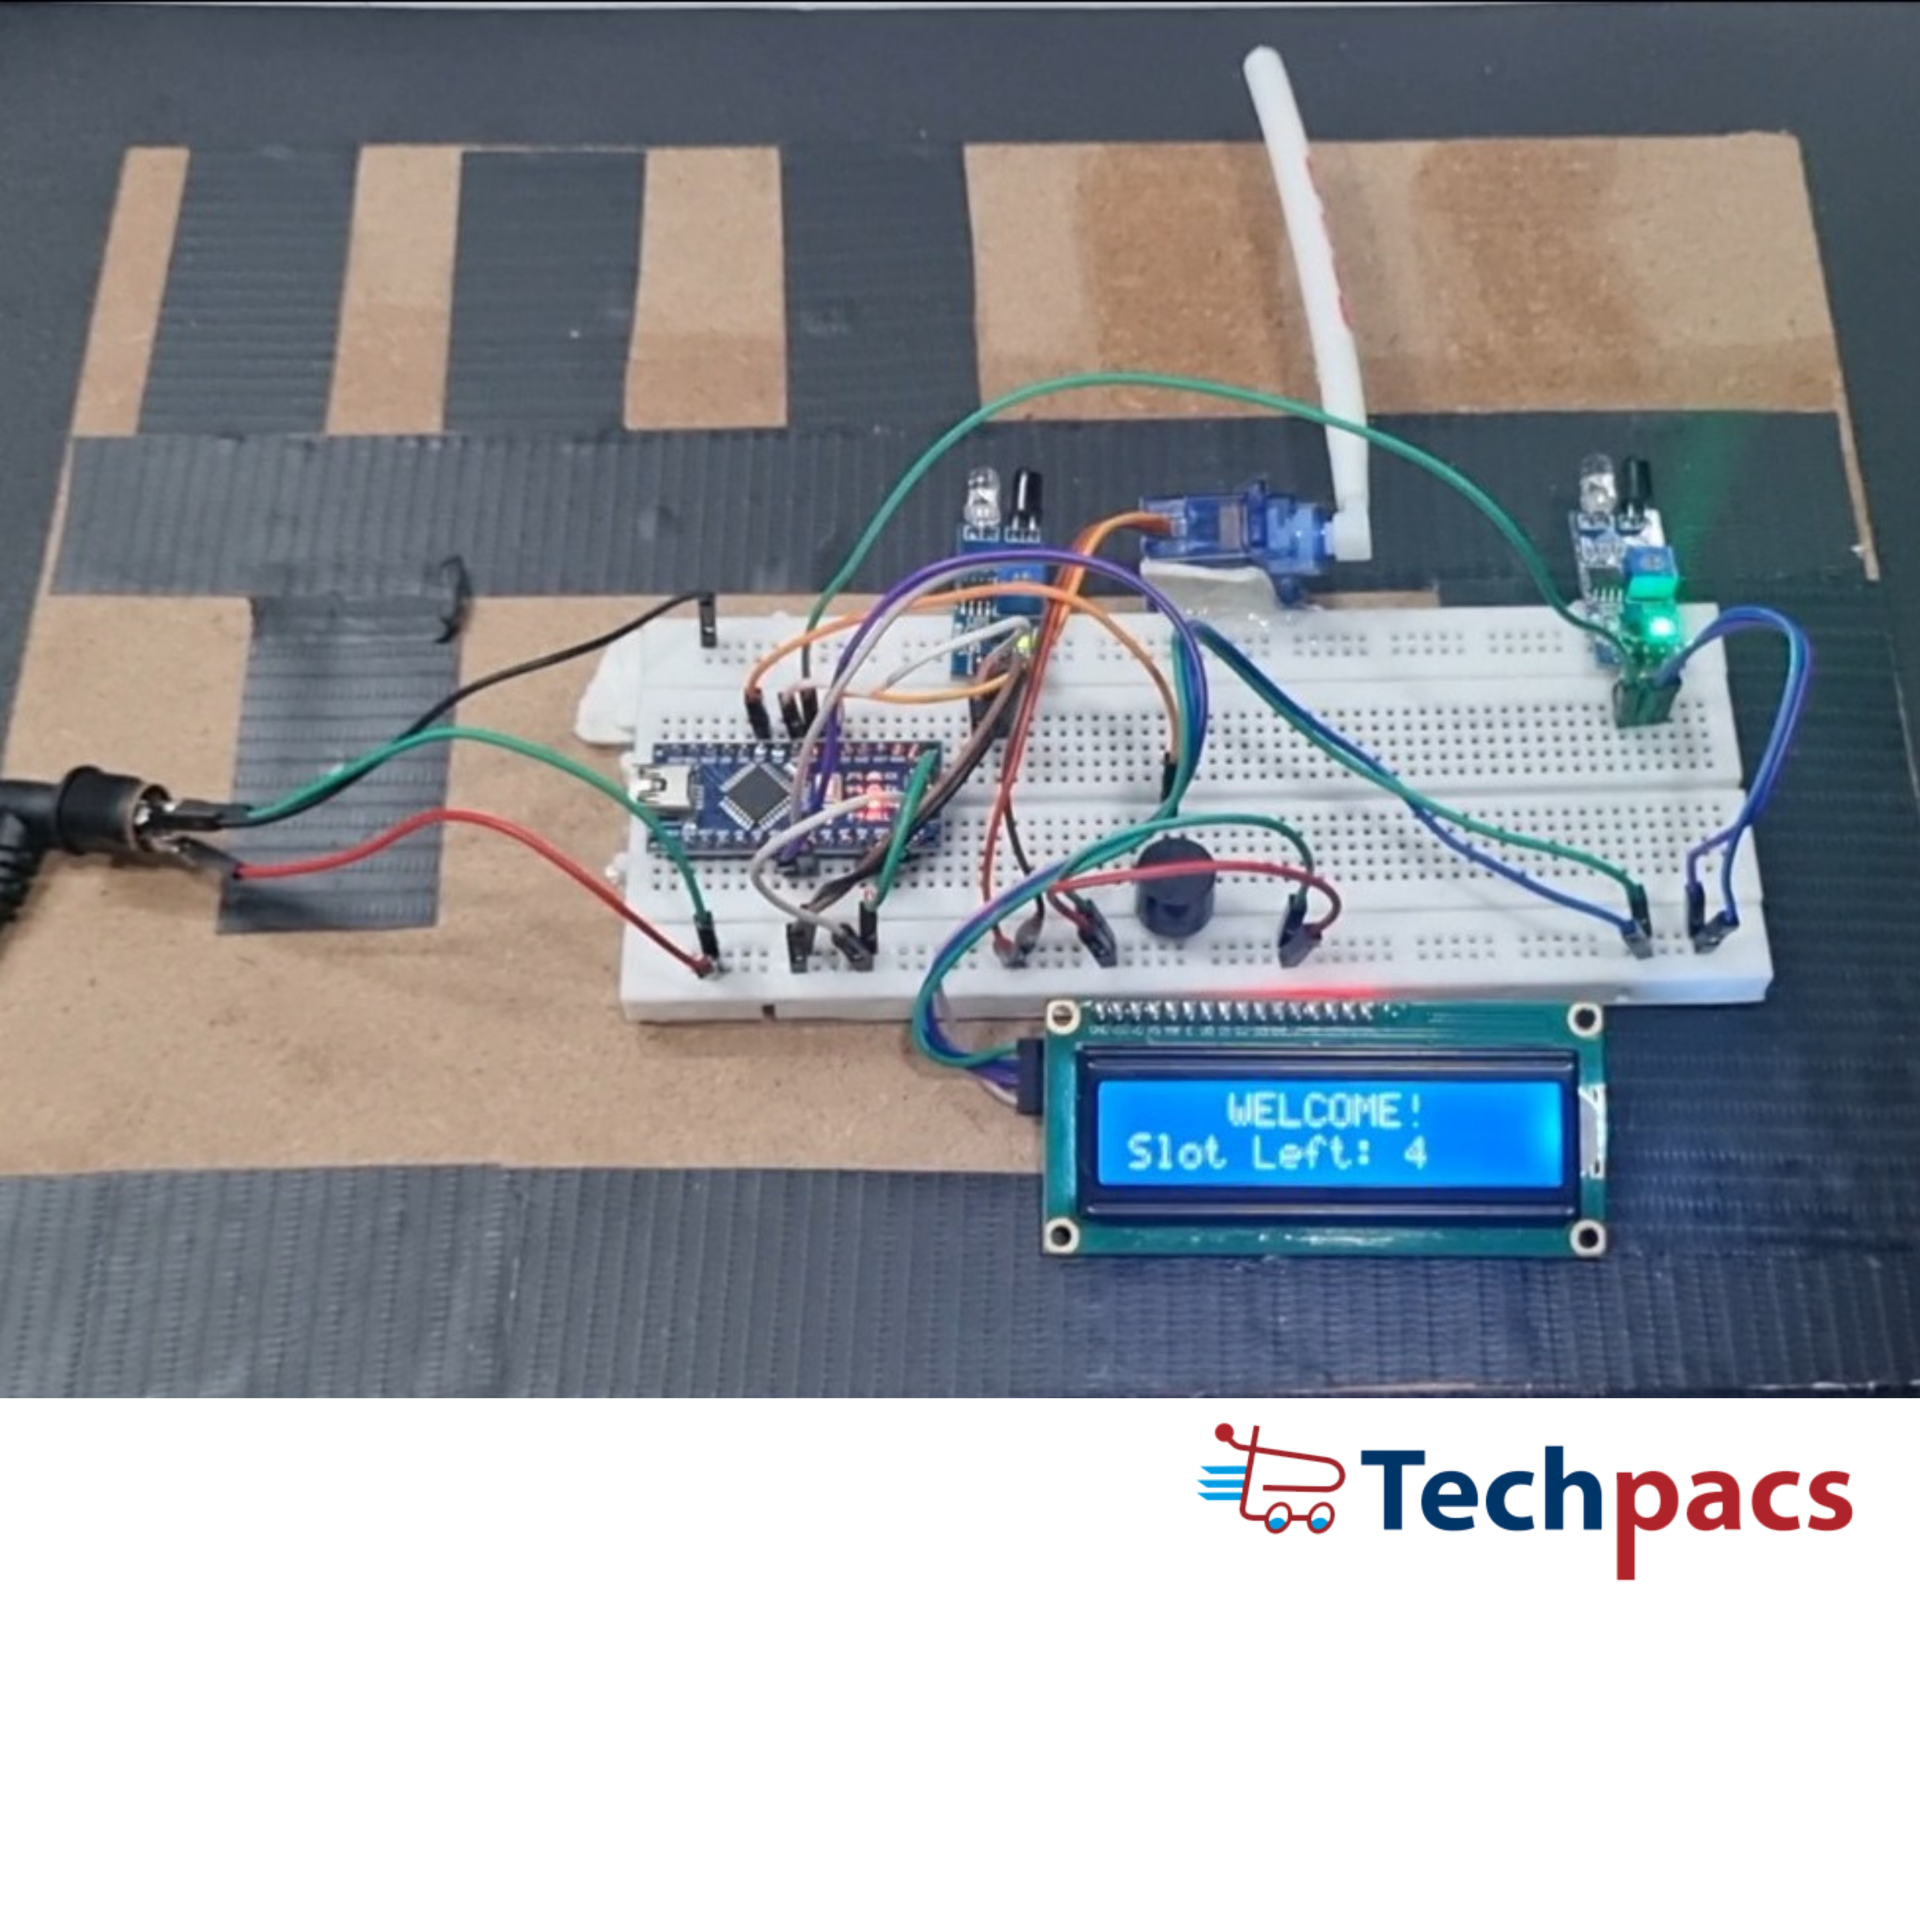
The car parking system leverages multiple IR sensors to monitor the occupancy status of parking slots. These sensors, labeled as SENSOR FOR SLOT-1, SLOT-2, SLOT-3, and SLOT-4, are strategically placed to detect the presence of a car in the respective slot. The sensors convert the detected presence into an electrical signal, which is then relayed to the Arduino for processing.
When a car approaches the entry gate, a dedicated IR sensor detects its presence. This sensor, connected to the Arduino, triggers the servo motor that controls the gate mechanism. The servo motor receives commands from the Arduino to either open or close the gate, providing a seamless entry for the vehicle. The gate motor operates using the same 5V power supply, ensuring synchronized activity.
Once the car enters, the relevant IR sensor detects the presence of the car in a particular slot. This data is immediately sent to the Arduino, which then updates the status on the LCD screen, indicating that the slot is now occupied. The system continuously monitors the sensors to update the availability of parking slots in real-time.
In essence, the Arduino microcontroller acts as the brain of the operation, constantly receiving and processing data from the sensors. It interprets this data to control the servo motor and update the LCD screen, making the parking management process almost autonomous. This integration of components ensures that the car parking system is both efficient and user-friendly.
Furthermore, the use of voltage regulators guarantees that all components receive the required voltage levels, preventing any potential damage from voltage fluctuations. The overall design is both robust and scalable, allowing for additional sensors or even more advanced features to be integrated in the future.
To summarize, the DIY Arduino System for Car Parking with IR Sensors is an illustrative example of automated parking management. It showcases the effective use of sensors, microcontrollers, and actuators to create a smart, reliable system. By following the step-by-step instructions and understanding the flow of data, one can replicate or even build upon this project for more advanced applications.

Modules used to make DIY Arduino System for Car Parking with IR Sensor and Step-by-Step Instructions :
1. Power Supply Module
The power supply module is crucial for converting the high voltage from the mains supply (220V) to a lower voltage that the Arduino and sensors can use. In this project, a transformer steps down the 220V AC to 24V AC. This is then rectified using a bridge rectifier to convert AC to DC. After rectification, the voltage is smoothed by a capacitor to ensure stable DC supply. Lastly, voltage regulators (LM7812 and LM7805) are used to provide 12V and 5V DC outputs respectively. The 12V output powers components like the servo motor, while the 5V output powers the Arduino and other low-power sensors.
2. Arduino Control Module
The heart of the car parking system is the Arduino board. It receives inputs from various IR sensors placed at different parking slots and the car entry gate. The Arduino processes these signals to determine the presence of a car in a slot or detect an approaching car at the gate. Based on the sensor data, the Arduino controls the servo motor to open or close the gate and updates the display on the LCD screen. The Arduino is also responsible for running the control logic that manages the parking slots and ensures smooth operation of the overall system.
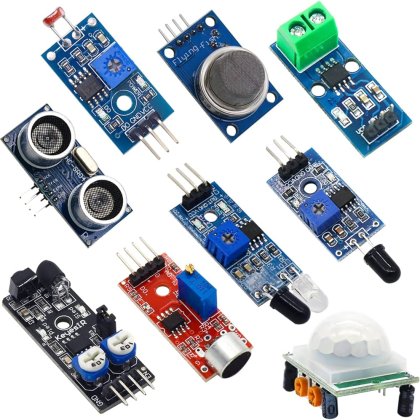
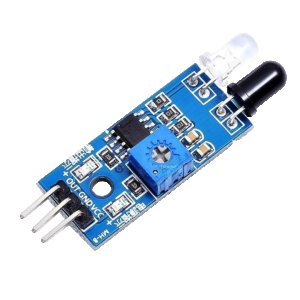
3. Sensor Module
IR sensors play a pivotal role in the car parking system by detecting the presence of cars. In this project, several IR sensors are used: one at the car entry gate and one at each parking slot (totaling five sensors). Each sensor consists of an IR emitter and receiver. When a car interrupts the IR beam, the sensor detects the presence of the vehicle and sends a signal to the Arduino. The sensor at the entry gate detects incoming cars, signaling the Arduino to open the gate. The sensors at the parking slots check for available or occupied spaces by sensing cars in the respective slots.
4. Servo Motor Module
The servo motor is responsible for physically opening and closing the gate of the parking system. The Arduino controls the servo motor through PWM (Pulse Width Modulation) signals. Upon receiving a signal from the entry gate sensor, the Arduino commands the servo motor to rotate, opening the gate and allowing the car to enter. Once the car has passed, the Arduino sends another signal to the servo motor to close the gate. This automated gate control ensures smooth entry and exit of cars, preventing manual intervention and enhancing security and efficiency of the parking system.
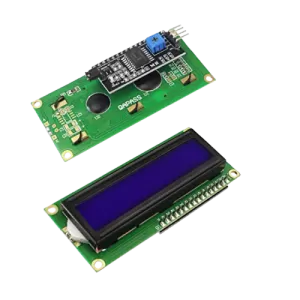
5. LCD Display Module
The LCD display serves as the user interface for the car parking system, providing real-time updates about the status of parking slots. It is connected to the Arduino and displays messages such as the number of available slots, slot occupancy, and entry gate status. The Arduino updates the LCD information based on inputs from the IR sensors. For instance, if a parking slot becomes occupied or vacant, the LCD display shows the updated count of available slots. This visual feedback helps users quickly find an available slot, making parking more efficient and user-friendly.
Components Used in DIY Arduino System for Car Parking with IR Sensor and Step-by-Step Instructions :
Microcontroller Unit
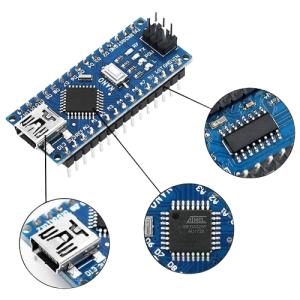
Arduino Nano
The Arduino Nano is the central unit that controls all the connected components and executes the core logic of the car parking system.
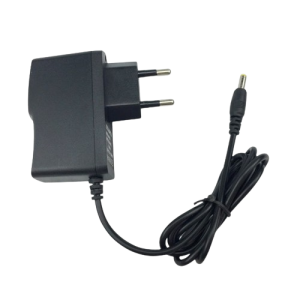
Power Supply
24V Transformer
Converts the high voltage AC supply to a lower voltage, suitable for use with the project components
LM7812 Voltage Regulator
Regulates the output voltage to 12V to provide a stable power supply for some components.
LM7805 Voltage Regulator
Further regulates the voltage down to 5V for components that require lower voltage input.
Sensing Components
IR Sensor Modules
Detects the presence of a vehicle in each slot and at the entry to trigger the appropriate response.
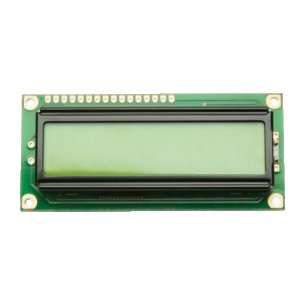
Display Module
16x2 LCD Screen
Displays the current status of the parking system, such as available slots and entry detection information.
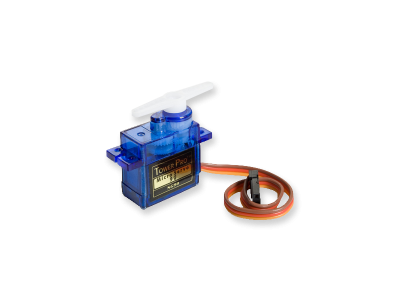
Actuator
Servo Motor
Controls the entry gate, opening and closing it based on the signals received from the Arduino.
Miscellaneous Components
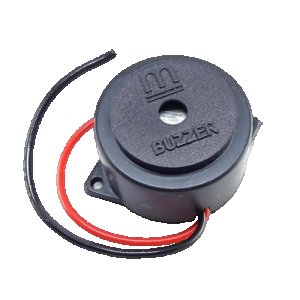
Capacitors, Resistors, and Diodes
Used for filtering, current limiting, and direction control in the circuit to ensure reliable operation of the system.
Other Possible Projects Using this Project Kit:
1. Mobile-Controlled Home Automation System
Using the components from the DIY Arduino system kit, you can create a mobile-controlled home automation system. Integrate the IR sensors for detecting motion or presence, which can then trigger devices such as lights, fans, or alarms. The servo motor can be employed to open or close windows and curtains automatically. The Arduino board can be programmed to receive commands via Bluetooth or WiFi, allowing users to control their home appliances through their smartphone remotely. This project enhances convenience and can help in energy conservation by automating the shutdown of devices when no one is in the room.
2. Automated Plant Watering System
An automated plant watering system can be developed using the IR sensors to detect soil moisture levels. When the sensor detects that the soil is dry, it can trigger the servo motor attached to a valve to release water. This ensures that plants are watered automatically without the need for human intervention. The Arduino board can be programmed to monitor the moisture levels continuously and activate the watering mechanism as needed, ensuring that the plants receive timely and adequate hydration. This project is beneficial for individuals who are away from their homes for extended periods or have busy schedules.
3. Smart Trash Can
Create a smart trash can that automatically opens its lid when someone approaches, using IR sensors to detect proximity. The servo motor can be used to lift the lid whenever an object or person is detected nearby. Additionally, the system can be programmed to provide reminders for disposing of garbage or even measure and display the weight of the trash using load sensors connected to the Arduino. This project improves hygiene by reducing the need to touch the trash can and makes waste management more efficient.
4. Automated Door Lock System
An automated door lock system can significantly enhance home security. Using the IR sensors, the system can detect when someone is near the door. The Arduino can be programmed to either automatically unlock the door if the user is identified via a security protocol or keep the door locked if an unauthorized person is detected. The servo motor will be vital in locking and unlocking the door mechanism. This project seamlessly integrates security and convenience, bridging the gap between traditional locking mechanisms and modern smart home technology.
| Shipping Cost |
|
No reviews found!


No comments found for this product. Be the first to comment!