


DIY Arduino Radar System with Ultrasonic Sensor for Object Detection
The DIY Arduino Radar System with Ultrasonic Sensor for Object Detection is an engaging project designed to combine the functionalities of an Arduino microcontroller and an ultrasonic sensor to detect and display the distance of objects within a specified range. This project is ideal for both beginners and experienced hobbyists interested in learning more about Arduino programming and sensor interfacing. By utilizing components such as the HC-SR04 ultrasonic sensor, a servo motor, and an LCD display, this radar system provides a visual representation of object detection similar to radar scanning techniques, making it both an educational and practical tool.
Objectives
- To create a working radar system using an Arduino microcontroller and an ultrasonic sensor.
- To interface the HC-SR04 ultrasonic sensor with Arduino for distance measurement.
- To visualize the distance measurements on an LCD display.
- To develop skills in Arduino programming and sensor interfacing.
- To understand the principles of radar systems and object detection.
Key Features
- Arduino-based microcontroller system for ease of programming and versatility.
- Utilizes the HC-SR04 ultrasonic sensor for accurate distance measurement.
- Servo motor integration for dynamic radar scanning.
- LCD display for real-time distance readings and object visualization.
- Comprehensive and user-friendly tutorial for straightforward project assembly and coding.
Application Areas
The DIY Arduino Radar System with Ultrasonic Sensor for Object Detection has widespread applications in various fields. In educational settings, it serves as an effective teaching tool for introducing students to the basics of electronics, programming, and sensor technologies. In robotics, this project provides foundational knowledge for developing autonomous systems capable of detecting and avoiding obstacles. Furthermore, the principles learned through this project can be applied to advanced security systems for perimeter monitoring and surveillance. The low cost and customizable nature of this radar system make it a practical solution for hobbyists and developers working on unique object detection applications in both personal and professional projects.
Detailed Working of DIY Arduino Radar System with Ultrasonic Sensor for Object Detection:
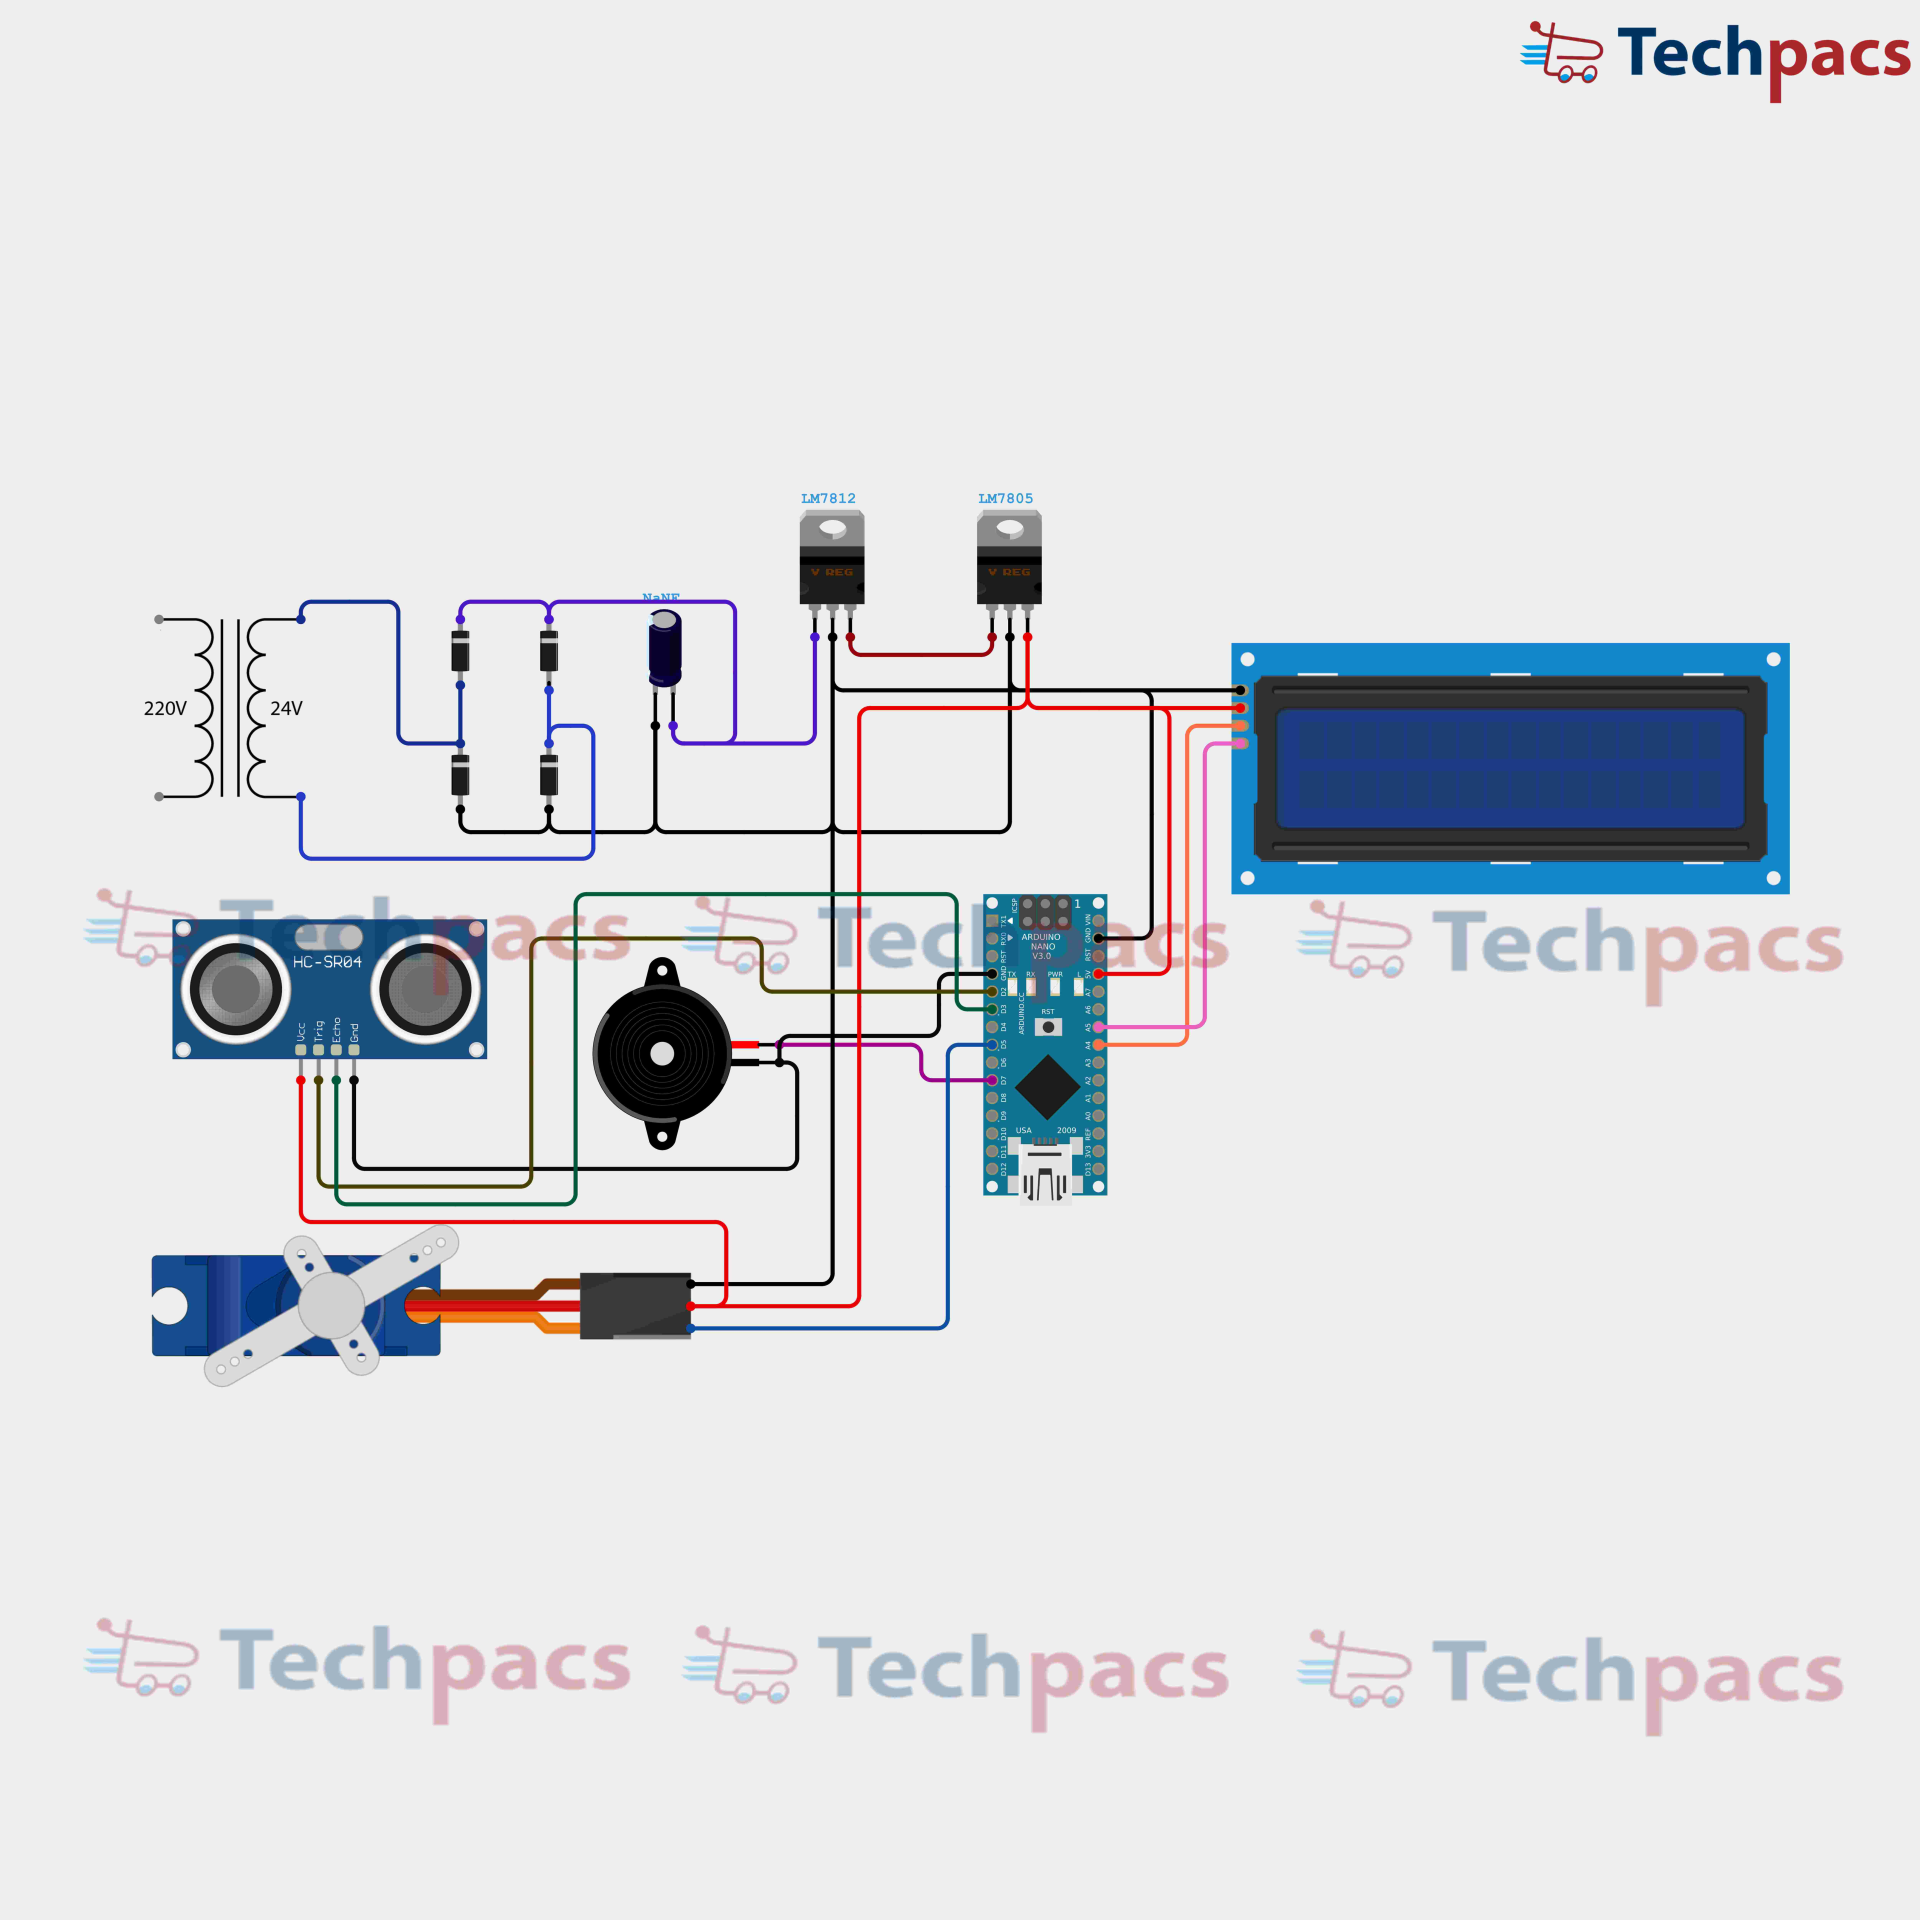
The DIY Arduino Radar System with an Ultrasonic Sensor for Object Detection is a fascinating project that combines the capabilities of an Arduino microcontroller, an ultrasonic sensor, a servo motor, a buzzer, and an LCD display to create a functional radar system. The power supply is a fundamental part of the circuit, converting the AC mains voltage to usable DC voltage levels for the components. The transformer steps down the 220V AC mains to 12V AC, which is then rectified and filtered to produce a smooth DC voltage. This voltage is regulated to 5V and 12V by voltage regulators (LM7805 and LM7812, respectively) to power different parts of the circuit.
The heart of the system is the Arduino Nano, a compact microcontroller board that serves as the brain of the radar system. It interfaces with the ultrasonic sensor (HC-SR04) which acts as the eyes of the system. The HC-SR04 ultrasonic sensor consists of a transmitter and receiver. The transmitter emits ultrasonic waves which, when they hit an object, reflect back to the receiver. The sensor measures the time it takes for the echo to return and sends this data to the Arduino Nano.
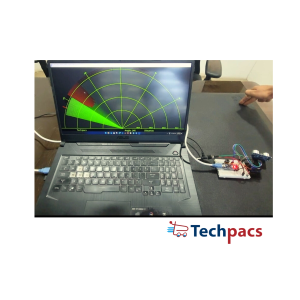
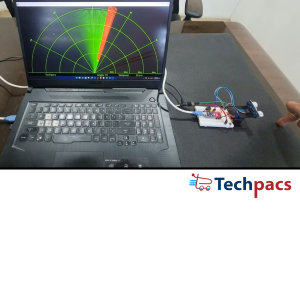
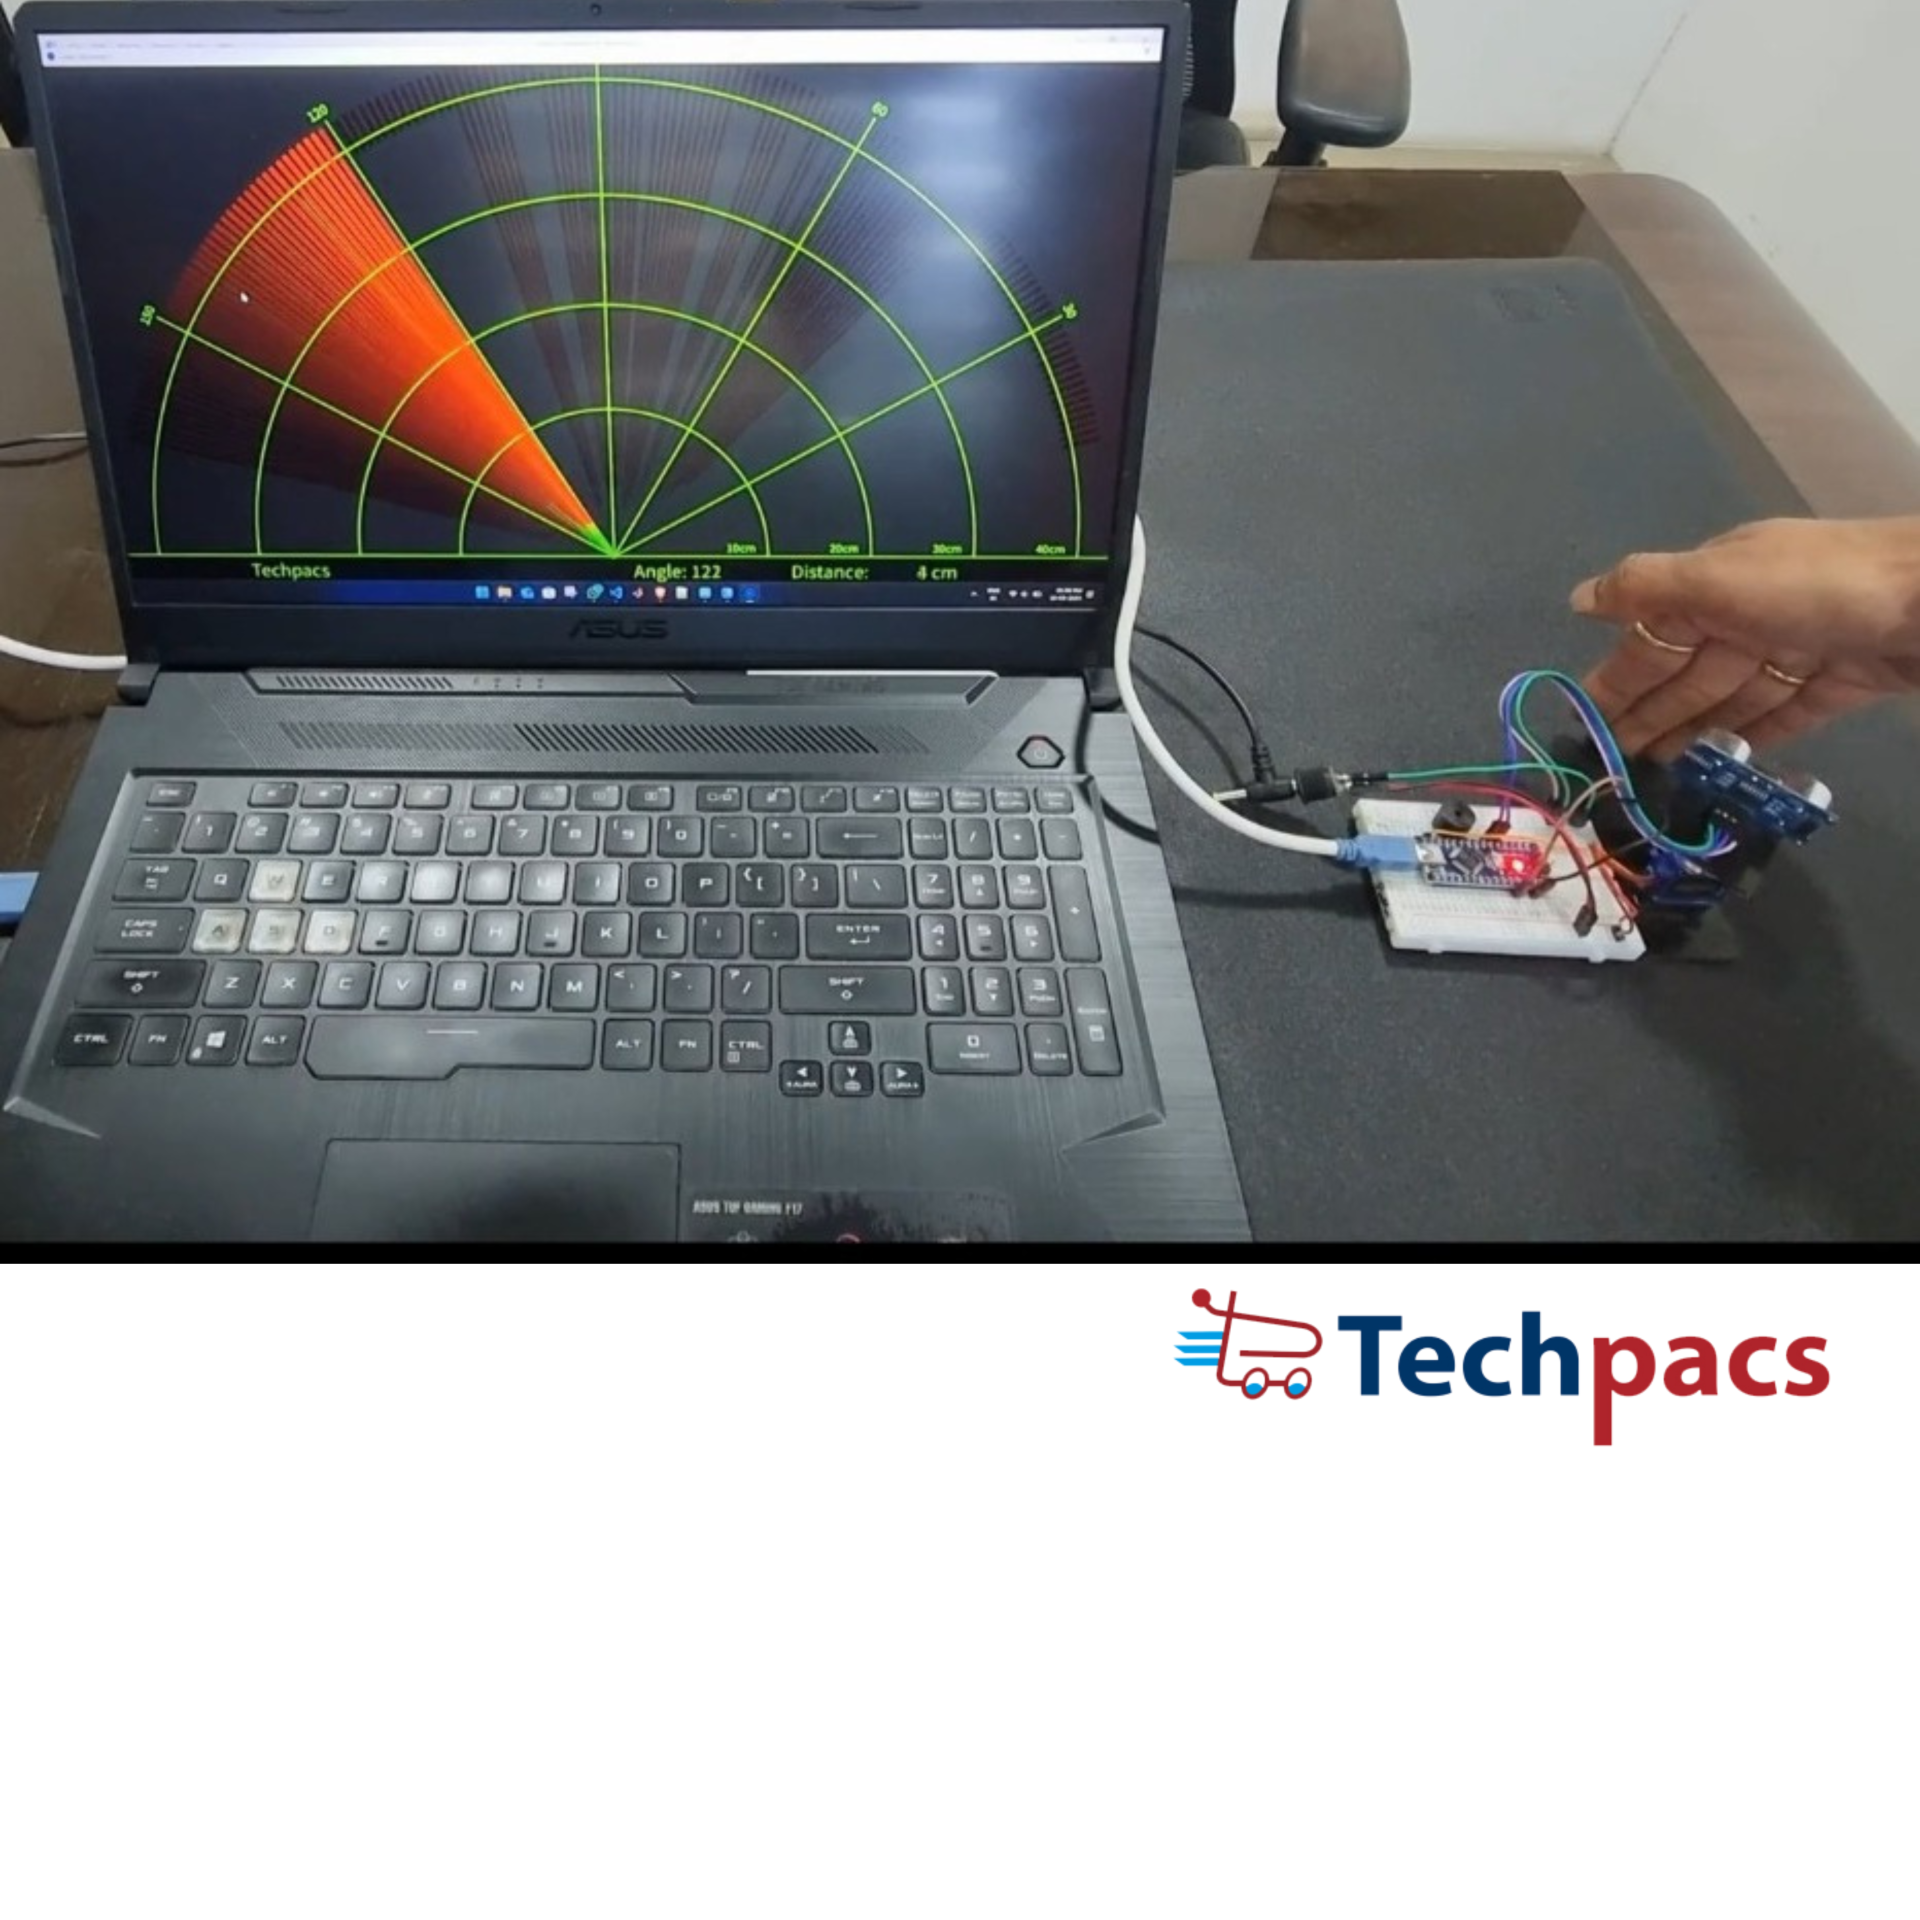
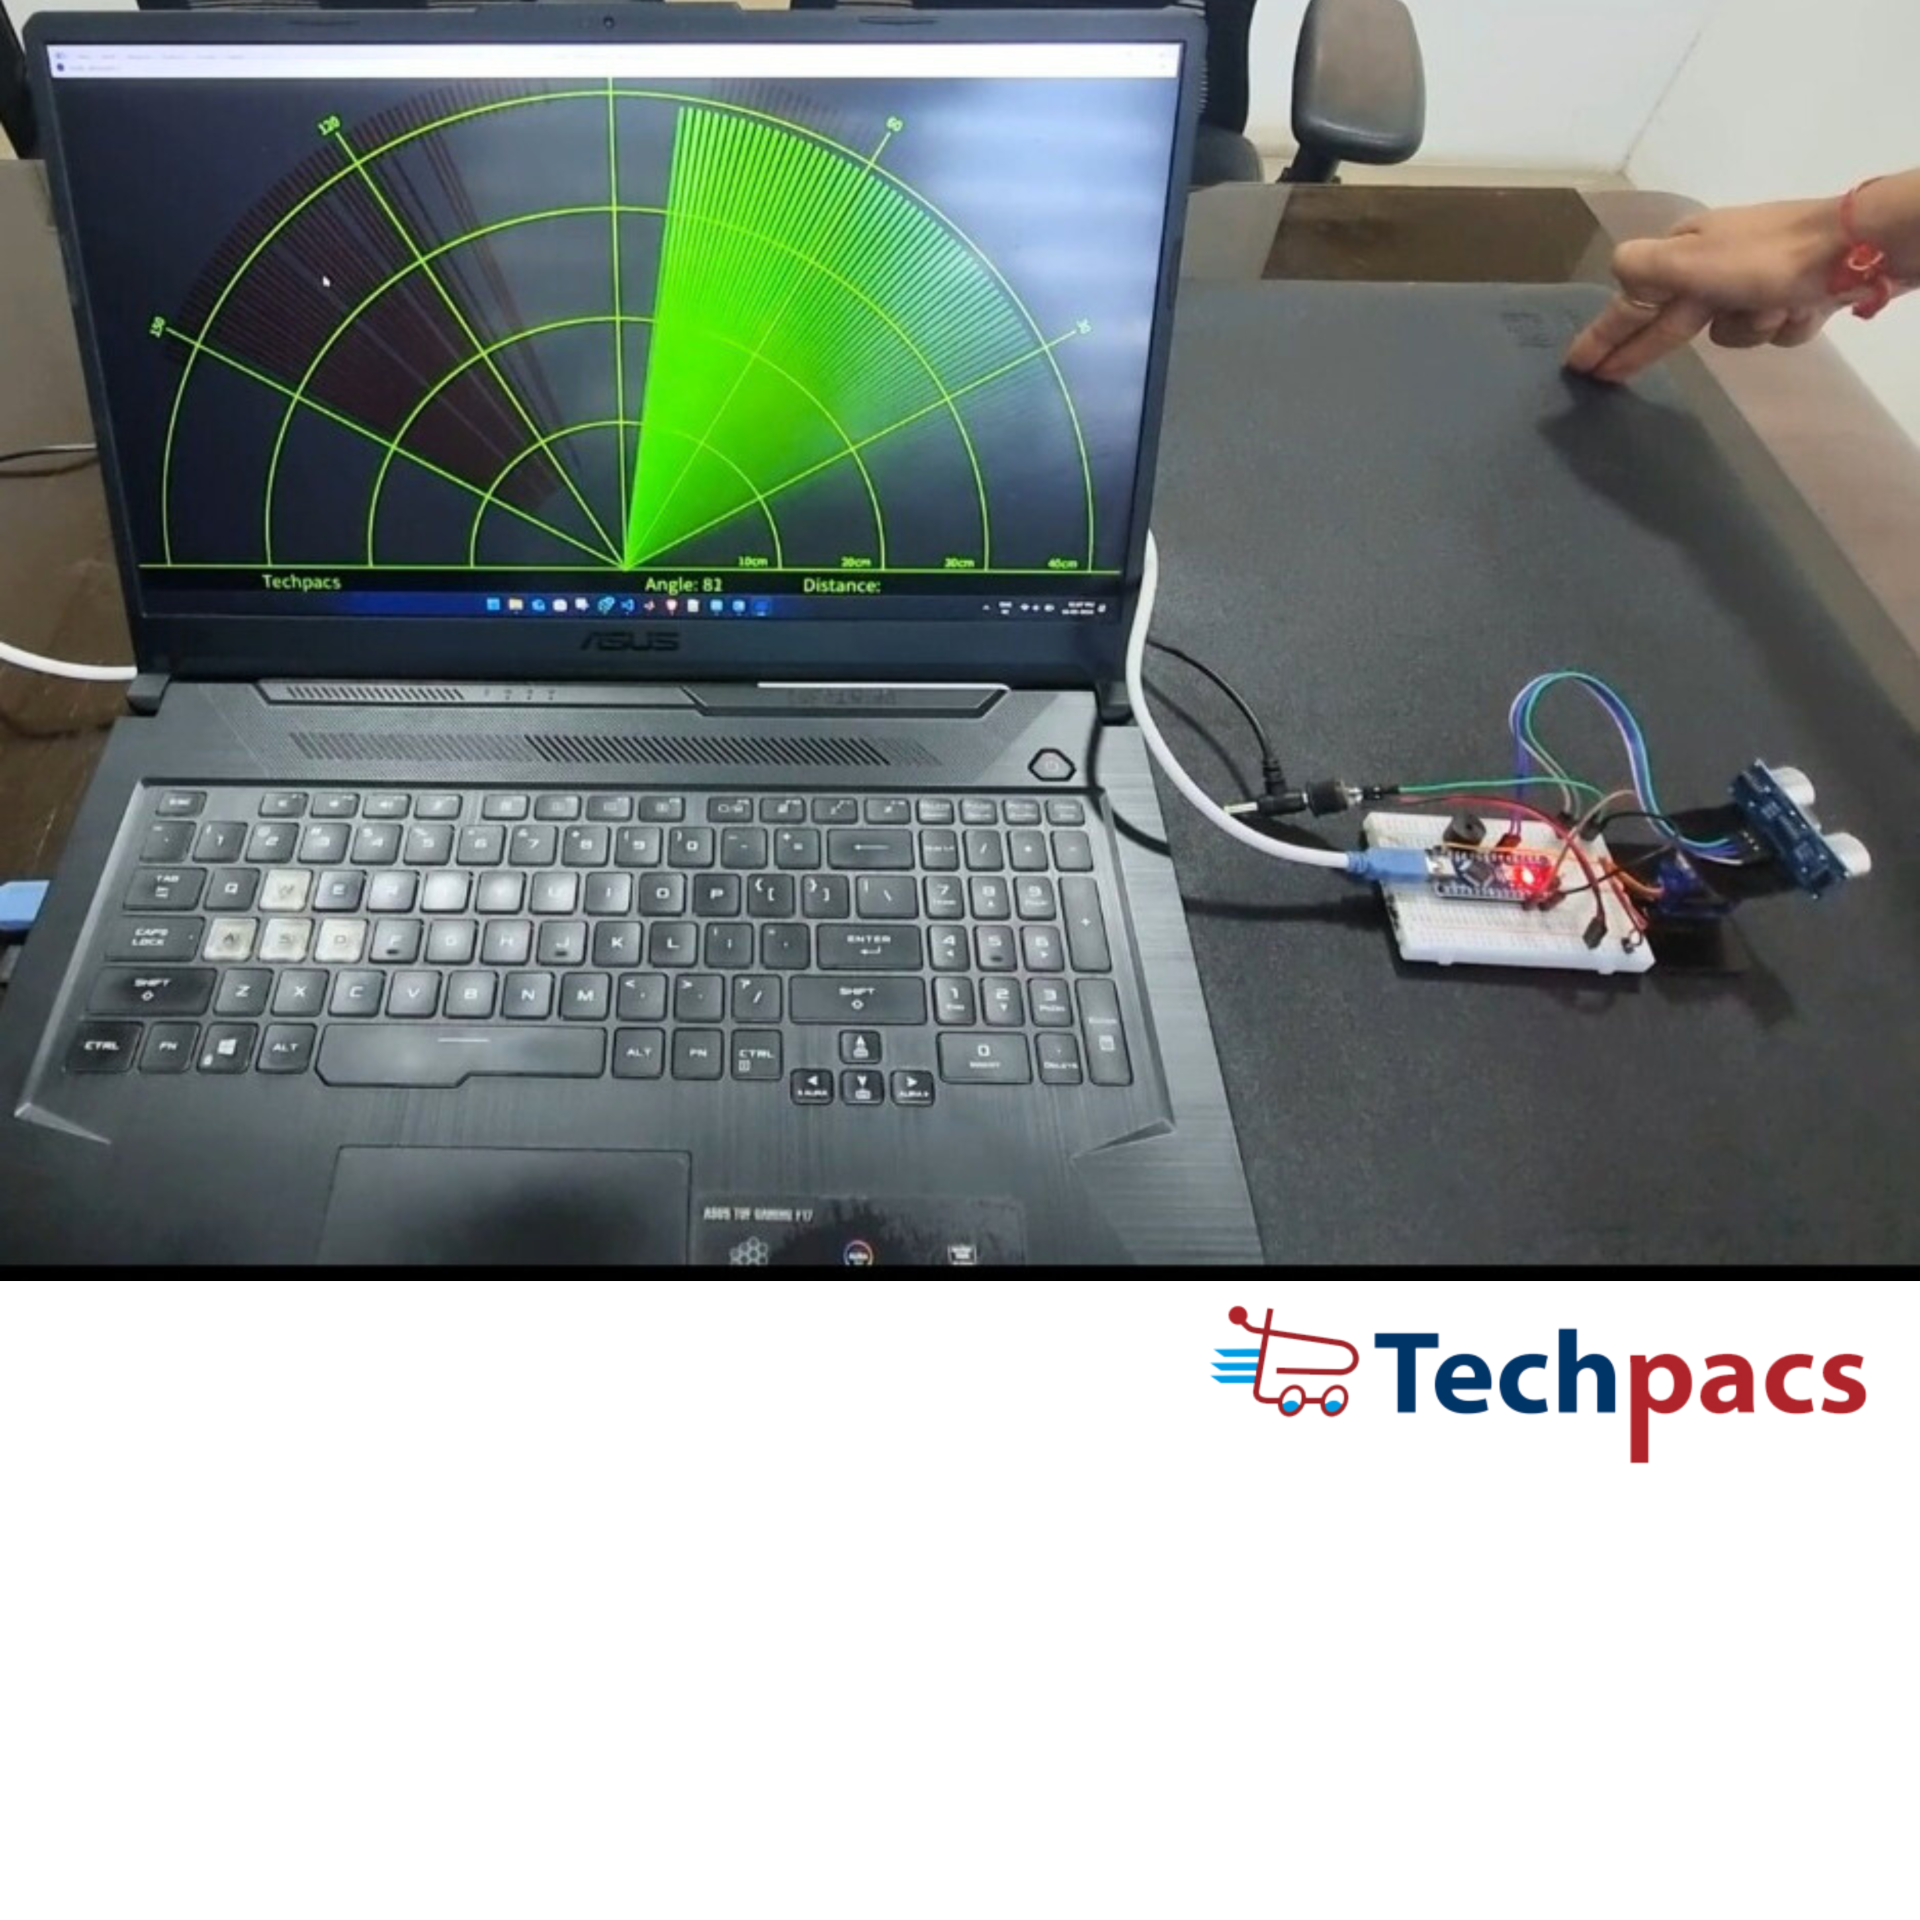
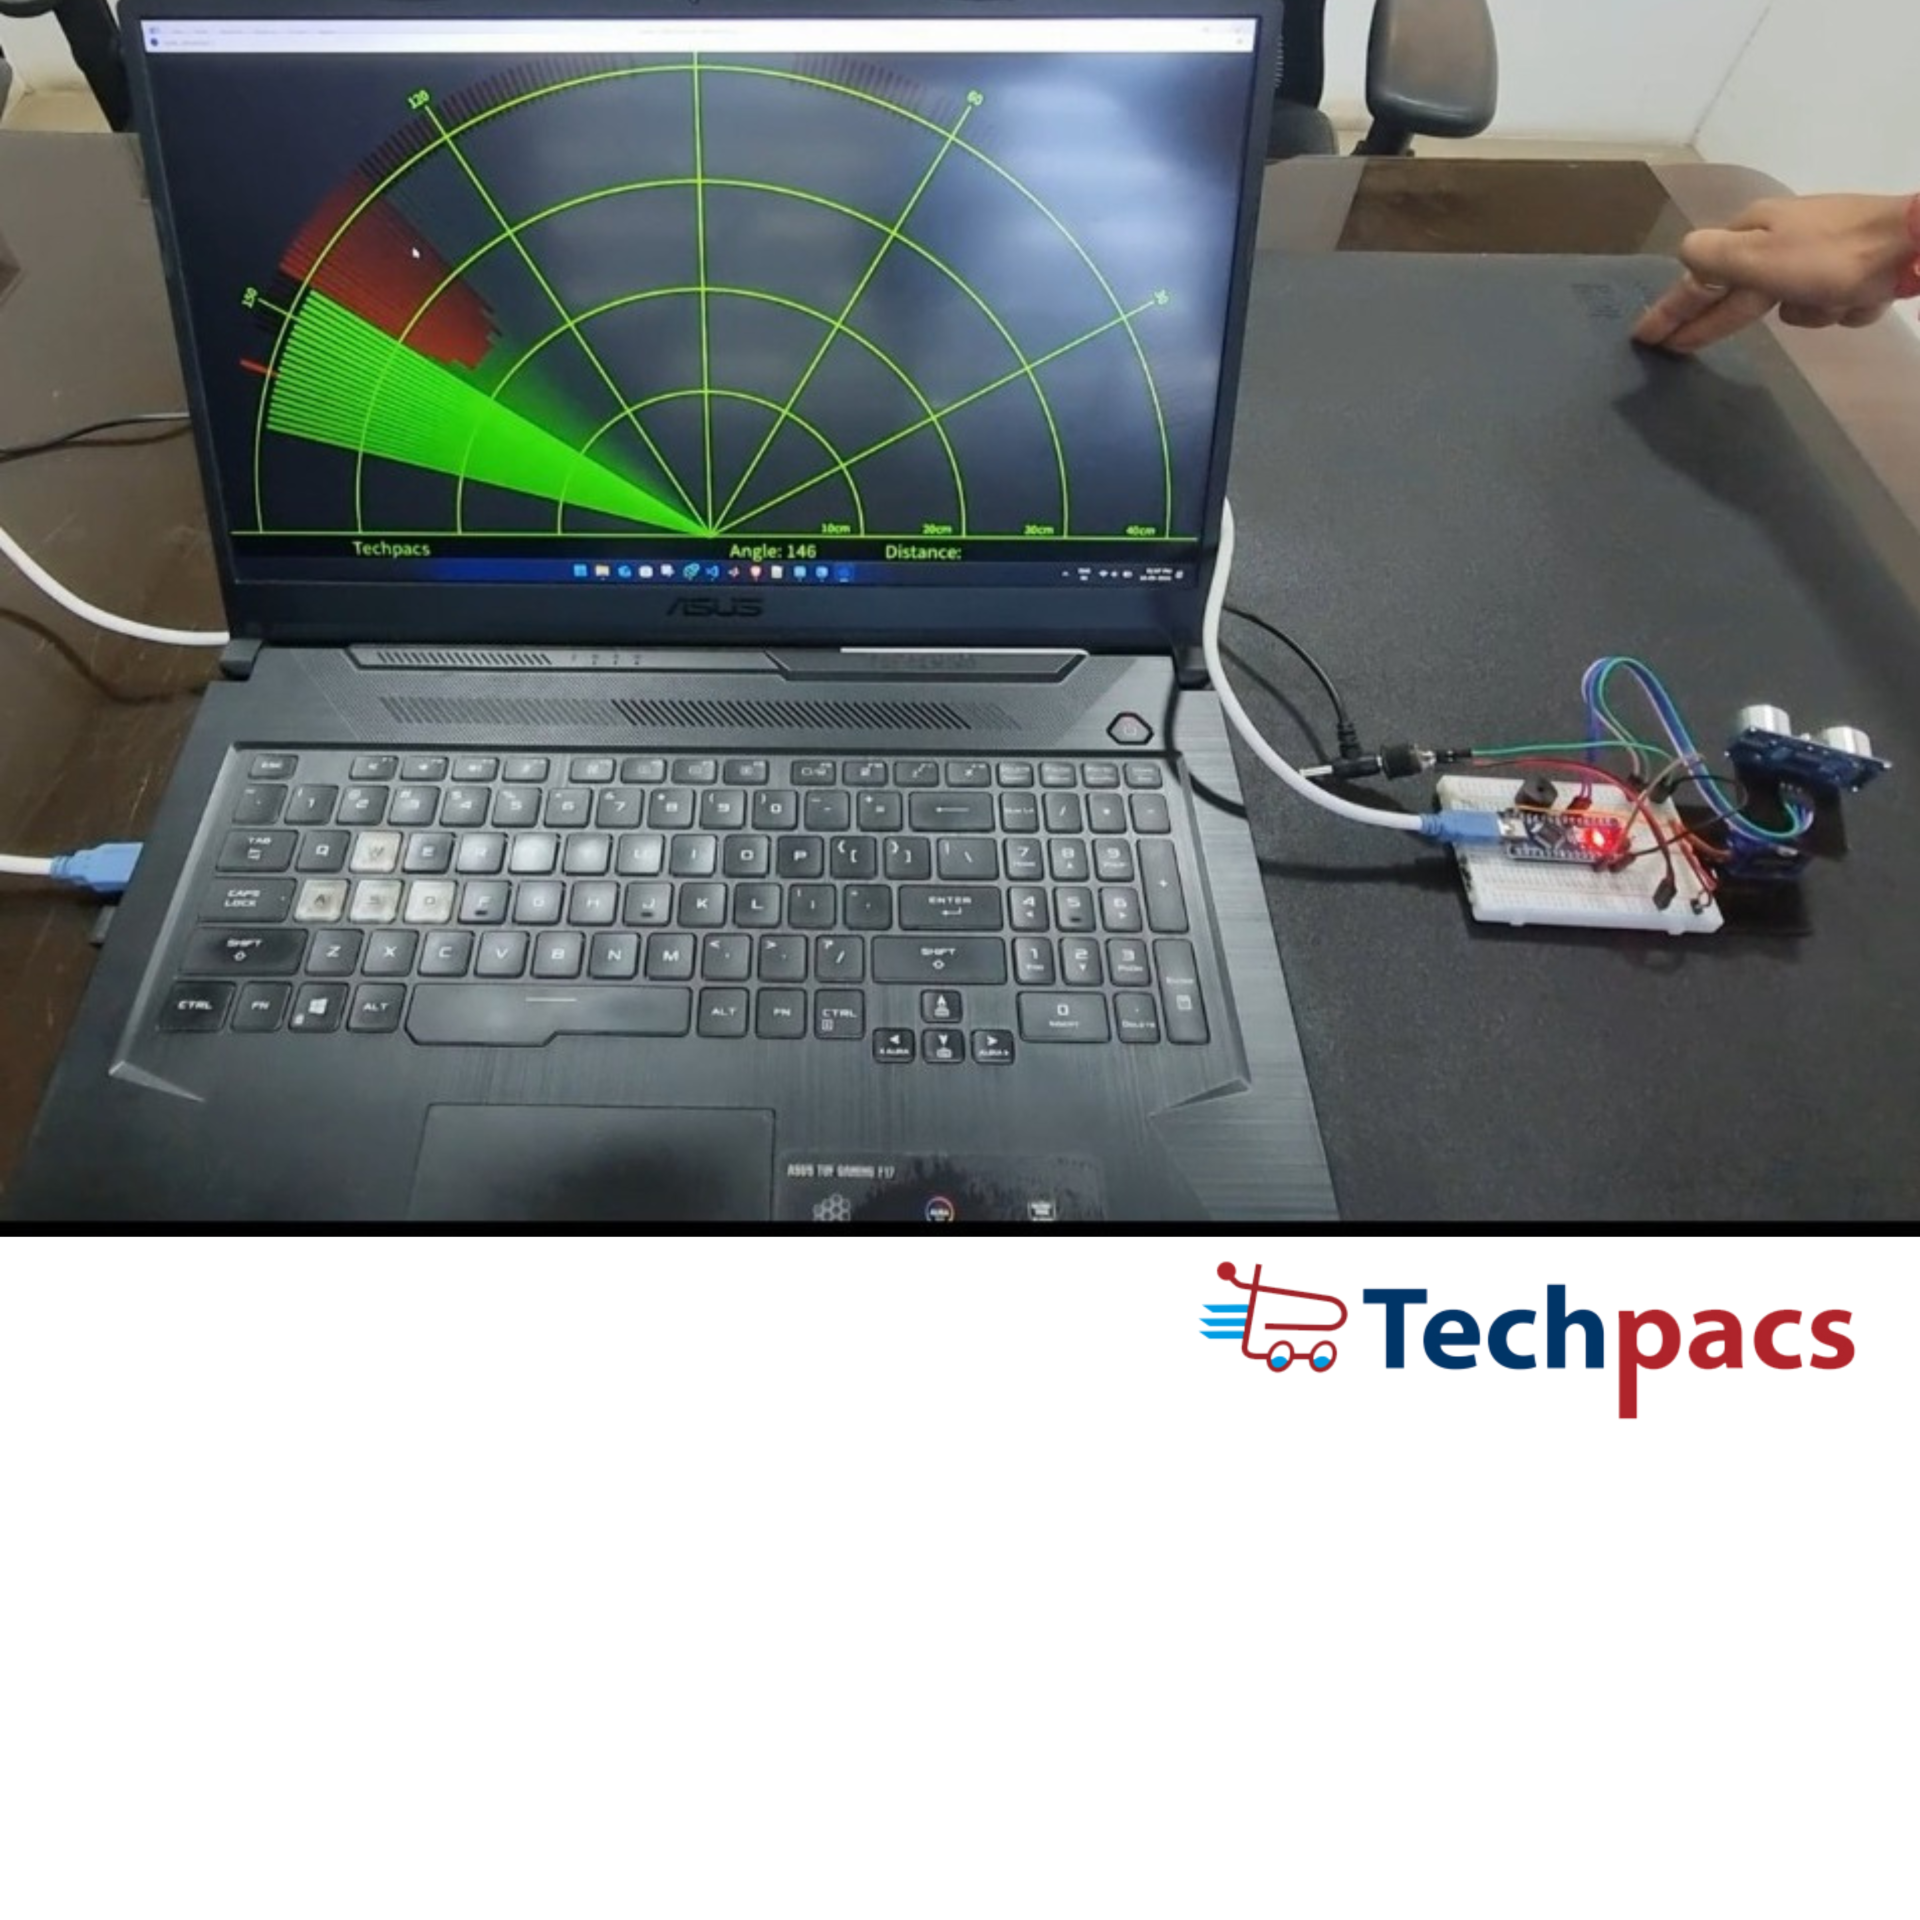
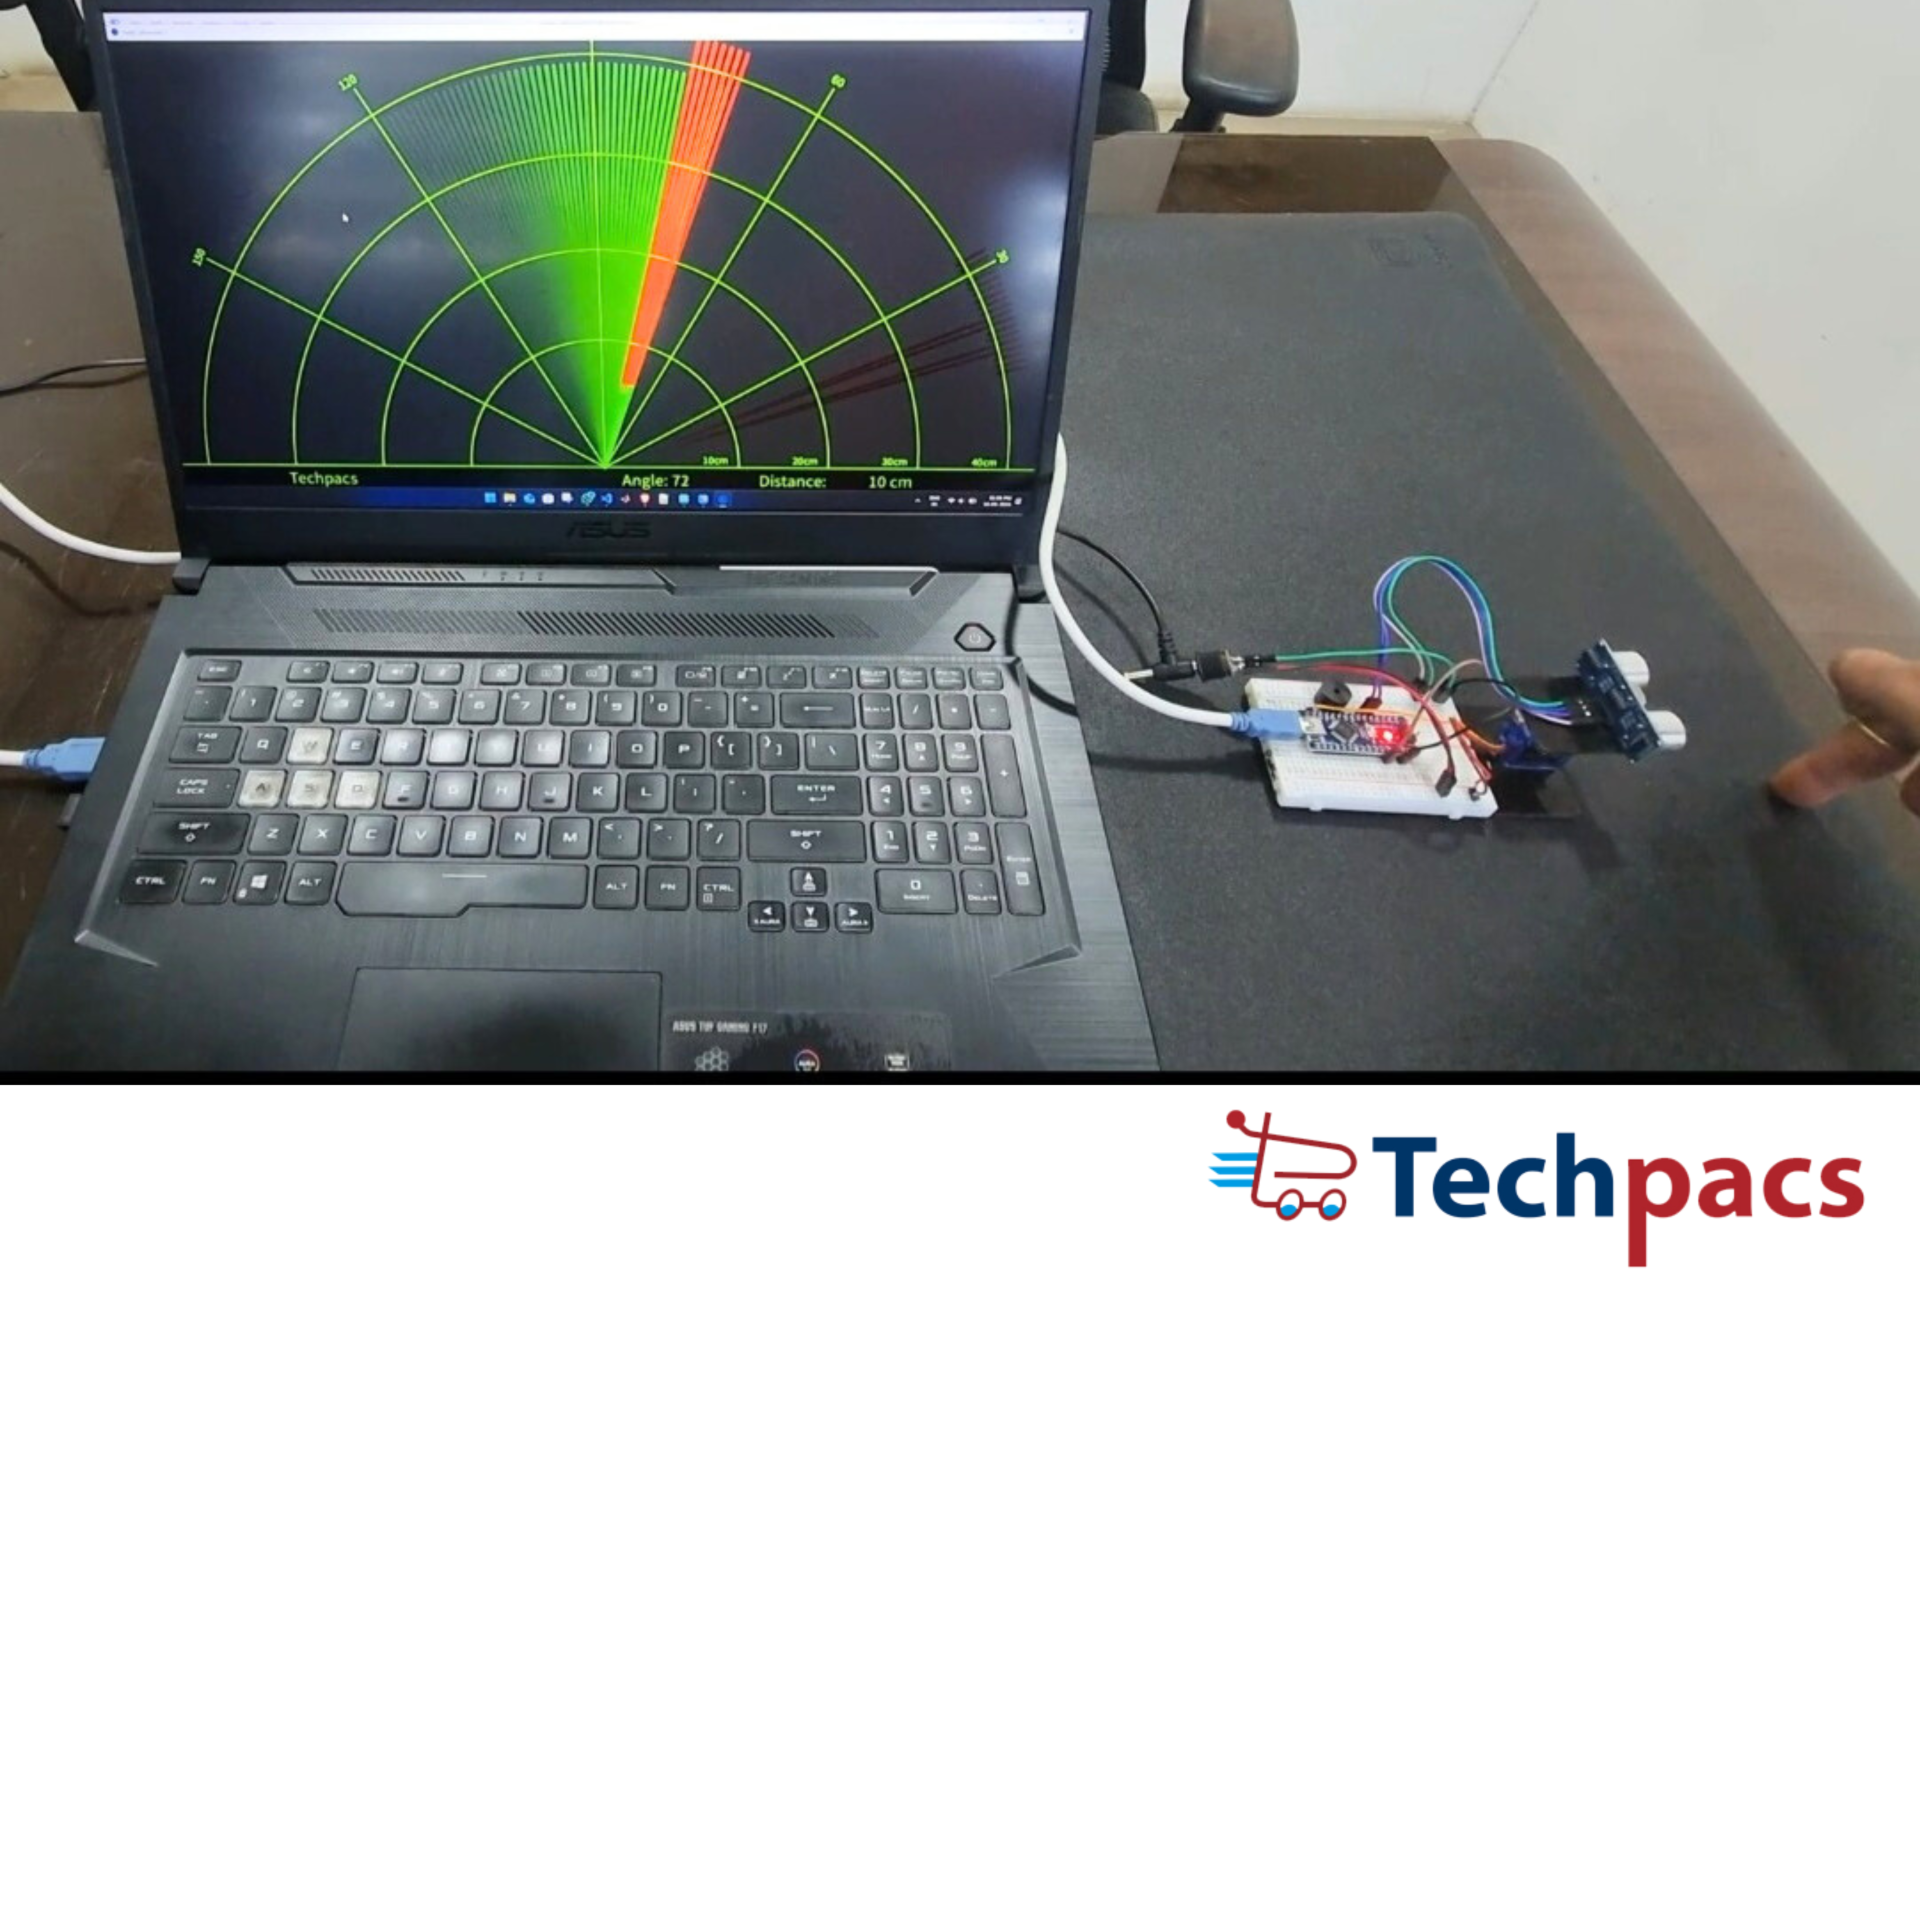
Meanwhile, the servo motor plays a vital role in scanning the environment. The Arduino Nano controls the servo motor, which rotates back and forth, allowing the ultrasonic sensor to cover a span of the designated area. As the servo motor moves, the Arduino continuously measures the distance of objects at different angles using the ultrasonic sensor. This data is then used to create a radar-like display on the LCD. The LCD display, connected to the Arduino, provides a visual representation of the detected objects, showing their distance and angle from the sensor. This real-time display makes it easy to understand the position and movement of objects within the radar's range.
In addition to the visual feedback on the LCD, the system also includes a buzzer for auditory alerts. The buzzer, wired to the Arduino, sounds when an object is detected within a certain threshold distance. This feature is particularly useful for applications requiring immediate alerts, such as security systems or obstacle detection in autonomous robots. The entire system is meticulously synchronized to scan, detect, and display object data seamlessly. The Arduino's program takes care of timing the servo movements, triggering the ultrasonic sensor, reading the echo pulses, calculating distances, and updating the LCD screen accordingly. The integrated use of these components showcases the versatility and efficiency of microcontroller-based systems in creating interactive and real-time responsive projects.
To encapsulate, the DIY Arduino Radar System with Ultrasonic Sensor for Object Detection is a remarkable example of how multiple electronic components can be orchestrated to work together to achieve a complex task. From the power regulation and signal processing to motor control and data display, each component has a unique role that contributes to the overall functionality of the radar system. This project not only serves as a practical application but also as an educational tool demonstrating principles of electronics, programming, and sensor integration.

Modules used to make DIY Arduino Radar System with Ultrasonic Sensor for Object Detection :
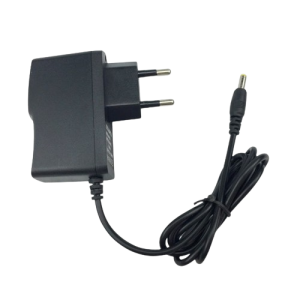
1. Power Supply Module
The Power Supply Module is critical for providing the necessary voltage and current to the radar system. In the circuit diagram, the input to the power supply is a 220V AC which is stepped down to 24V AC using a transformer. This AC voltage is then rectified using diodes to convert it to DC voltage. Capacitors are used to filter and smooth the DC output. Two linear voltage regulators, LM7812 and LM7805, are used to provide stable 12V and 5V outputs respectively. These regulated outputs are supplied to different components of the system, ensuring they receive the correct operating voltages without fluctuations. Proper power management is essential for the reliable operation of the radar system.
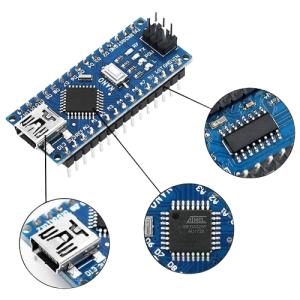
2. Microcontroller Module (Arduino)
The heart of the radar system is the Arduino microcontroller, which is responsible for coordinating the operations of the entire setup. It receives power from the 5V output of the power supply module. The microcontroller reads input signals from the ultrasonic sensor to measure distances and controls the rotation of the servo motor. Additionally, it processes the distance data to trigger the buzzer and update the display on the LCD screen. The Arduino's digital and analog pins are used for interfacing with the various components - ensuring that data flows smoothly and commands are executed promptly. The microcontroller's programmed intelligence is what makes the radar system capable of detecting and responding to objects.
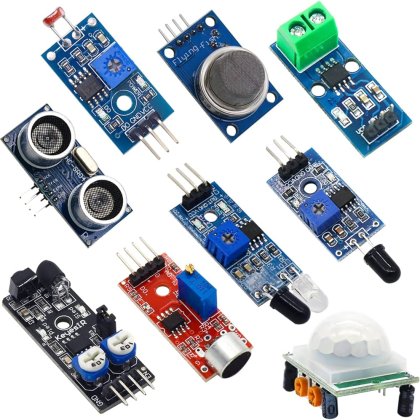
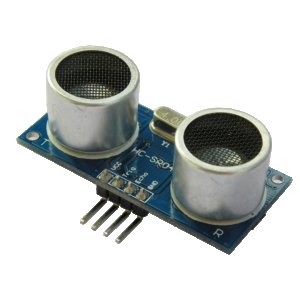
3. Ultrasonic Sensor (HC-SR04) Module
The HC-SR04 Ultrasonic Sensor is the primary component for object detection. It works by emitting ultrasonic waves from the trigger pin and measuring the time it takes for the echo to return to the echo pin after bouncing off an object. The sensor requires 5V power which it receives from the Arduino. The distance measured by the sensor is computed by the Arduino using the time difference between sending and receiving the signal. This distance information is crucial for detecting objects in the vicinity. The microcontroller processes the sensor data to make real-time decisions about triggering the alarm or updating the display, thereby allowing for dynamic interaction with the environment.
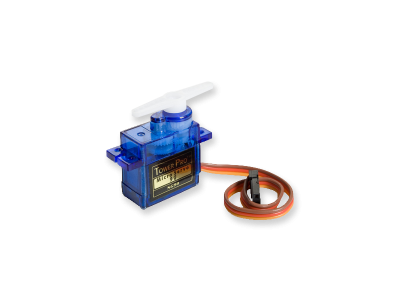
4. Servo Motor Module
The Servo Motor module is used to rotate the ultrasonic sensor to cover a wider area for object detection. The servo motor is connected to and controlled by the Arduino. It uses the PWM (Pulse Width Modulation) signal from the microcontroller to control its rotation angle. By sweeping the sensor back and forth, the radar system can scan an area and detect objects in different directions. The motor rotation is powered by the regulated 5V supply from the power module. Accurate control of the servo motor's position is crucial for systematic scanning and ensuring that the collected data represents the environment accurately.
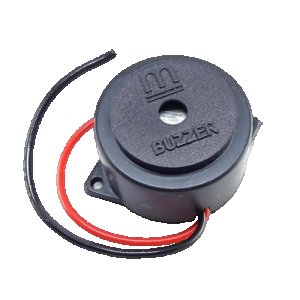
5. Buzzer Module
The Buzzer module provides an audible alert when an object is detected within a specific range. It is connected to a digital output pin on the Arduino, which controls when the buzzer sounds. When the Arduino receives distance data from the ultrasonic sensor that indicates an object is too close, it sends a signal to the buzzer to activate. This feedback mechanism helps to alert users to the presence of nearby objects, making the system useful for real-life applications like obstacle detection. The buzzer operates on the regulated 5V from the power supply, ensuring that it functions reliably whenever an alert is needed.
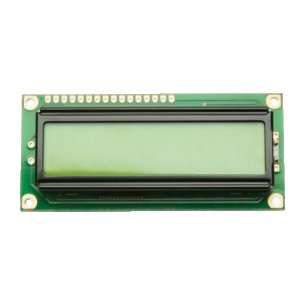
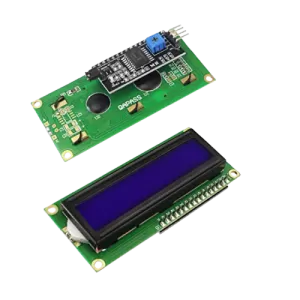
6. LCD Display Module
The LCD Display module provides a visual interface for the radar system, showing real-time distance data and other crucial information. It is connected to the Arduino and is powered by the regulated 5V supply. The display shows the distance to detected objects, providing users with immediate visual feedback. The microcontroller sends data to the LCD in appropriate formats to update its content dynamically, reflecting the sensor readings. This real-time display enhances the usability of the radar system, making it easier for users to understand the surroundings and any detected objects at a glance.
Components Used in DIY Arduino Radar System with Ultrasonic Sensor for Object Detection :
Power Supply Module
Transformer
Converts 220V AC to 24V AC which can then be stepped down for use in the circuit.
Bridge Rectifier
Converts AC to DC, providing a steady DC voltage to the other components.
Capacitor
Filters out any AC ripples to provide a smooth DC voltage output.
Voltage Regulators (LM7812, LM7805)
Regulates the voltage to specific levels needed by the circuit components (12V and 5V).
Sensor Module
HC-SR04 Ultrasonic Sensor
Detects objects by emitting ultrasonic waves and measuring the time it takes to receive the reflected waves.
Processing Module
Arduino Nano
Processes the data received from the ultrasonic sensor and controls other components of the system.
Output Module
LCD Display
Displays the detected object distance and other relevant information.
Buzzer
Provides audible alerts indicating the presence of an object within a certain range.
Actuator Module
Servo Motor
Rotates the ultrasonic sensor to scan the area for objects.
Other Possible Projects Using this Project Kit:
1. Smart Parking System
Using the components from the DIY Arduino Radar System, you can create a Smart Parking System that monitors and displays the availability of parking spaces. By integrating the ultrasonic sensor, you can detect the presence of a vehicle within a parking spot. The Arduino microcontroller will process this information and update a display, indicating which spots are free or occupied. This real-time status can be shown on an LCD screen similar to the radar system’s setup. This project can be enhanced further by adding features such as sending alerts or updates to a mobile device, making it a comprehensive solution for parking management in small garages or large parking lots.
2. Automated Water Level Monitoring System
Transform the project kit into an Automated Water Level Monitoring System. The ultrasonic sensor can be used to measure the water level in a tank by detecting the distance to the water surface. The Arduino processes this measurement and displays the water level on the LCD screen, giving a visual representation of the water level. Additionally, you can program the Arduino to trigger a buzzer when the water level reaches a critical high or low point, alerting the user to take necessary action. This project is particularly useful for applications in home water tanks, agricultural irrigation systems, and industrial fluid reservoirs.
3. Home Security Alarm System
Leveraging the components, you can build a Home Security Alarm System. The ultrasonic sensor can detect movement within a designated area. If an object is detected, the Arduino can activate a buzzer to alert the homeowner of potential intruders. The LCD screen can be used to display the status of the system, such as whether it is armed or triggered. This setup can be extended by implementing multiple sensors around the home and integrating it with a mobile app for remote monitoring and control. It's an effective and low-cost solution to enhance home security.
4. Robotic Obstacle Avoidance Car
Another interesting project is a Robotic Obstacle Avoidance Car. Utilizing the ultrasonic sensor for distance measurement, the Arduino can be programmed to change the direction of the car to avoid obstacles in its path. The motor driver module can be used to control the motors, and the servo can be used to steer the car. The LCD screen can display real-time distance readings and the car’s status. This autonomous car project introduces fundamental concepts in robotics and provides a foundation for more advanced robotic projects.
5. Distance Measuring Device
You can repurpose the kit to build a simple Distance Measuring Device. The ultrasonic sensor measures the distance to an object, and the Arduino processes and displays this distance on the LCD screen. This portable device can be used in various applications, including construction, interior design, and DIY projects. The buzzer can be used to provide auditory feedback when the measured distance falls within a certain range. It's a practical tool for anyone who needs to measure distances accurately and easily.
| Shipping Cost |
|
No reviews found!


No comments found for this product. Be the first to comment!